Fabricating the Prototype
Dec 5, 2017 23:52 · 415 words · 2 minutes read
For the first phase of the physical installation, I wanted to fabricate a basic prototype that prove out the form factor, mechanics of the motors, and strength of the frame.
The design for the full installation:
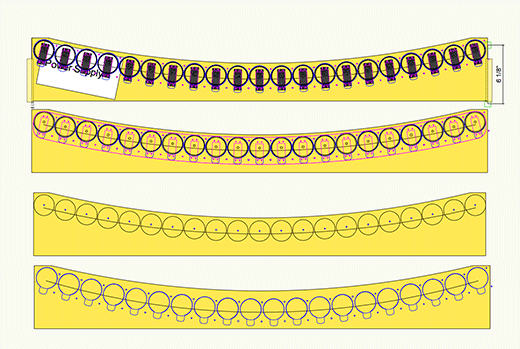
Originally, I wanted to use wooden dowels and paint the patterns on them. However, these proved to be heavy and expensive. A cheaper, lighter solution was to use shipping tubes. I could order 2”x48” order in bulk from Mcmaster Carr for $16 per 5 tubes.
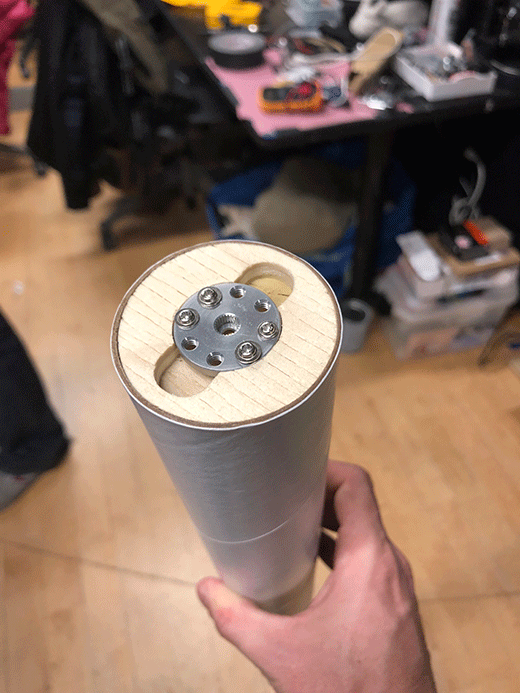
With these paper tubes, I cnc’ed wooden end caps to attach to servo mounts, which would in turn attach to the servos.
For the prototype, I built a shorter version with just 3 motors and tubes.
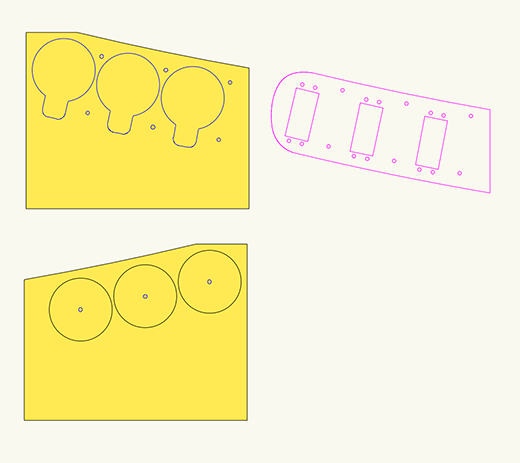
Trimmed down design to prototype on a smaller scale
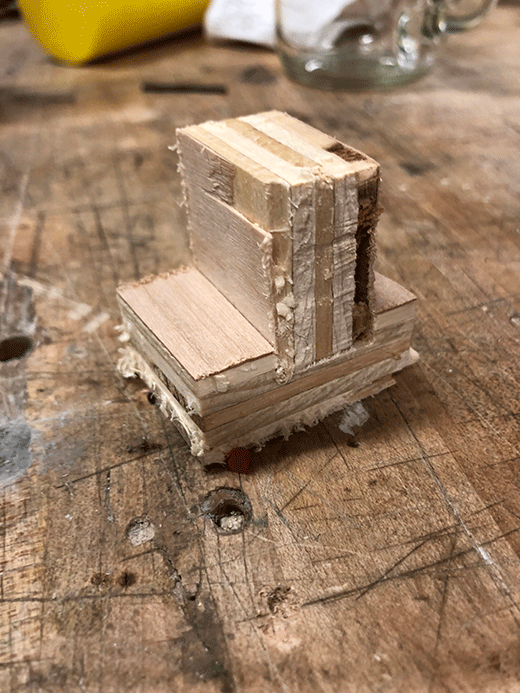
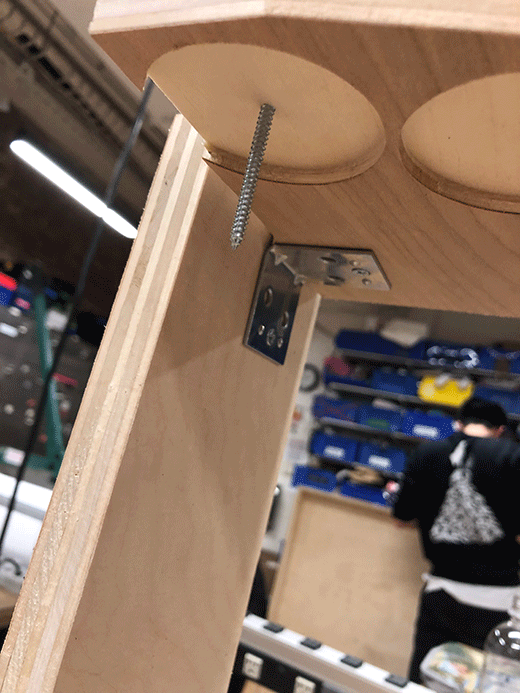
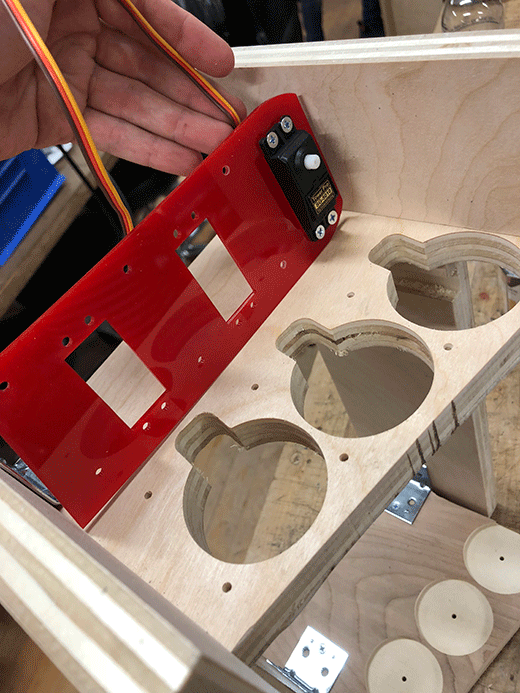
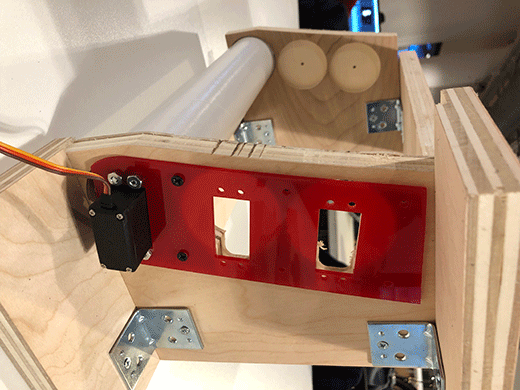
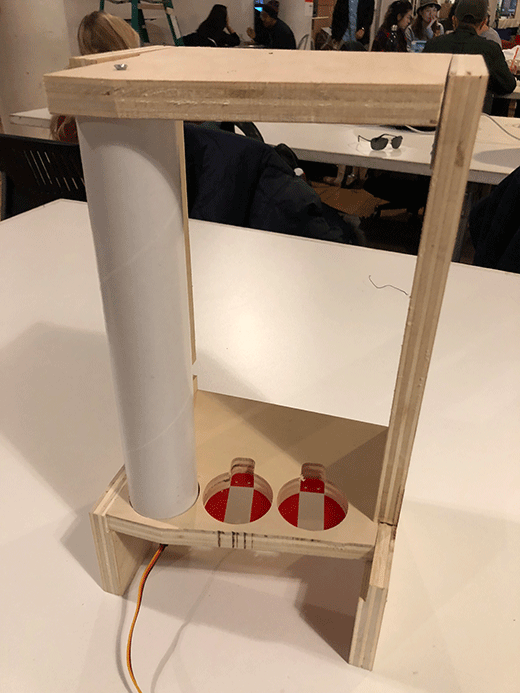
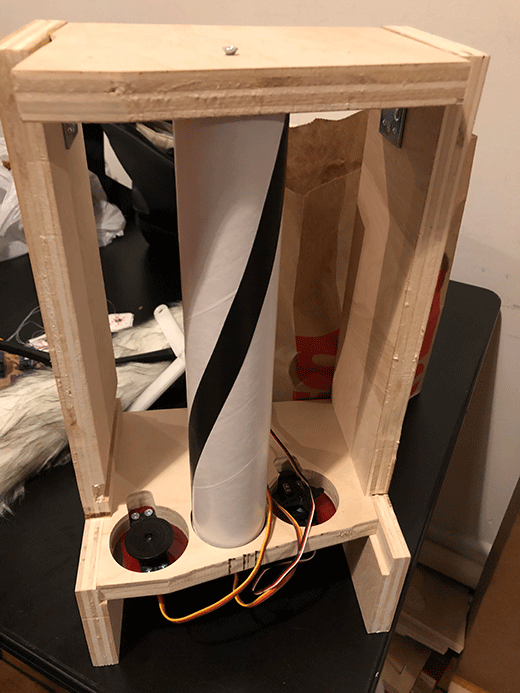
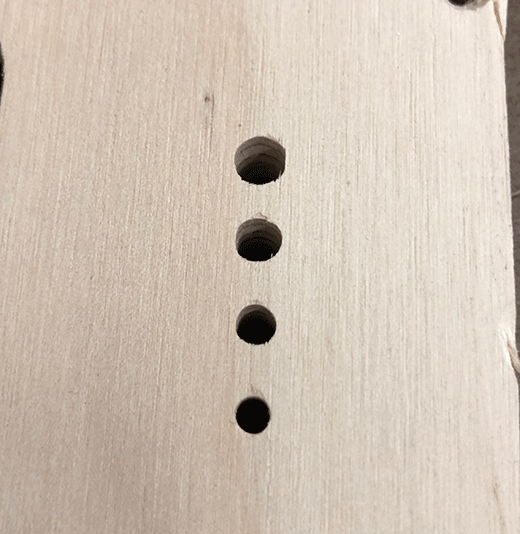
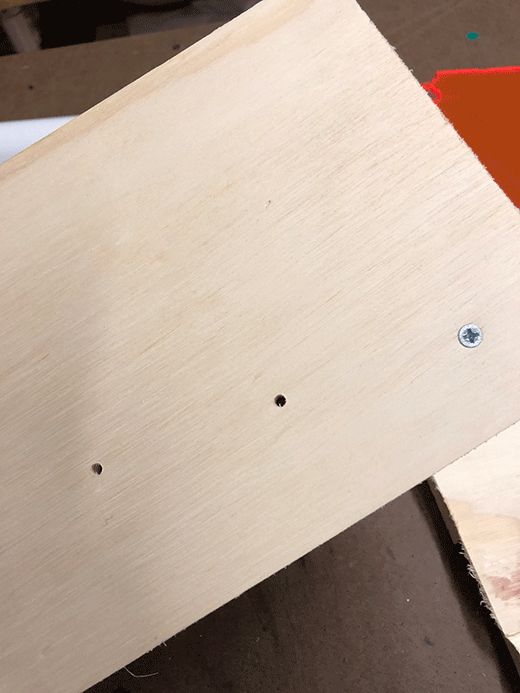
Here are some pics of the fabrication process. In the end, I had a motor rotating a column with a spiral for the pattern. I used acrylic to mount the motors, and aligned the acrylic with the wood using cnced holes in the wood. For the top, I cnc’ed an 1⁄8” hole which sheet screws would go through, and for the top end cap I cnc’ed a hole that would be wider than the sheet metal screw, acting as a pole to hold the tube in place.
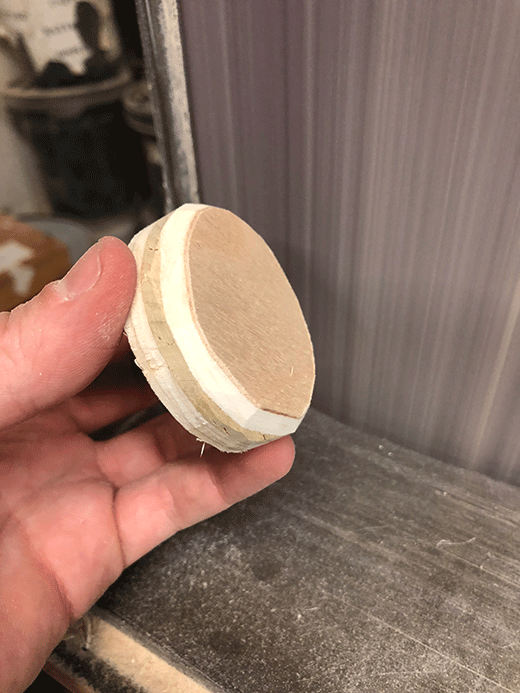
Cnc routed tube cap to hold the servo hub Sanding a chamfered edge onto the end caps The end cap in the tube Trying different hole sizes with the cnc router to see which would hold the sheet metal screw without gripping it. Cnc routed holes to guide the sheet metal screws to be aligned with the dowels Testing which holes fit on the sheet metal screw Testing the alignment of the servo mount and the holes on the acrylic End cap mounted to the servo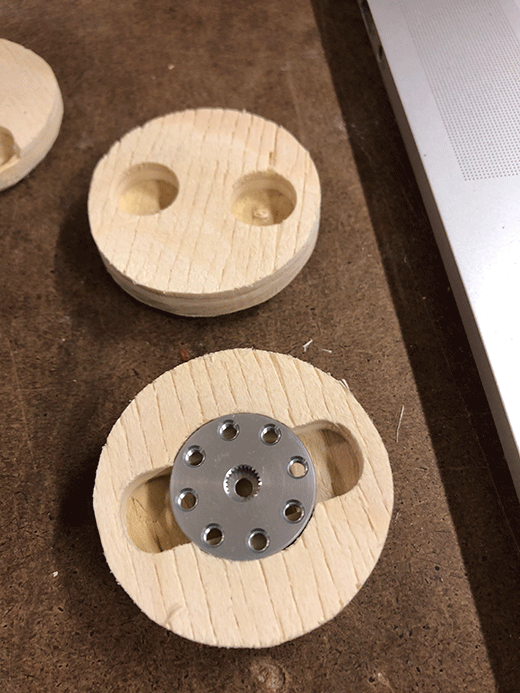
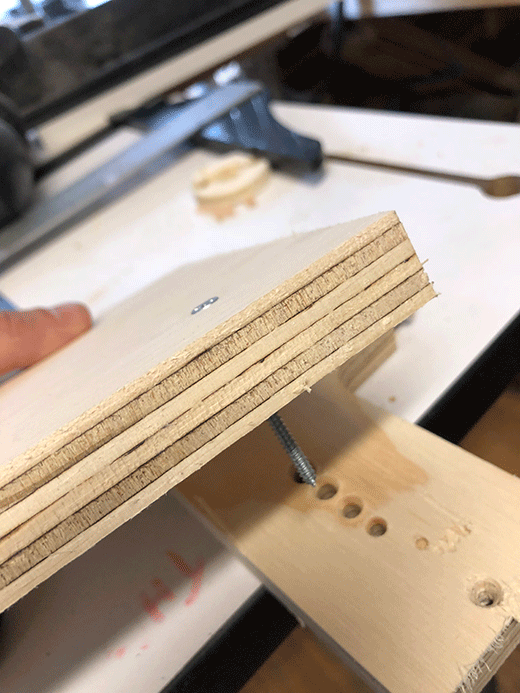
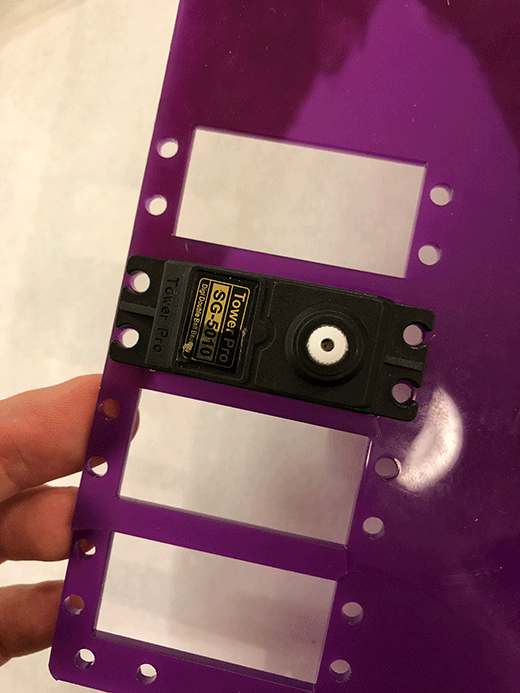
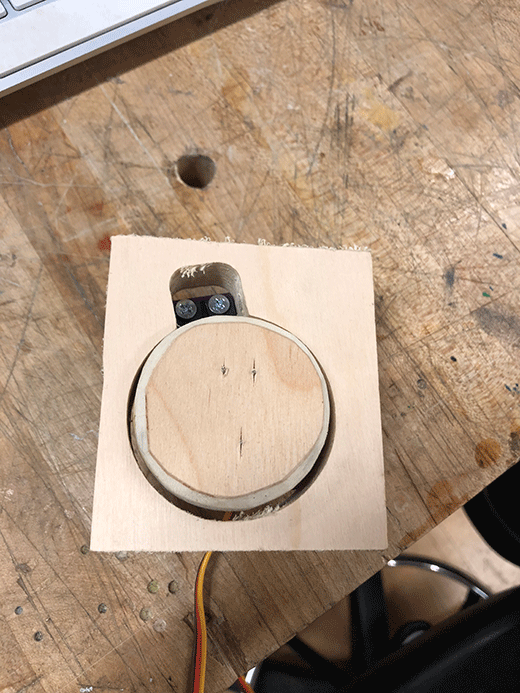
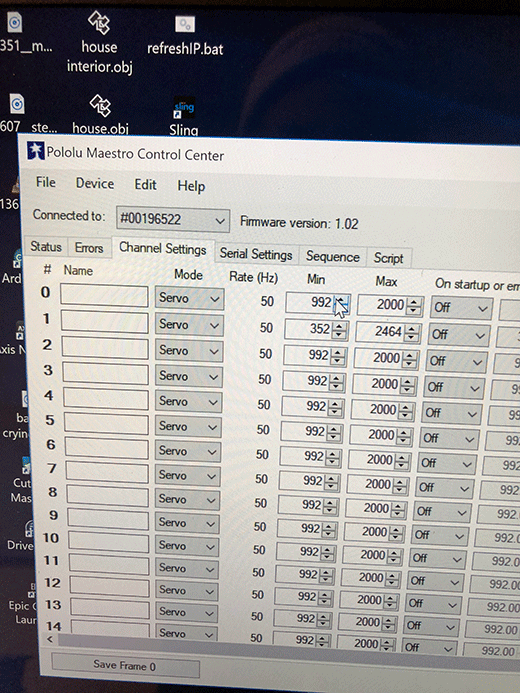
Testing mounting the motor into acrylic Testing cnc’ed a notch for a shelf to go into The sheet metal screw that goes into the top of the frame and acts as a guide for the tube The acrylic mount for the servos perfectly aligned with the cnc routed frame Looking from bottom - servos mounted to acrylic which in turn mounted to the frame Final built prototype Using the Mini Maestro control panel to test controlling the servos with the controller With a stripe for the design made of electric tape