Fabricating the Kinetic Sculpture
Dec 17, 2017 00:30 · 530 words · 3 minutes read
After prototyping fabricating a small version of Presence to test the design and physical mechanics, it was time to build the real thing.
I decided to go with a design of 21 tubes arranged tightly together in a curve.
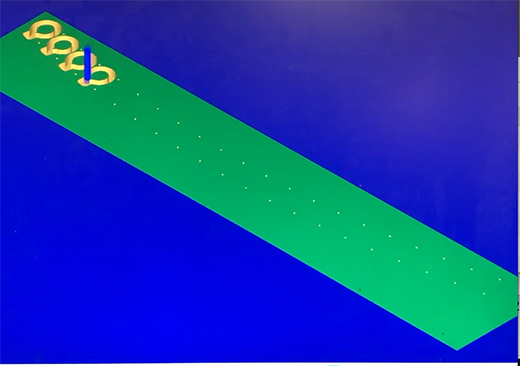
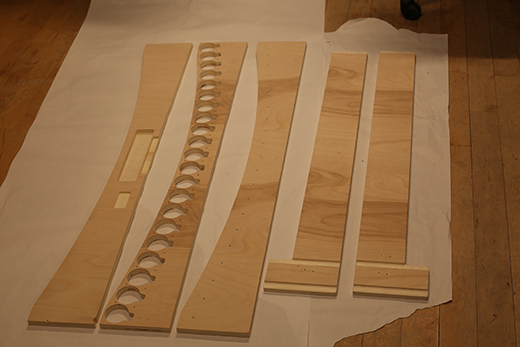
They would be mounted on long piece of arcrylic attached at the bottom to a piece of CNC routed plywood:
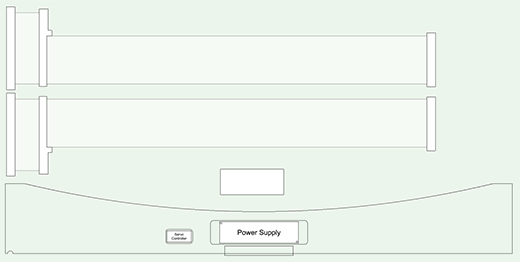
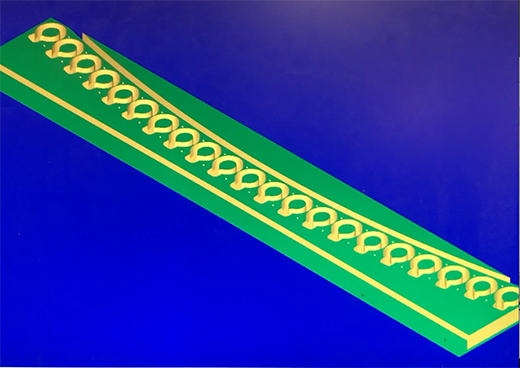
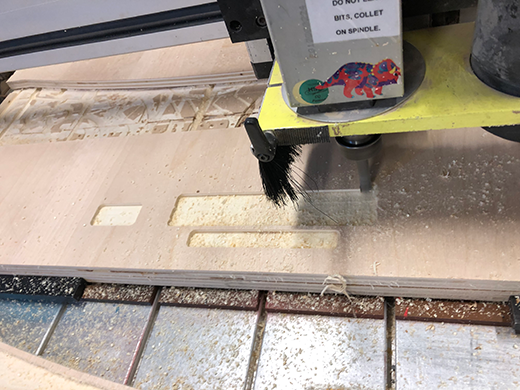
For the sides, I designed walls with small .2” deep x .72” tall (the thickness of the plywood) pockets to make sure the horizontal pieces would fit in seamlessly and straight. For the bottom, I added a pocket for where the power supply and servo controller would go with sizes based on their datasheets:
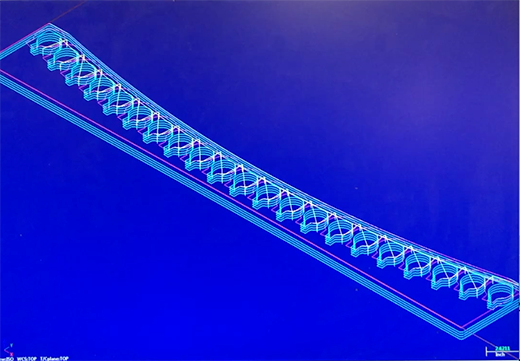
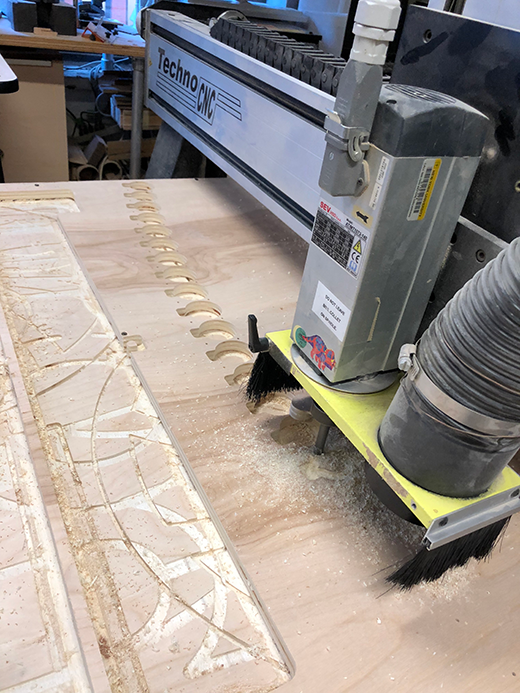
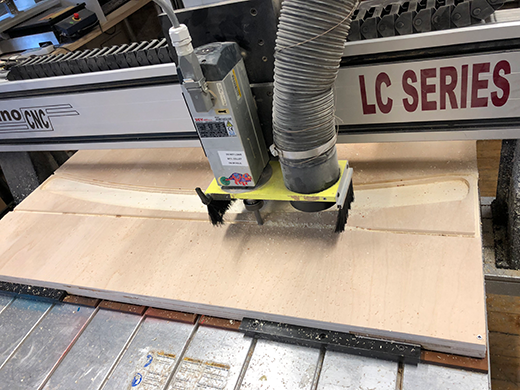
Now it was time to take these designs to the Mastercam, the CNC Router, and Fabricate them:

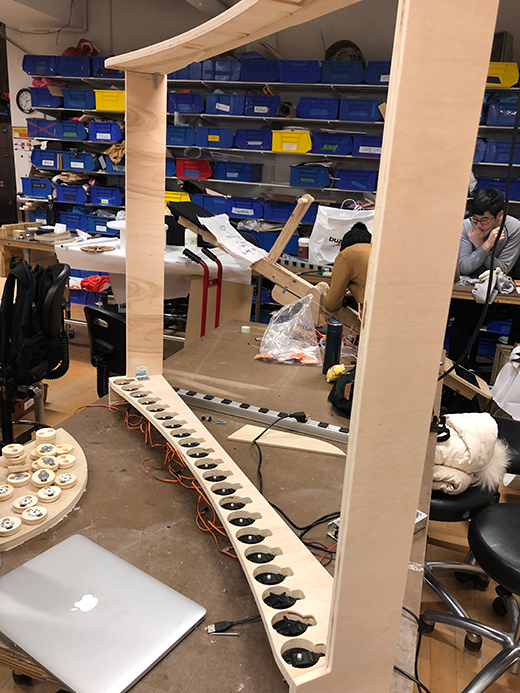
To assemble this all together, I used L-braces. This would allow the piece to be dissassembled for easy transport at a future date:

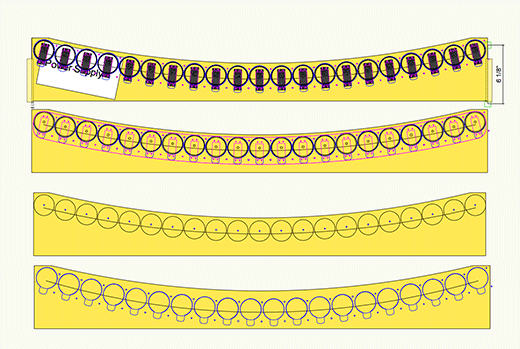
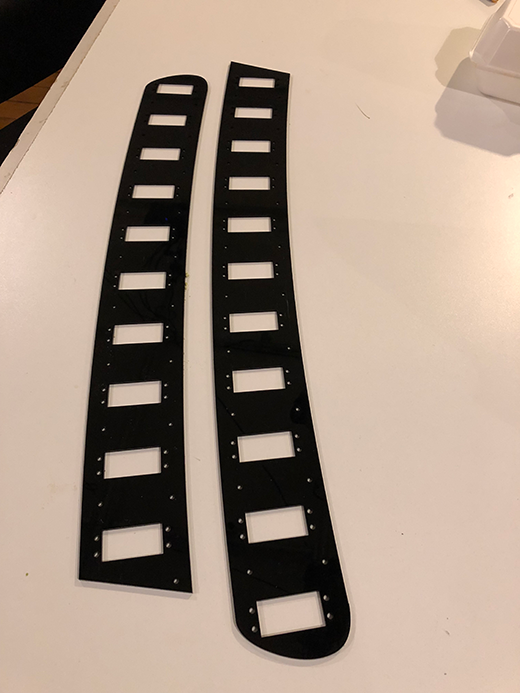
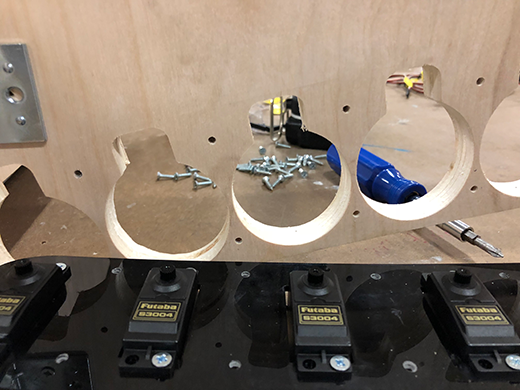
Then it was time to laser cut the servo mounts. Because the bed supported only 32” length, these were cut into 2 pieces with a diagonal divider to make sure the fit exactly into place:

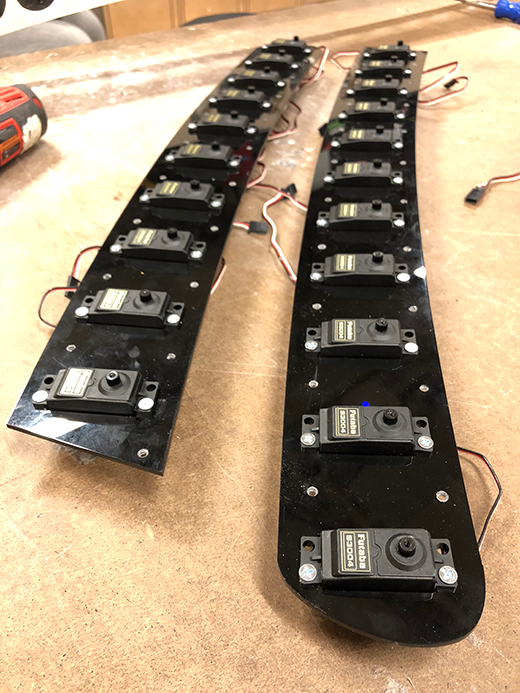
The servos mounted nicely into the acrylic:
these mounts aligned nicely to the holes that were cut by the router into the plywood:
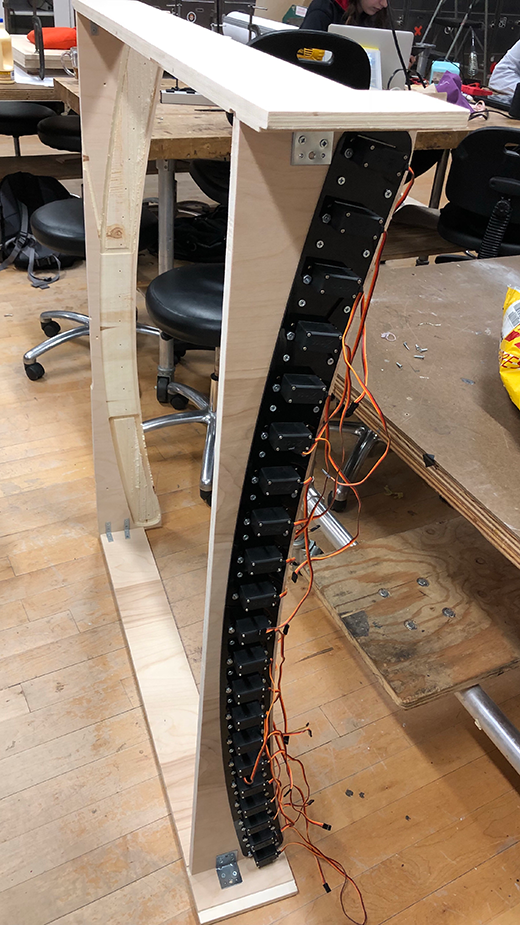
Now it was time to attach the mounts to the frame:
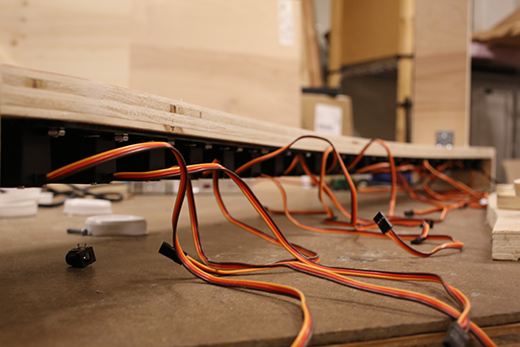
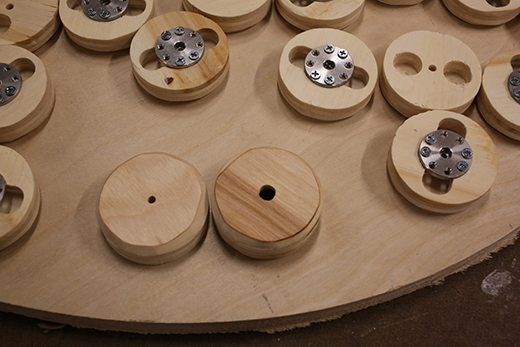
All 21 tubes would have end caps at the top and bottom. The ones at the bottom would be be attached to lightweight servo hubs, and would have a small pockets to fit the center of the servo hub to make it align perfectly. The ones at the top would have small holes that would allow a pole to lightly hold the the the tube into place in the center and easily pivot around the pole. These caps would be cnc routed out of plywood, with a combination of 1⁄8” and 1⁄2” router bits.

Lightweight servo hub purchased from servocity.com
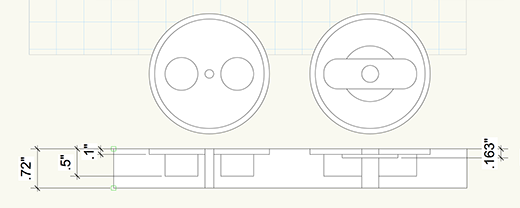
Design for the endcaps, with depths for the cnc router
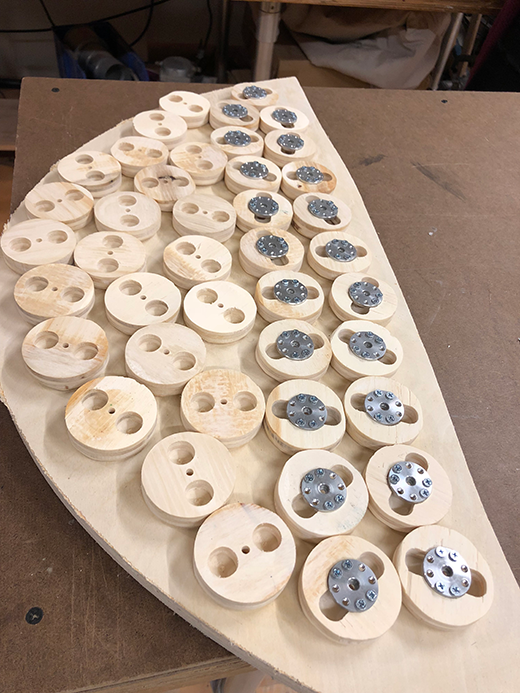
To make 21 pairs, these were laid out in a grid, sent to Mastercam, where the depths were specified, then cut on the cnc router:

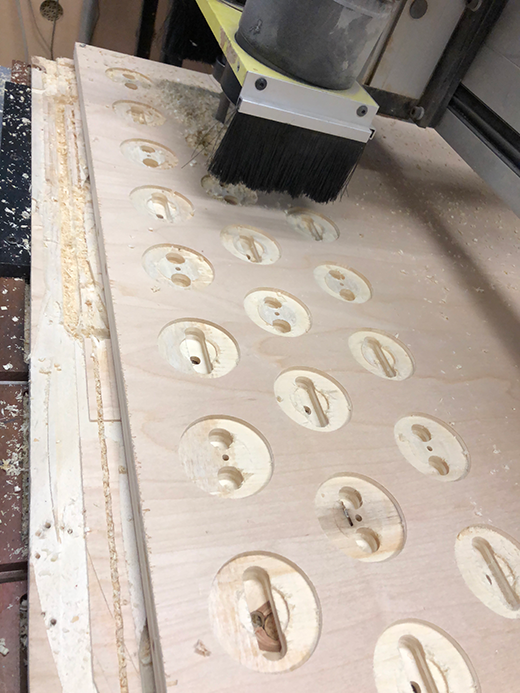
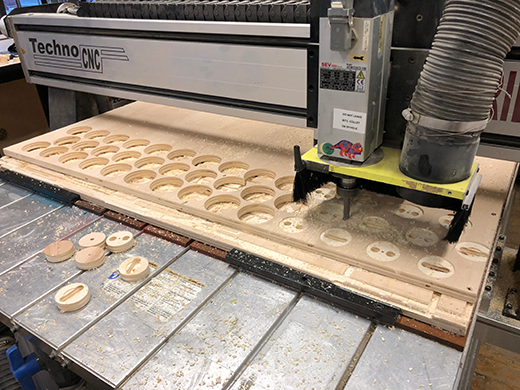
I then sanded the caps at the corners to create a chamfer that would allow the caps to slide into the tubes easily.

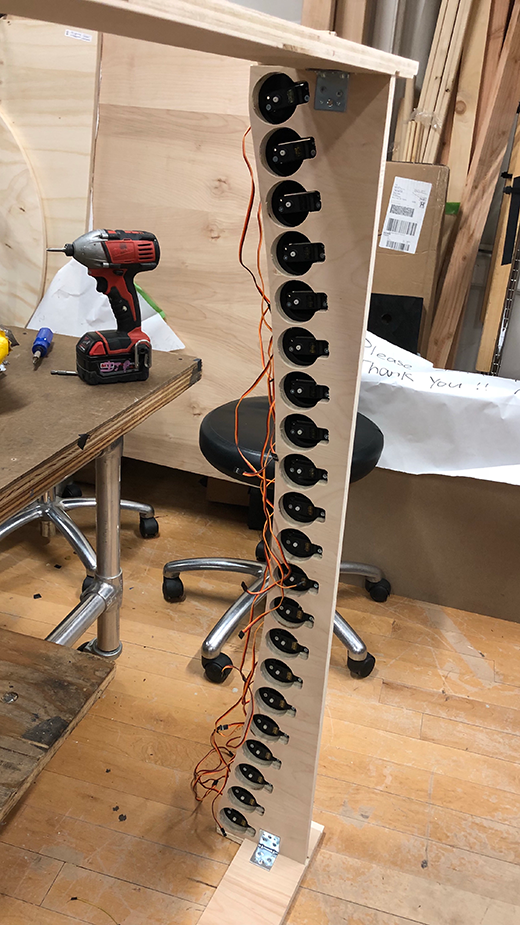
Then the servo mounts were attached to all of the caps.
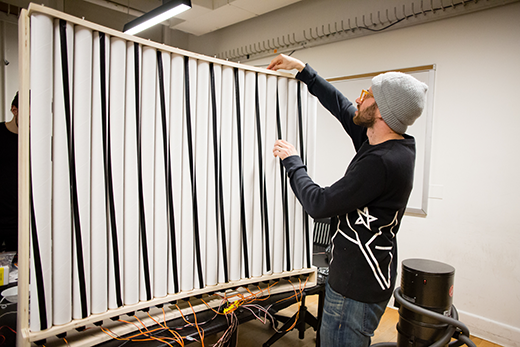
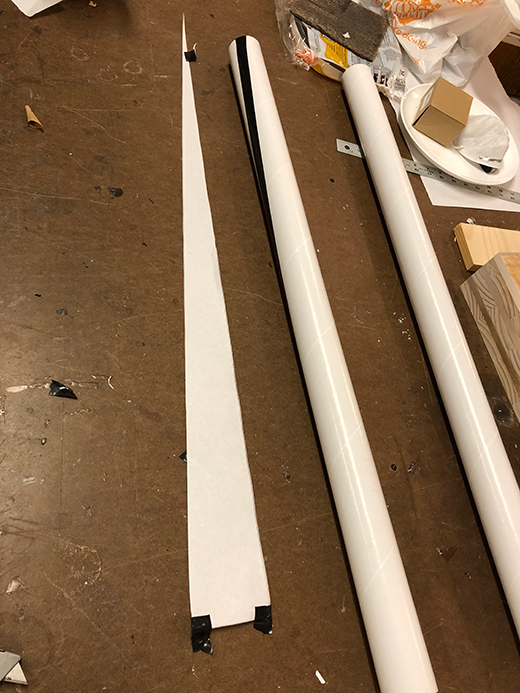
To make the tubes, I used white shipping tubes, and wrapped electrical tape in a spiral around 180 degrees of the tube. This would allow one side of the spiral to be visible when the servo was at 0 degrees, and the other at 180 degrees. To guide the tape along the spiral I cut a stencil out of paper and lightly taped it to the tubes:
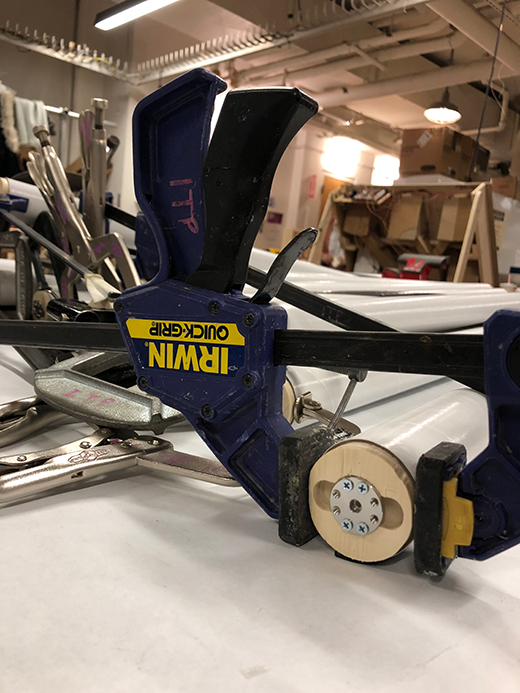
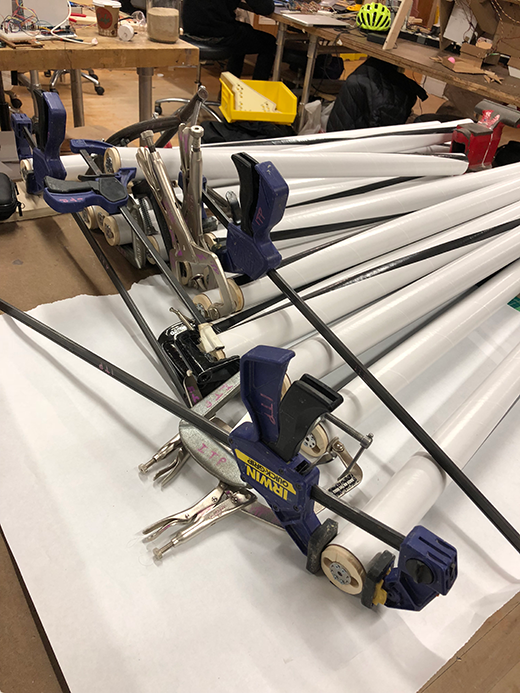
With the tubes fully inside the wood frame, there was friction that prevented the servos from turning. To fix this, I offset the tubes from the bottom of the end caps, by glueing them halfway in and clamping them to make the glue strong:
And finally, I attached these to the servos, by first zeroing all the servos, then aligning the bottom of the spirals to the zero position of the tubes: