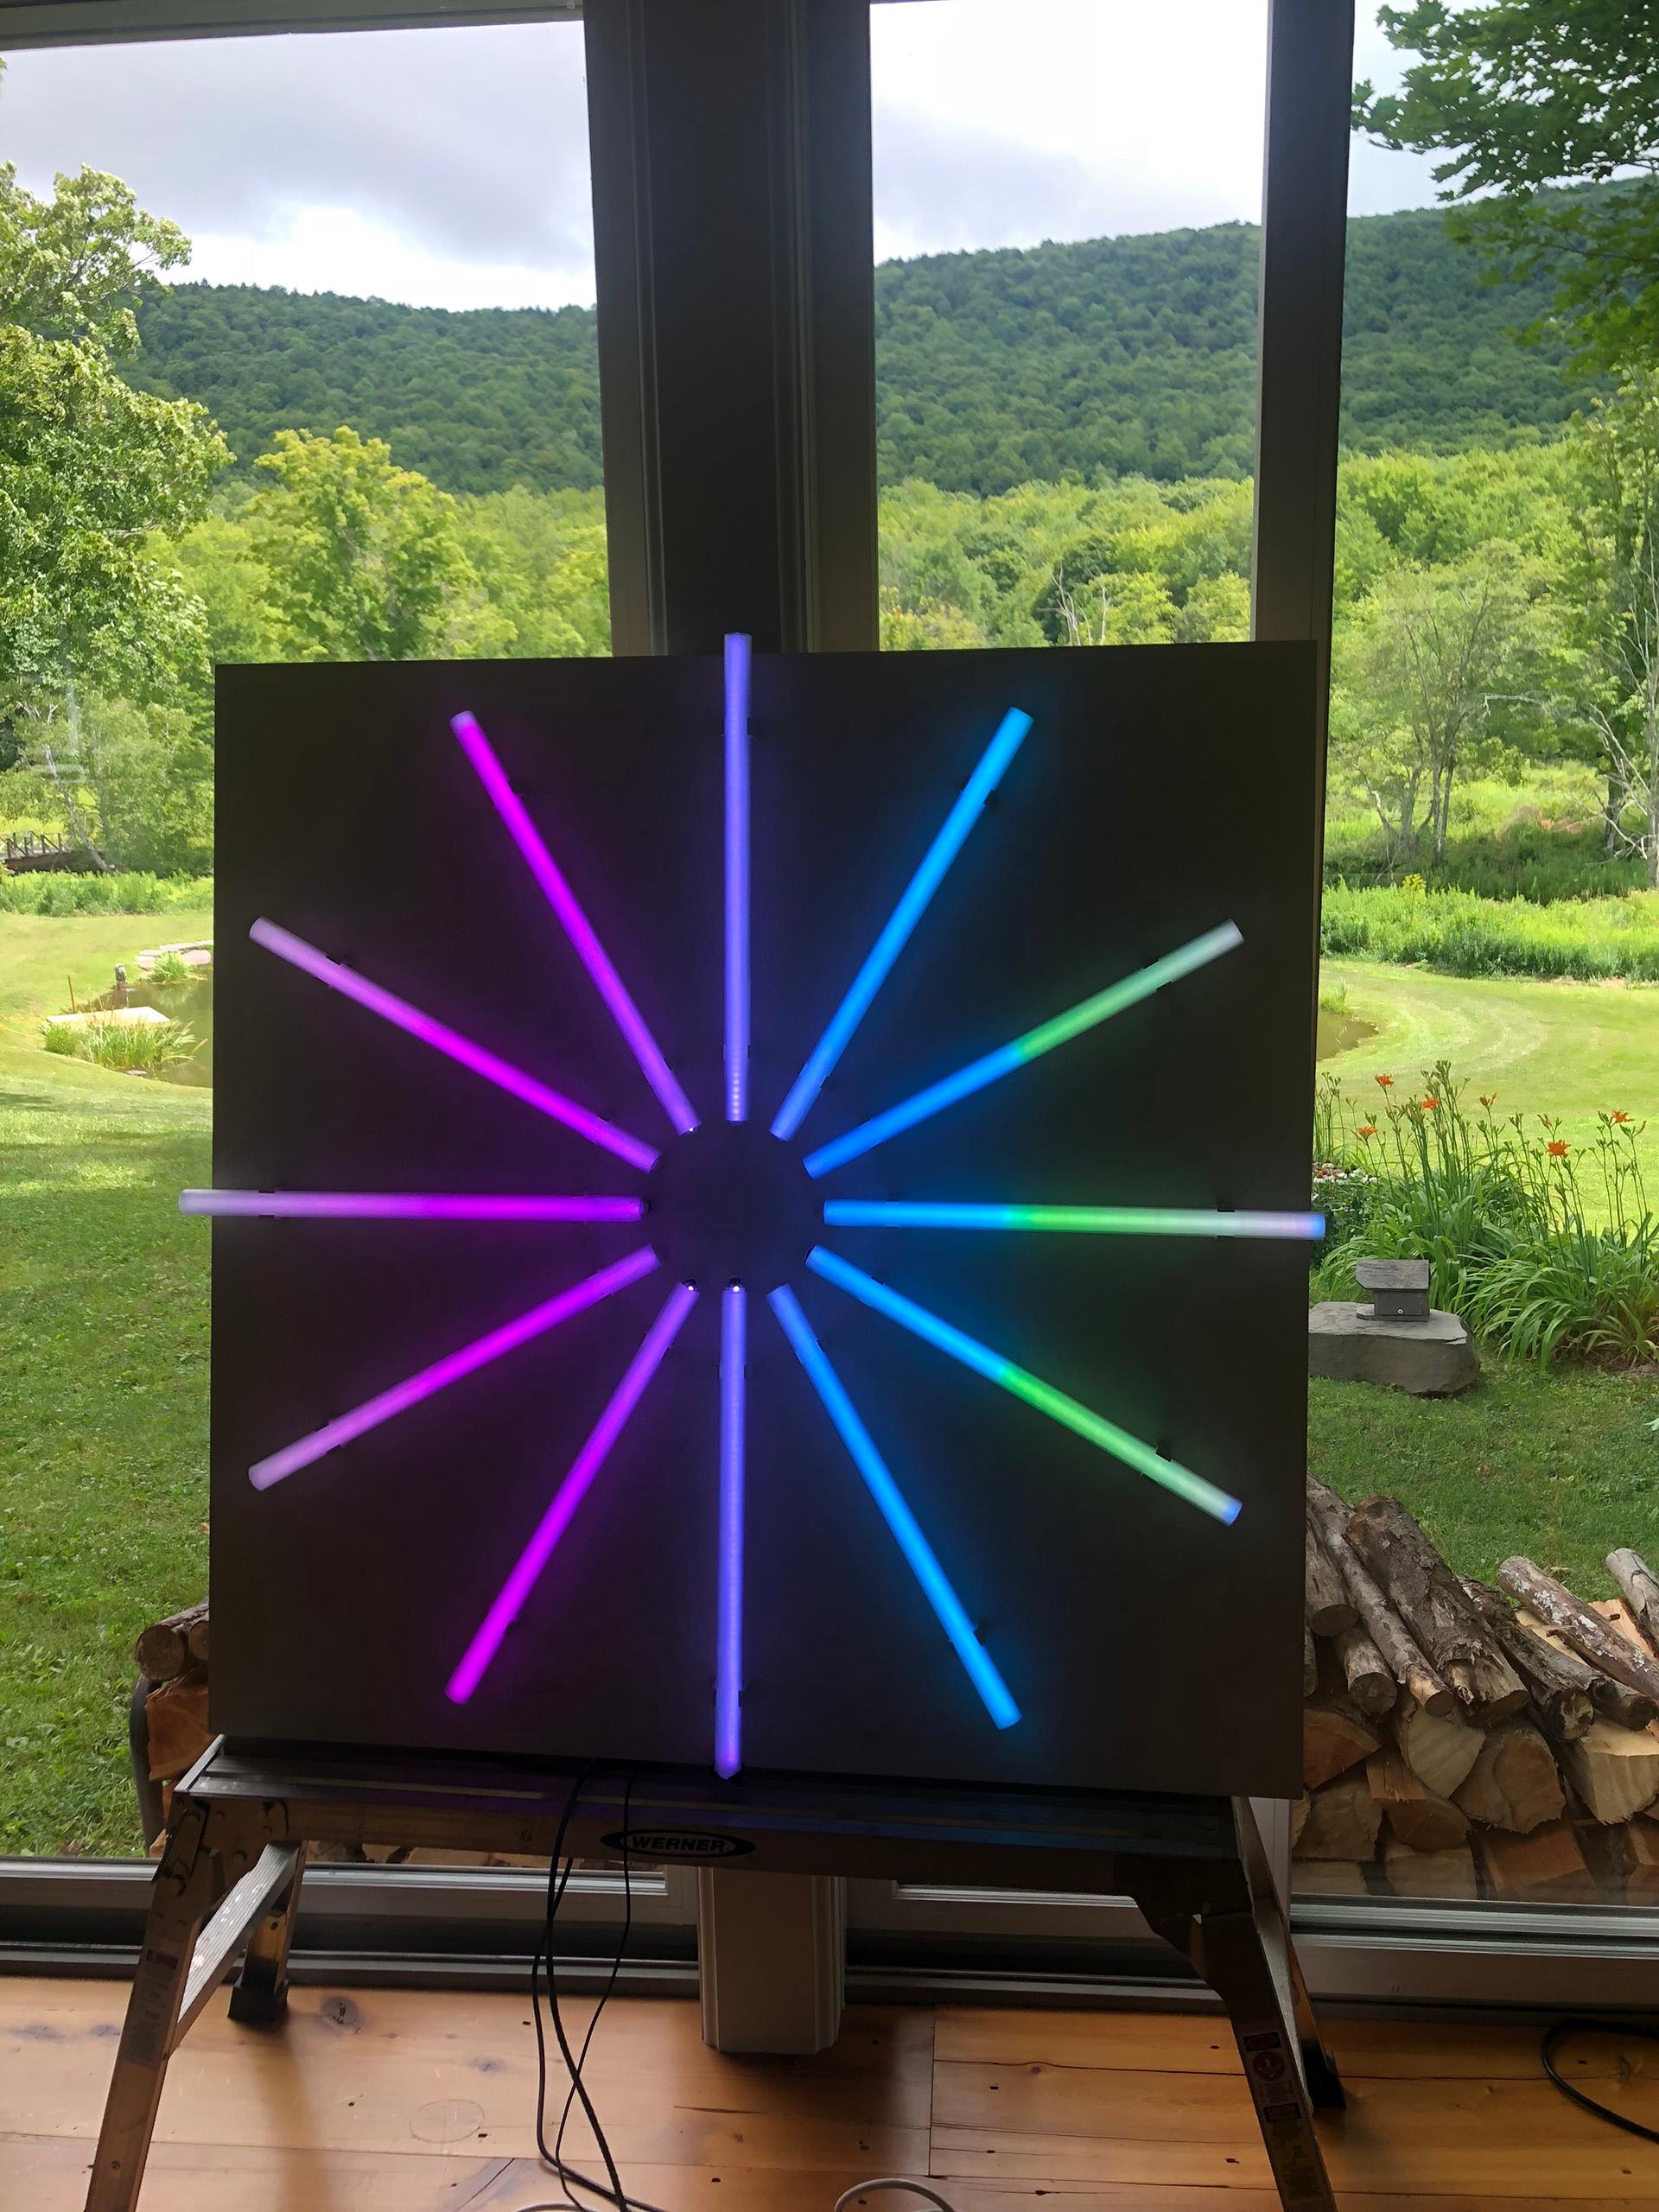
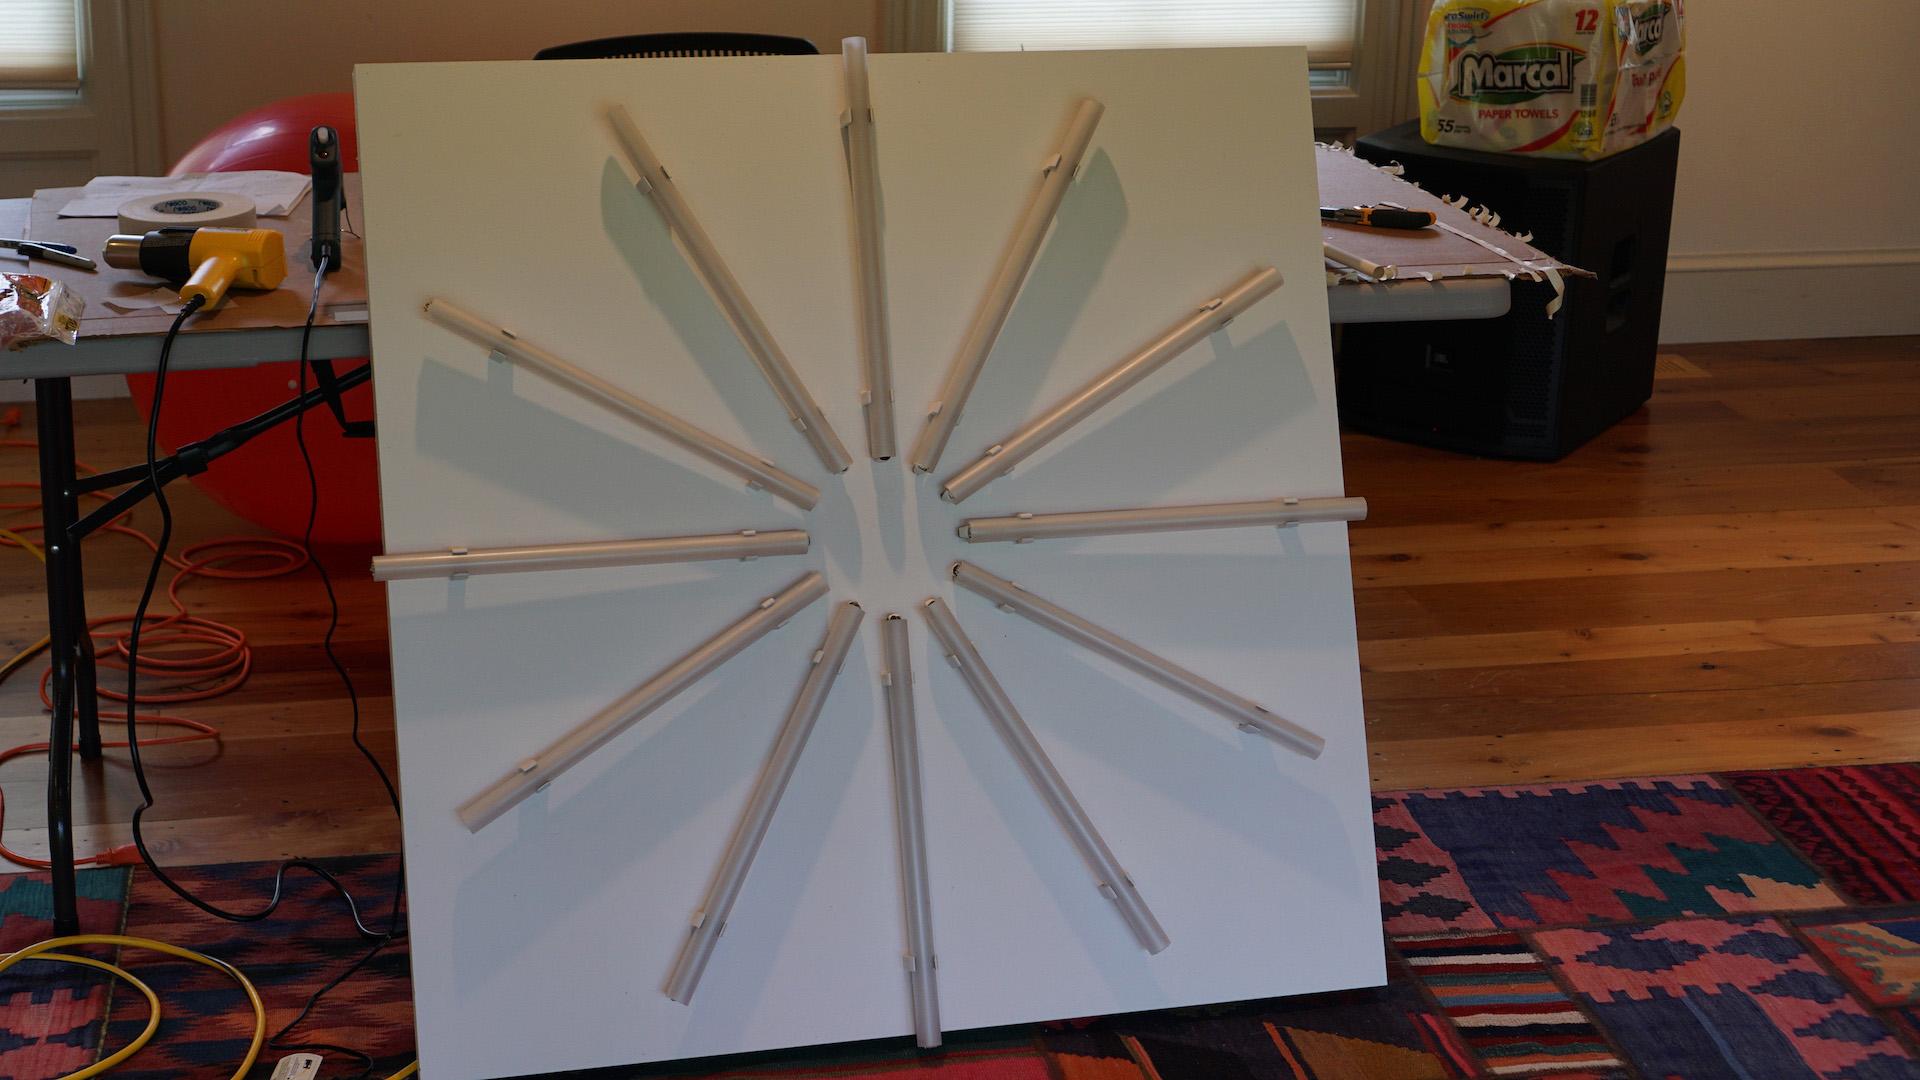
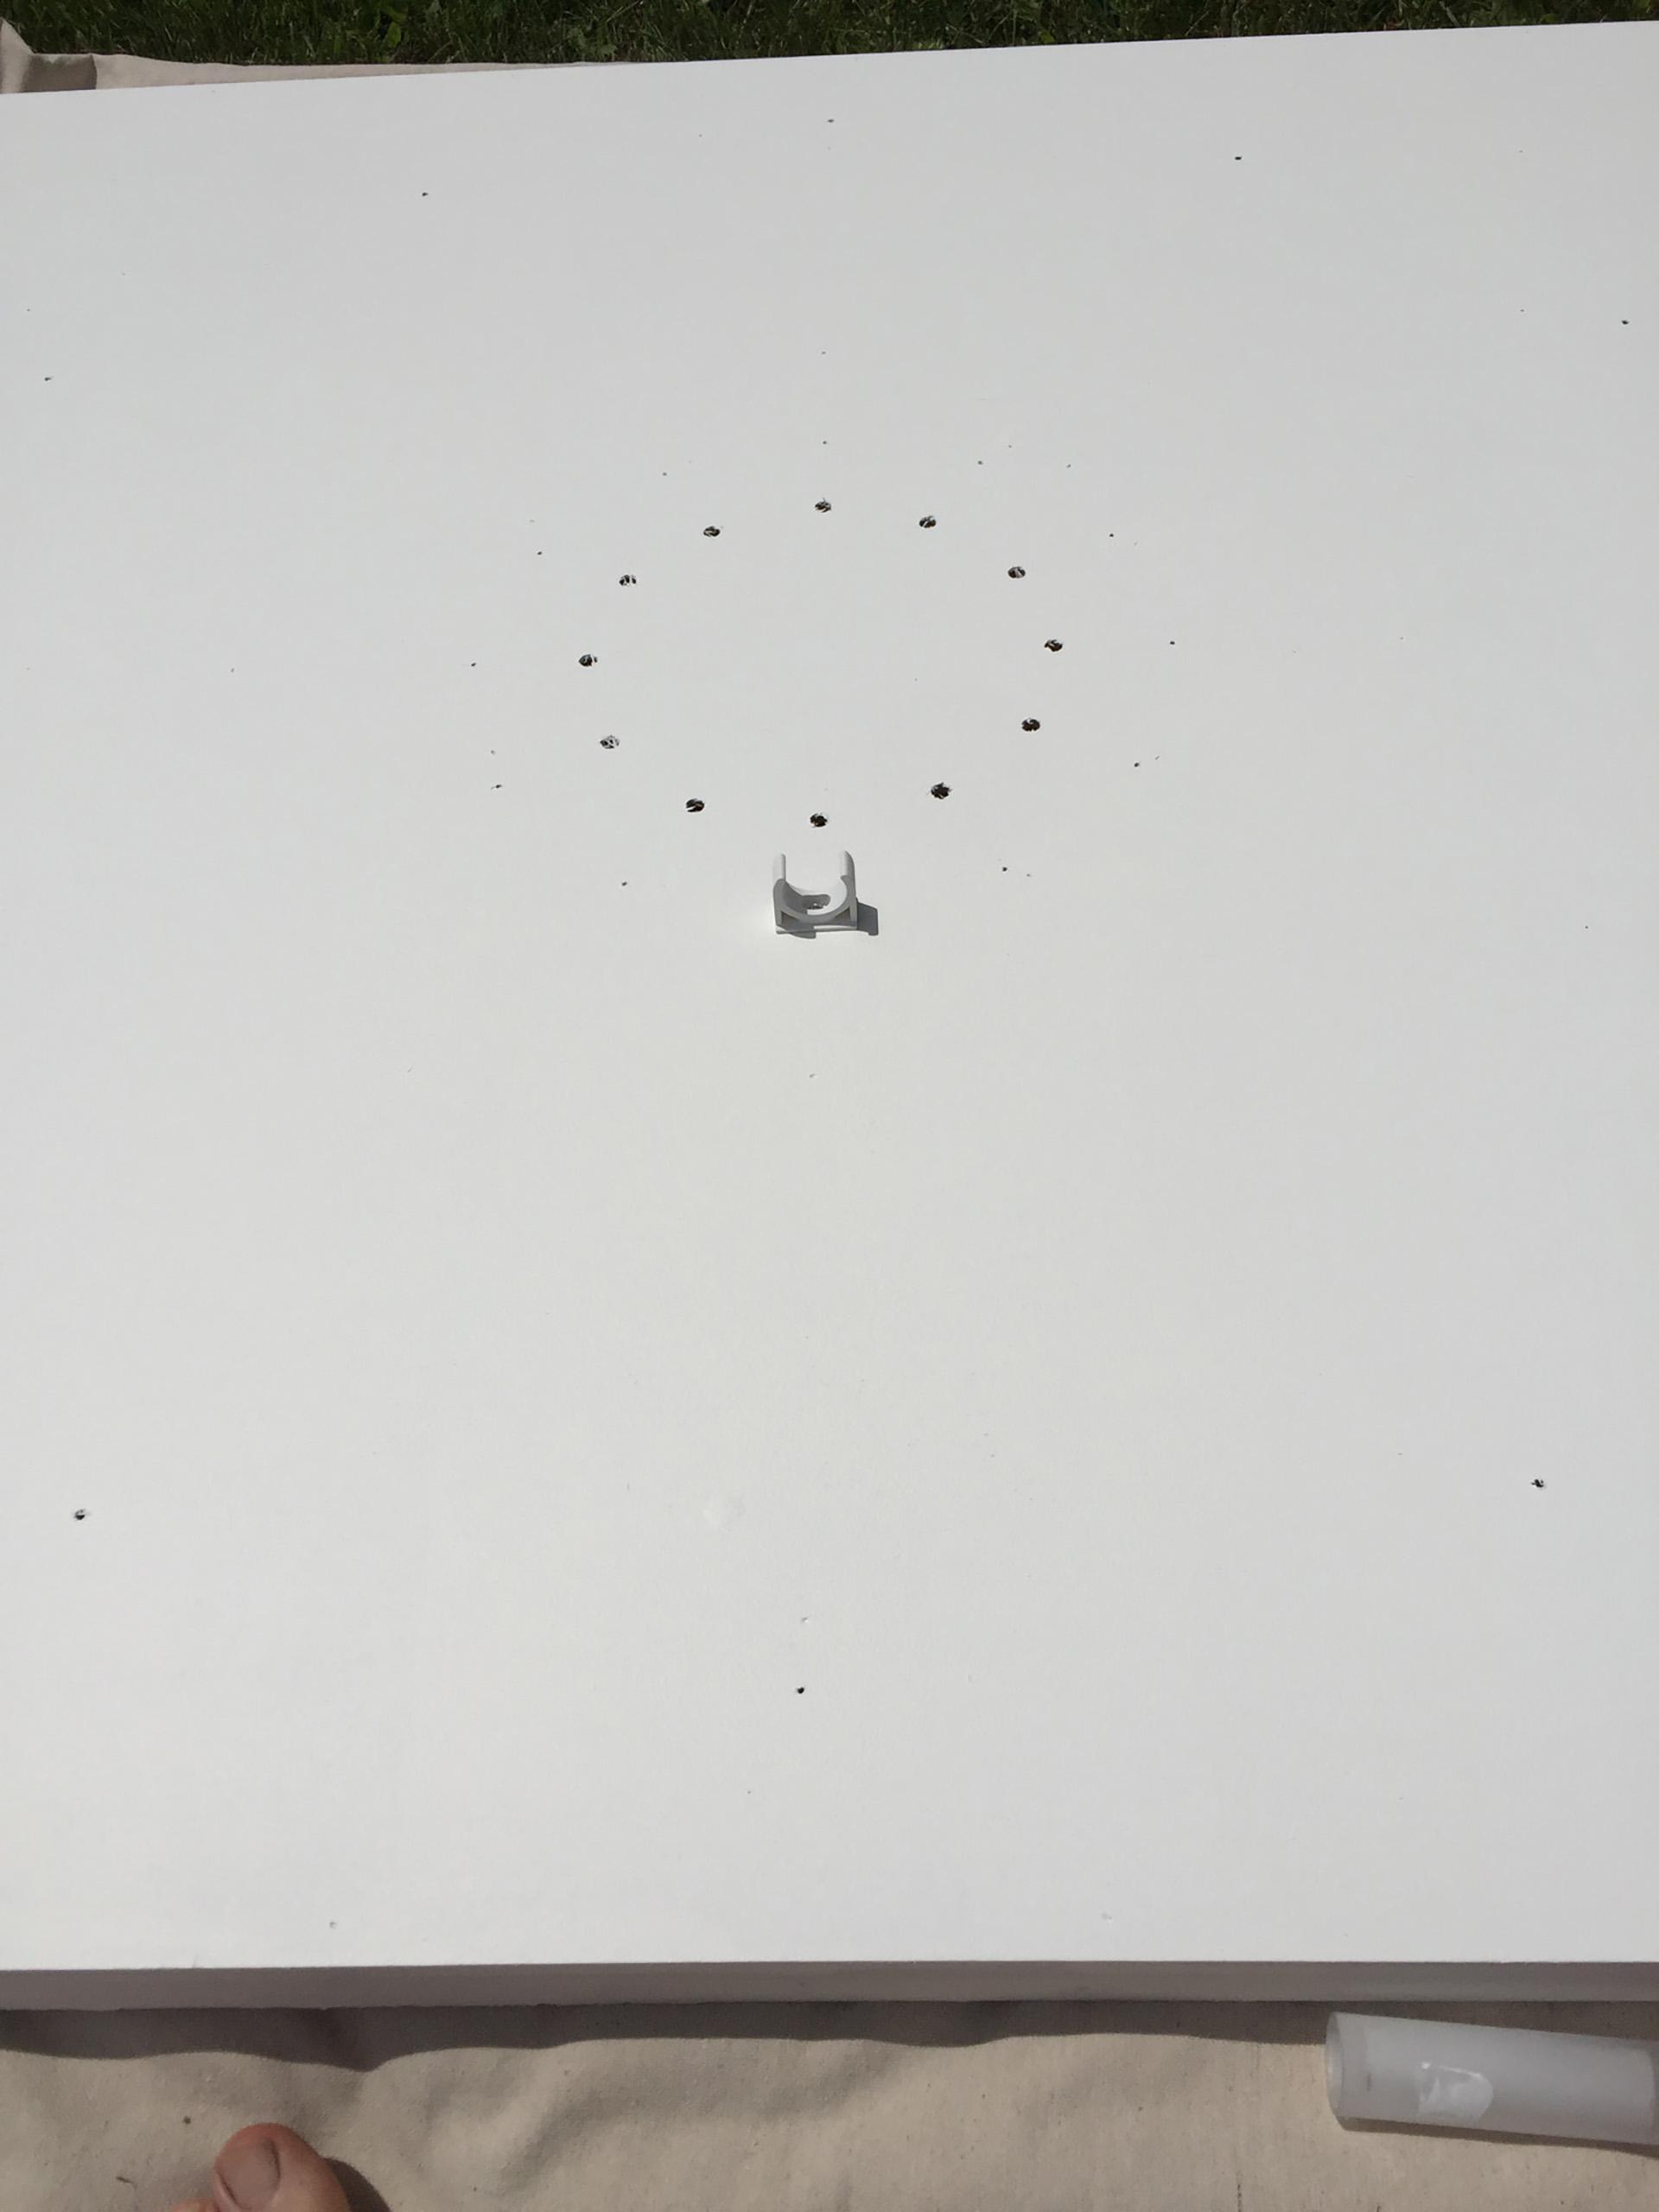
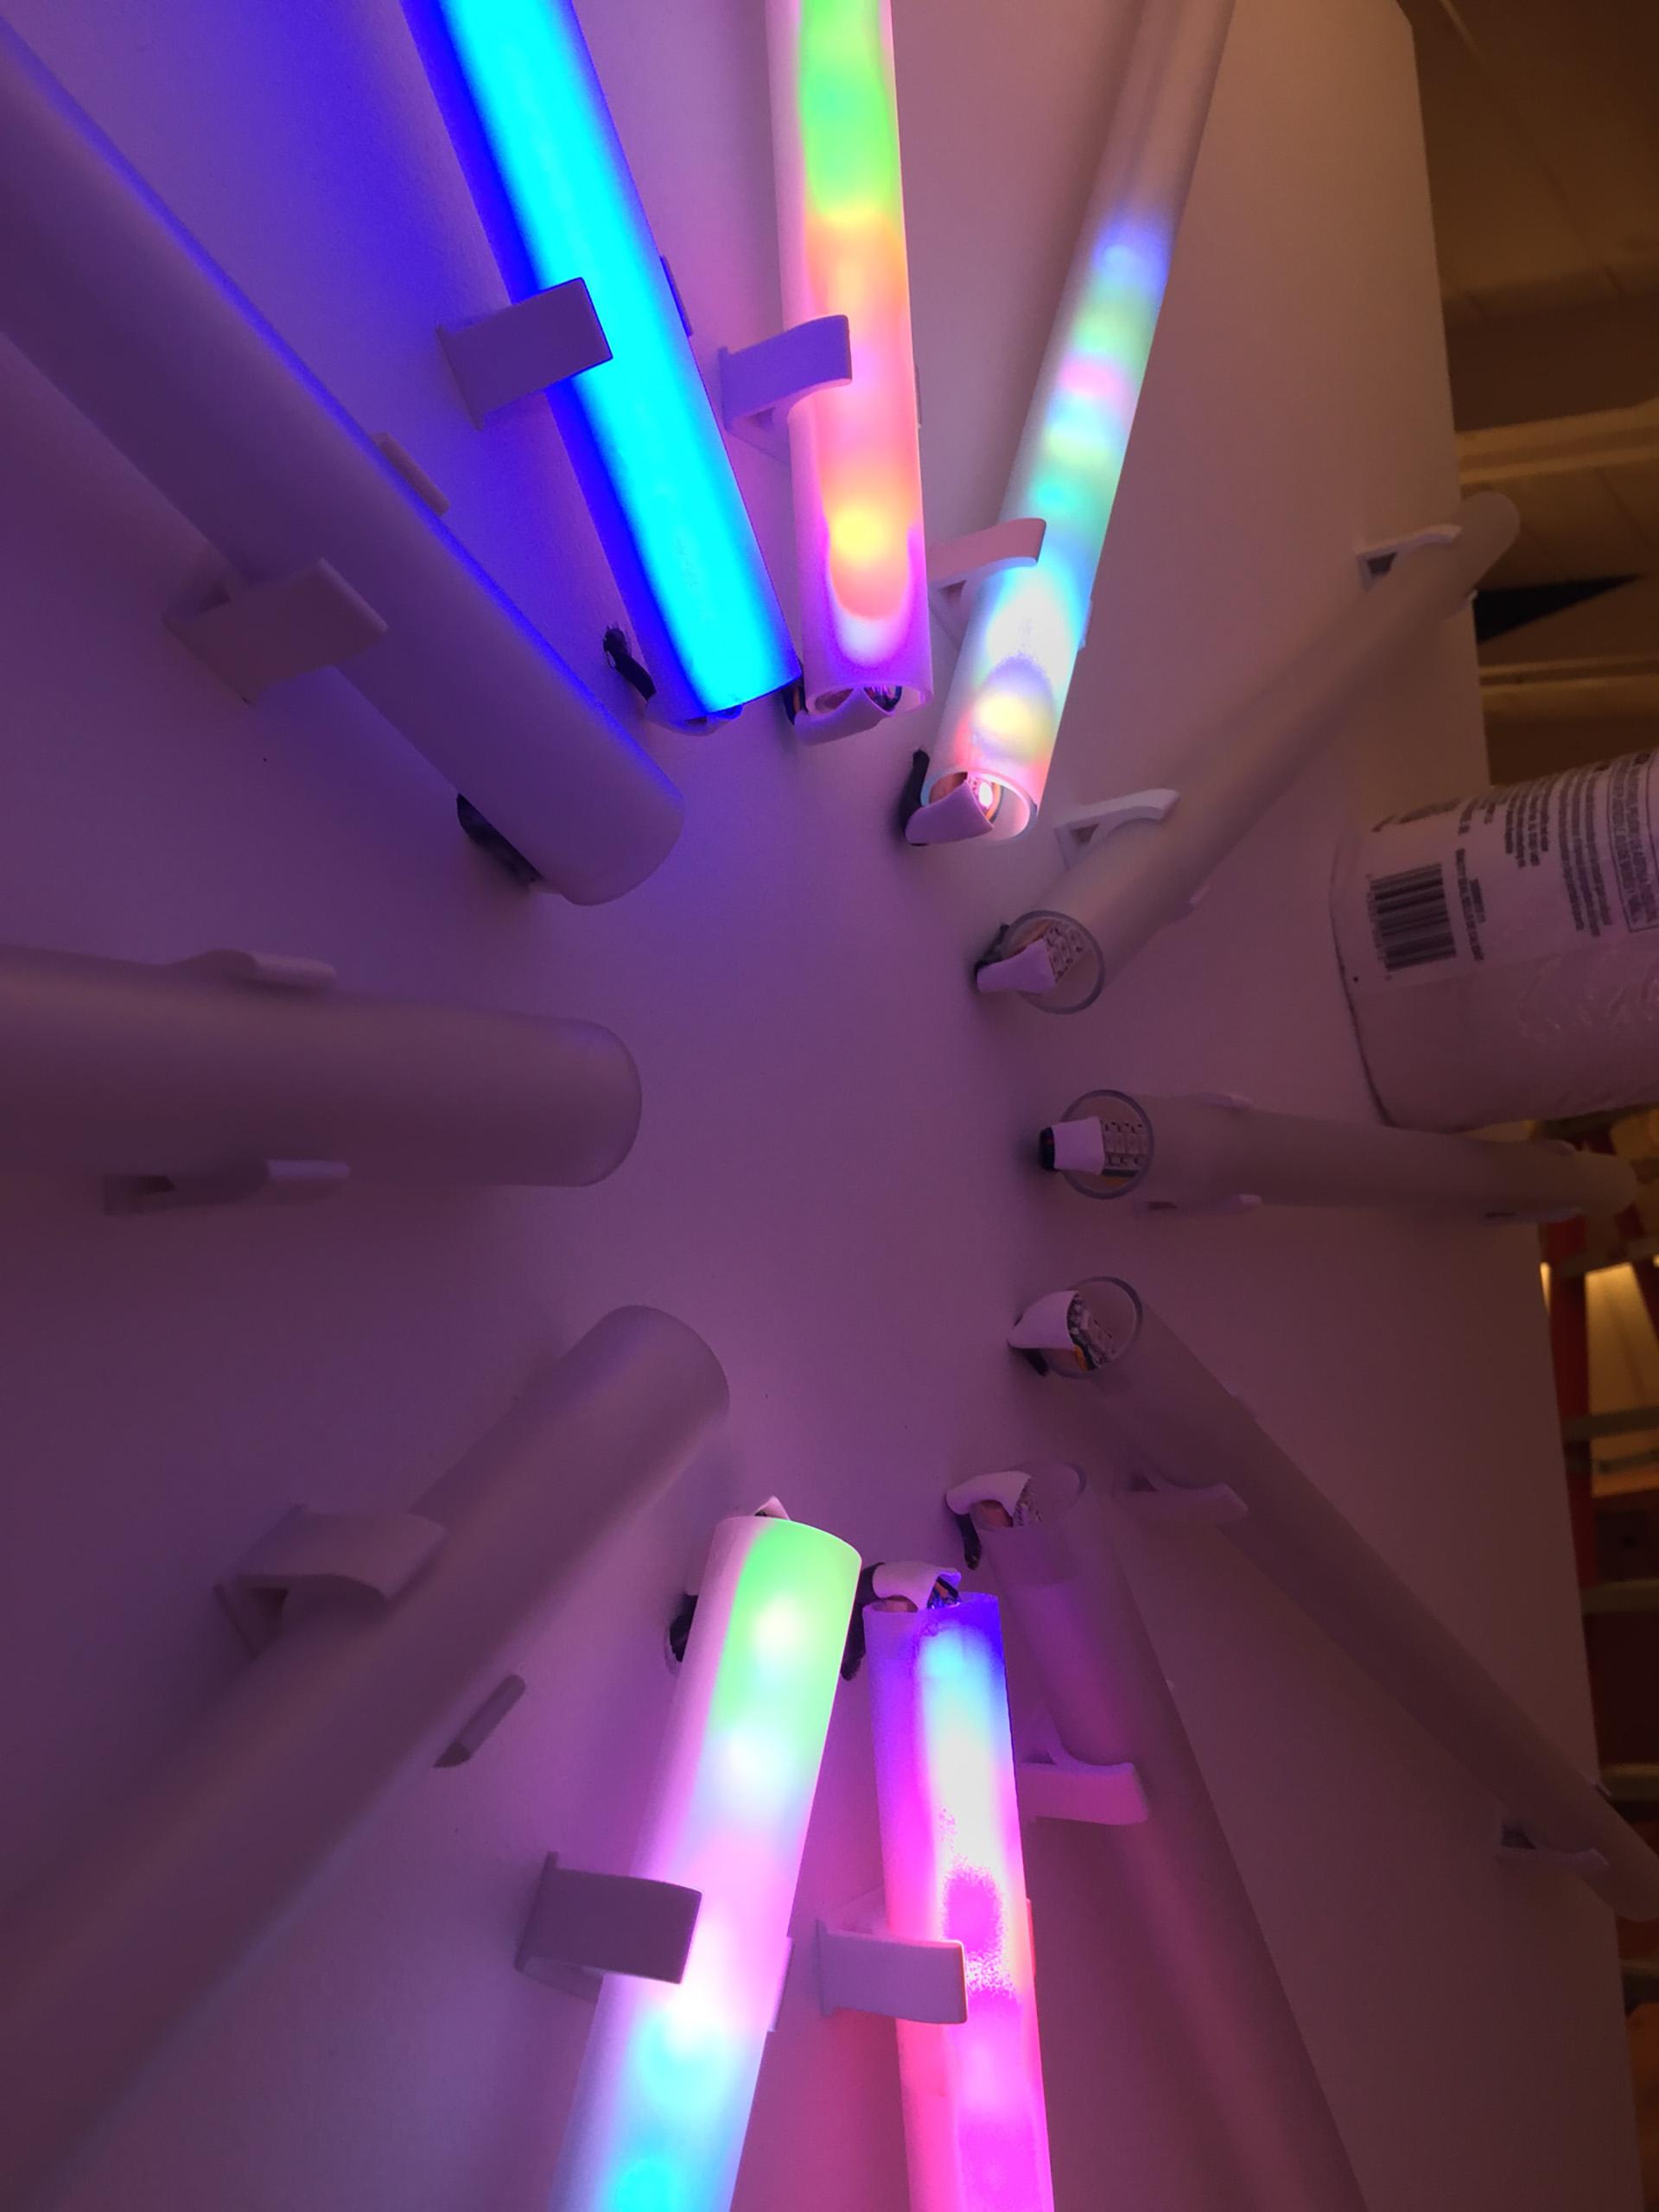
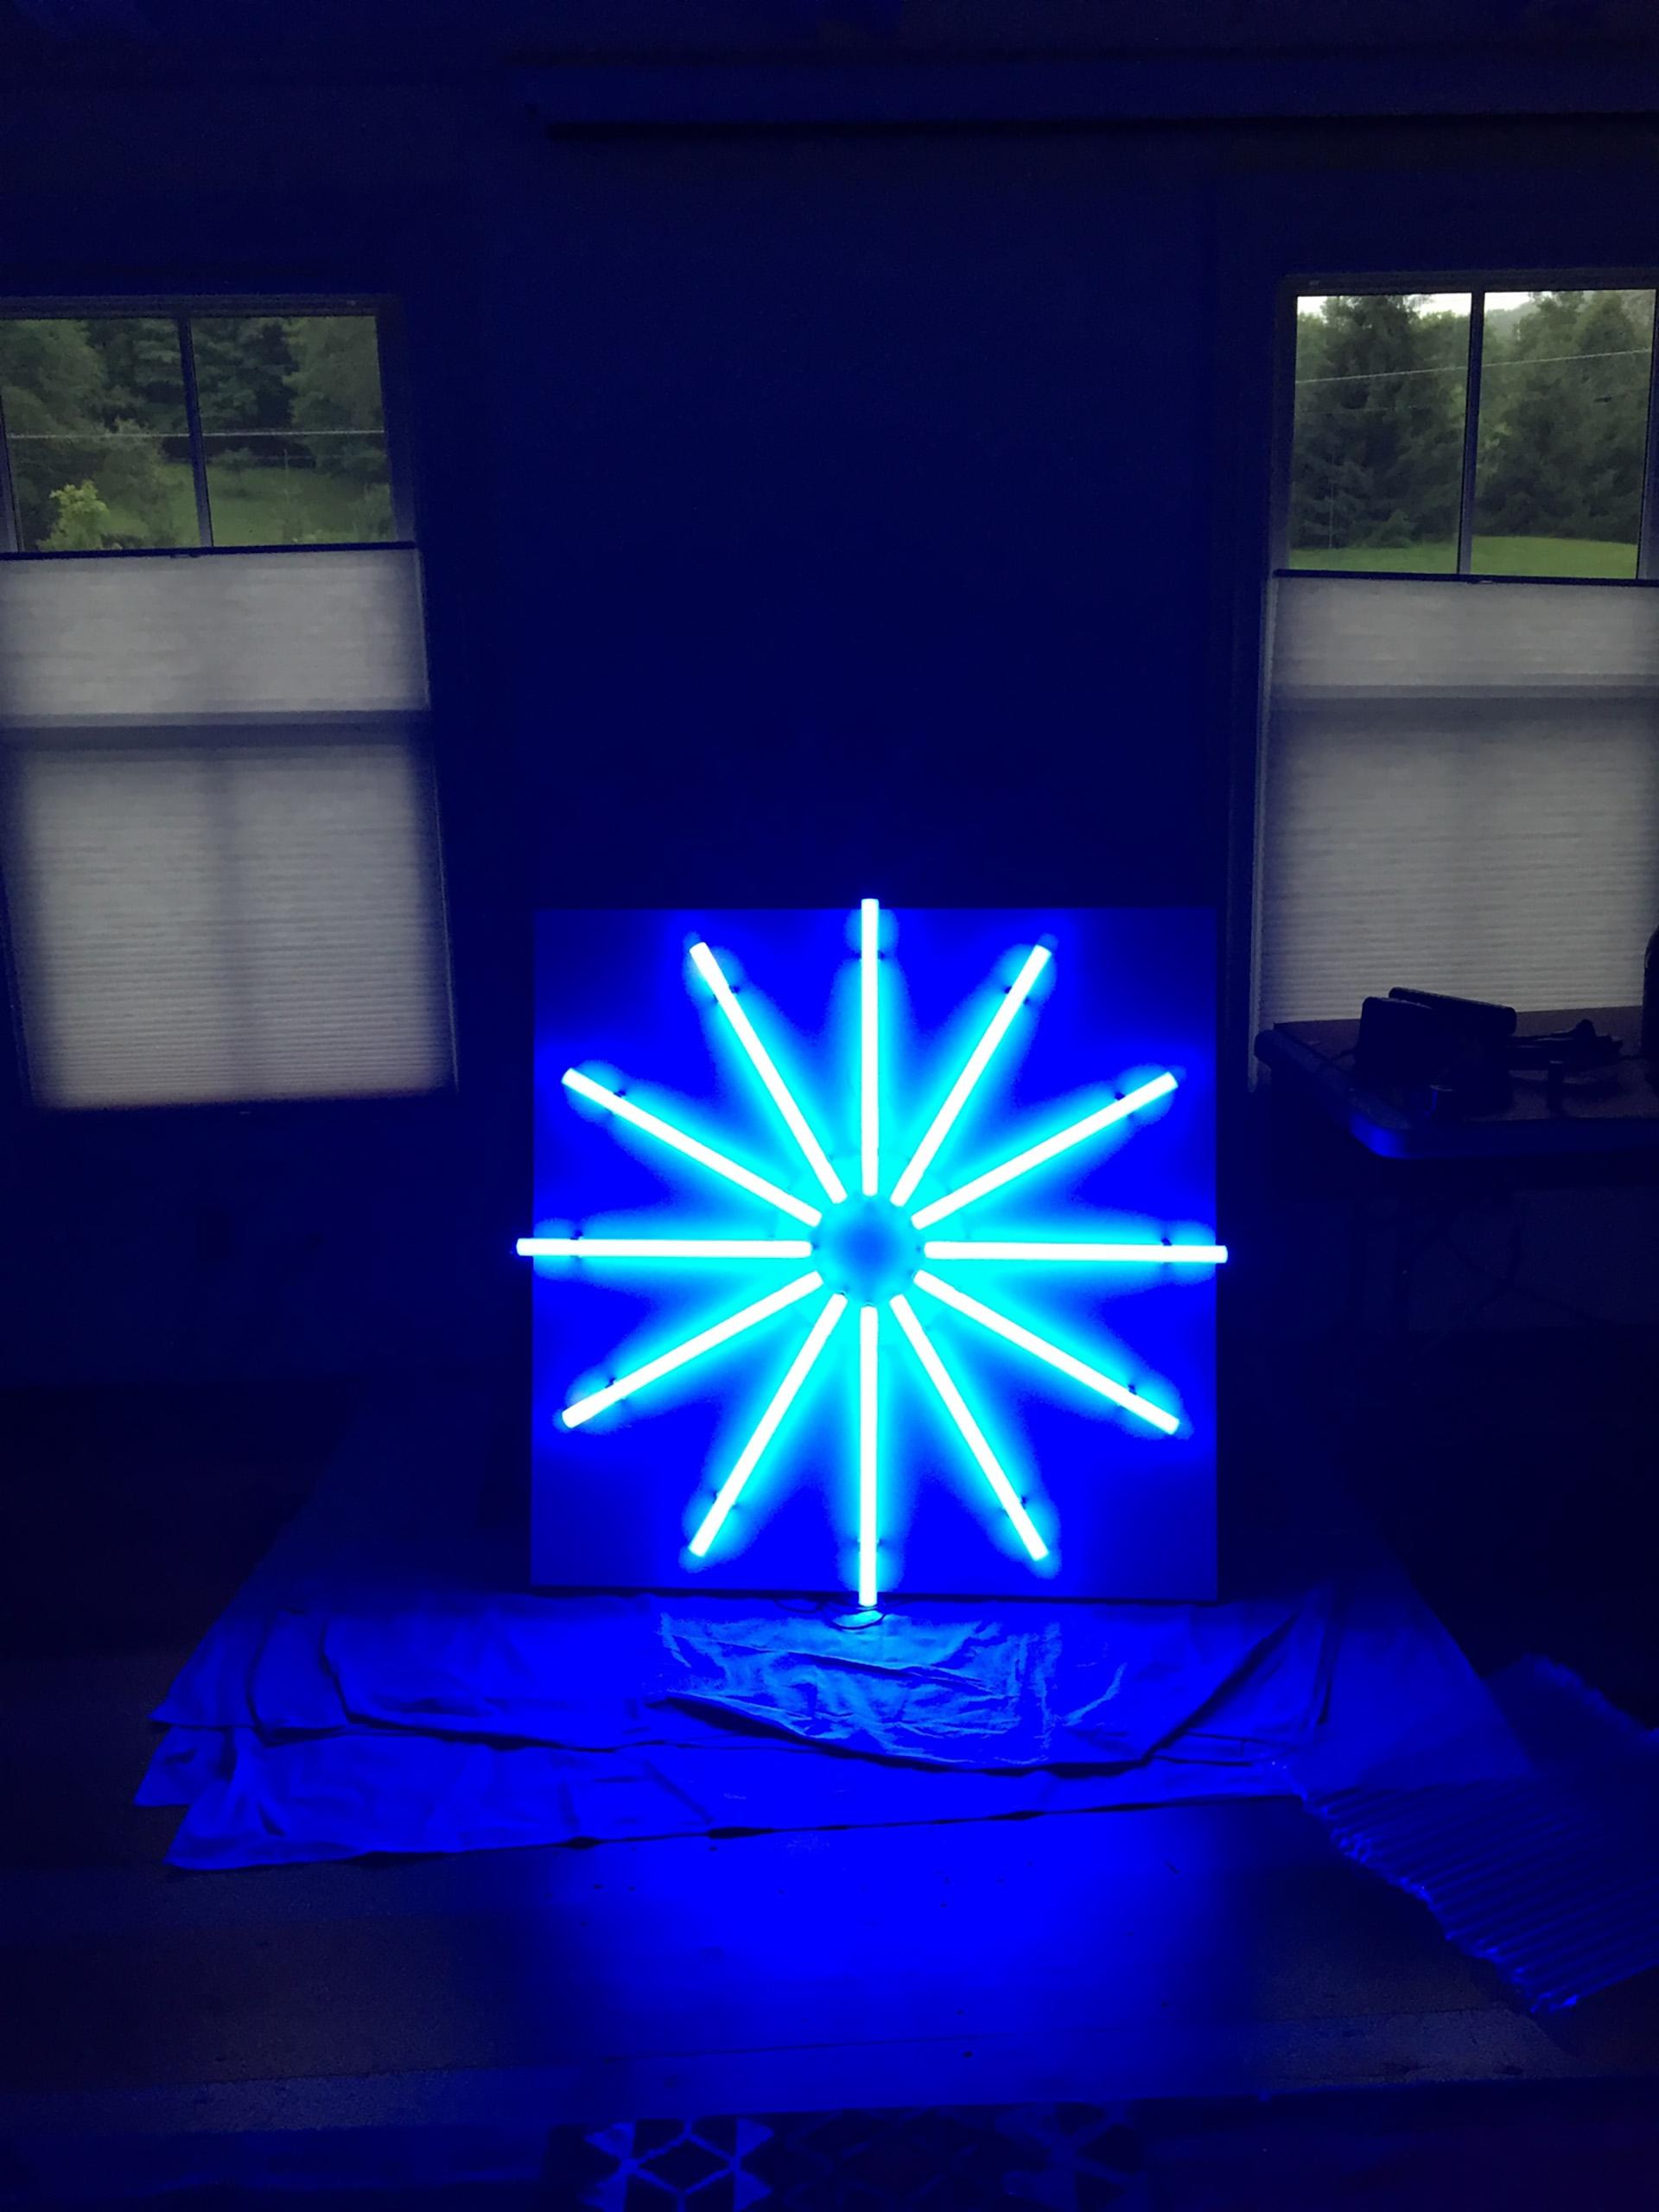
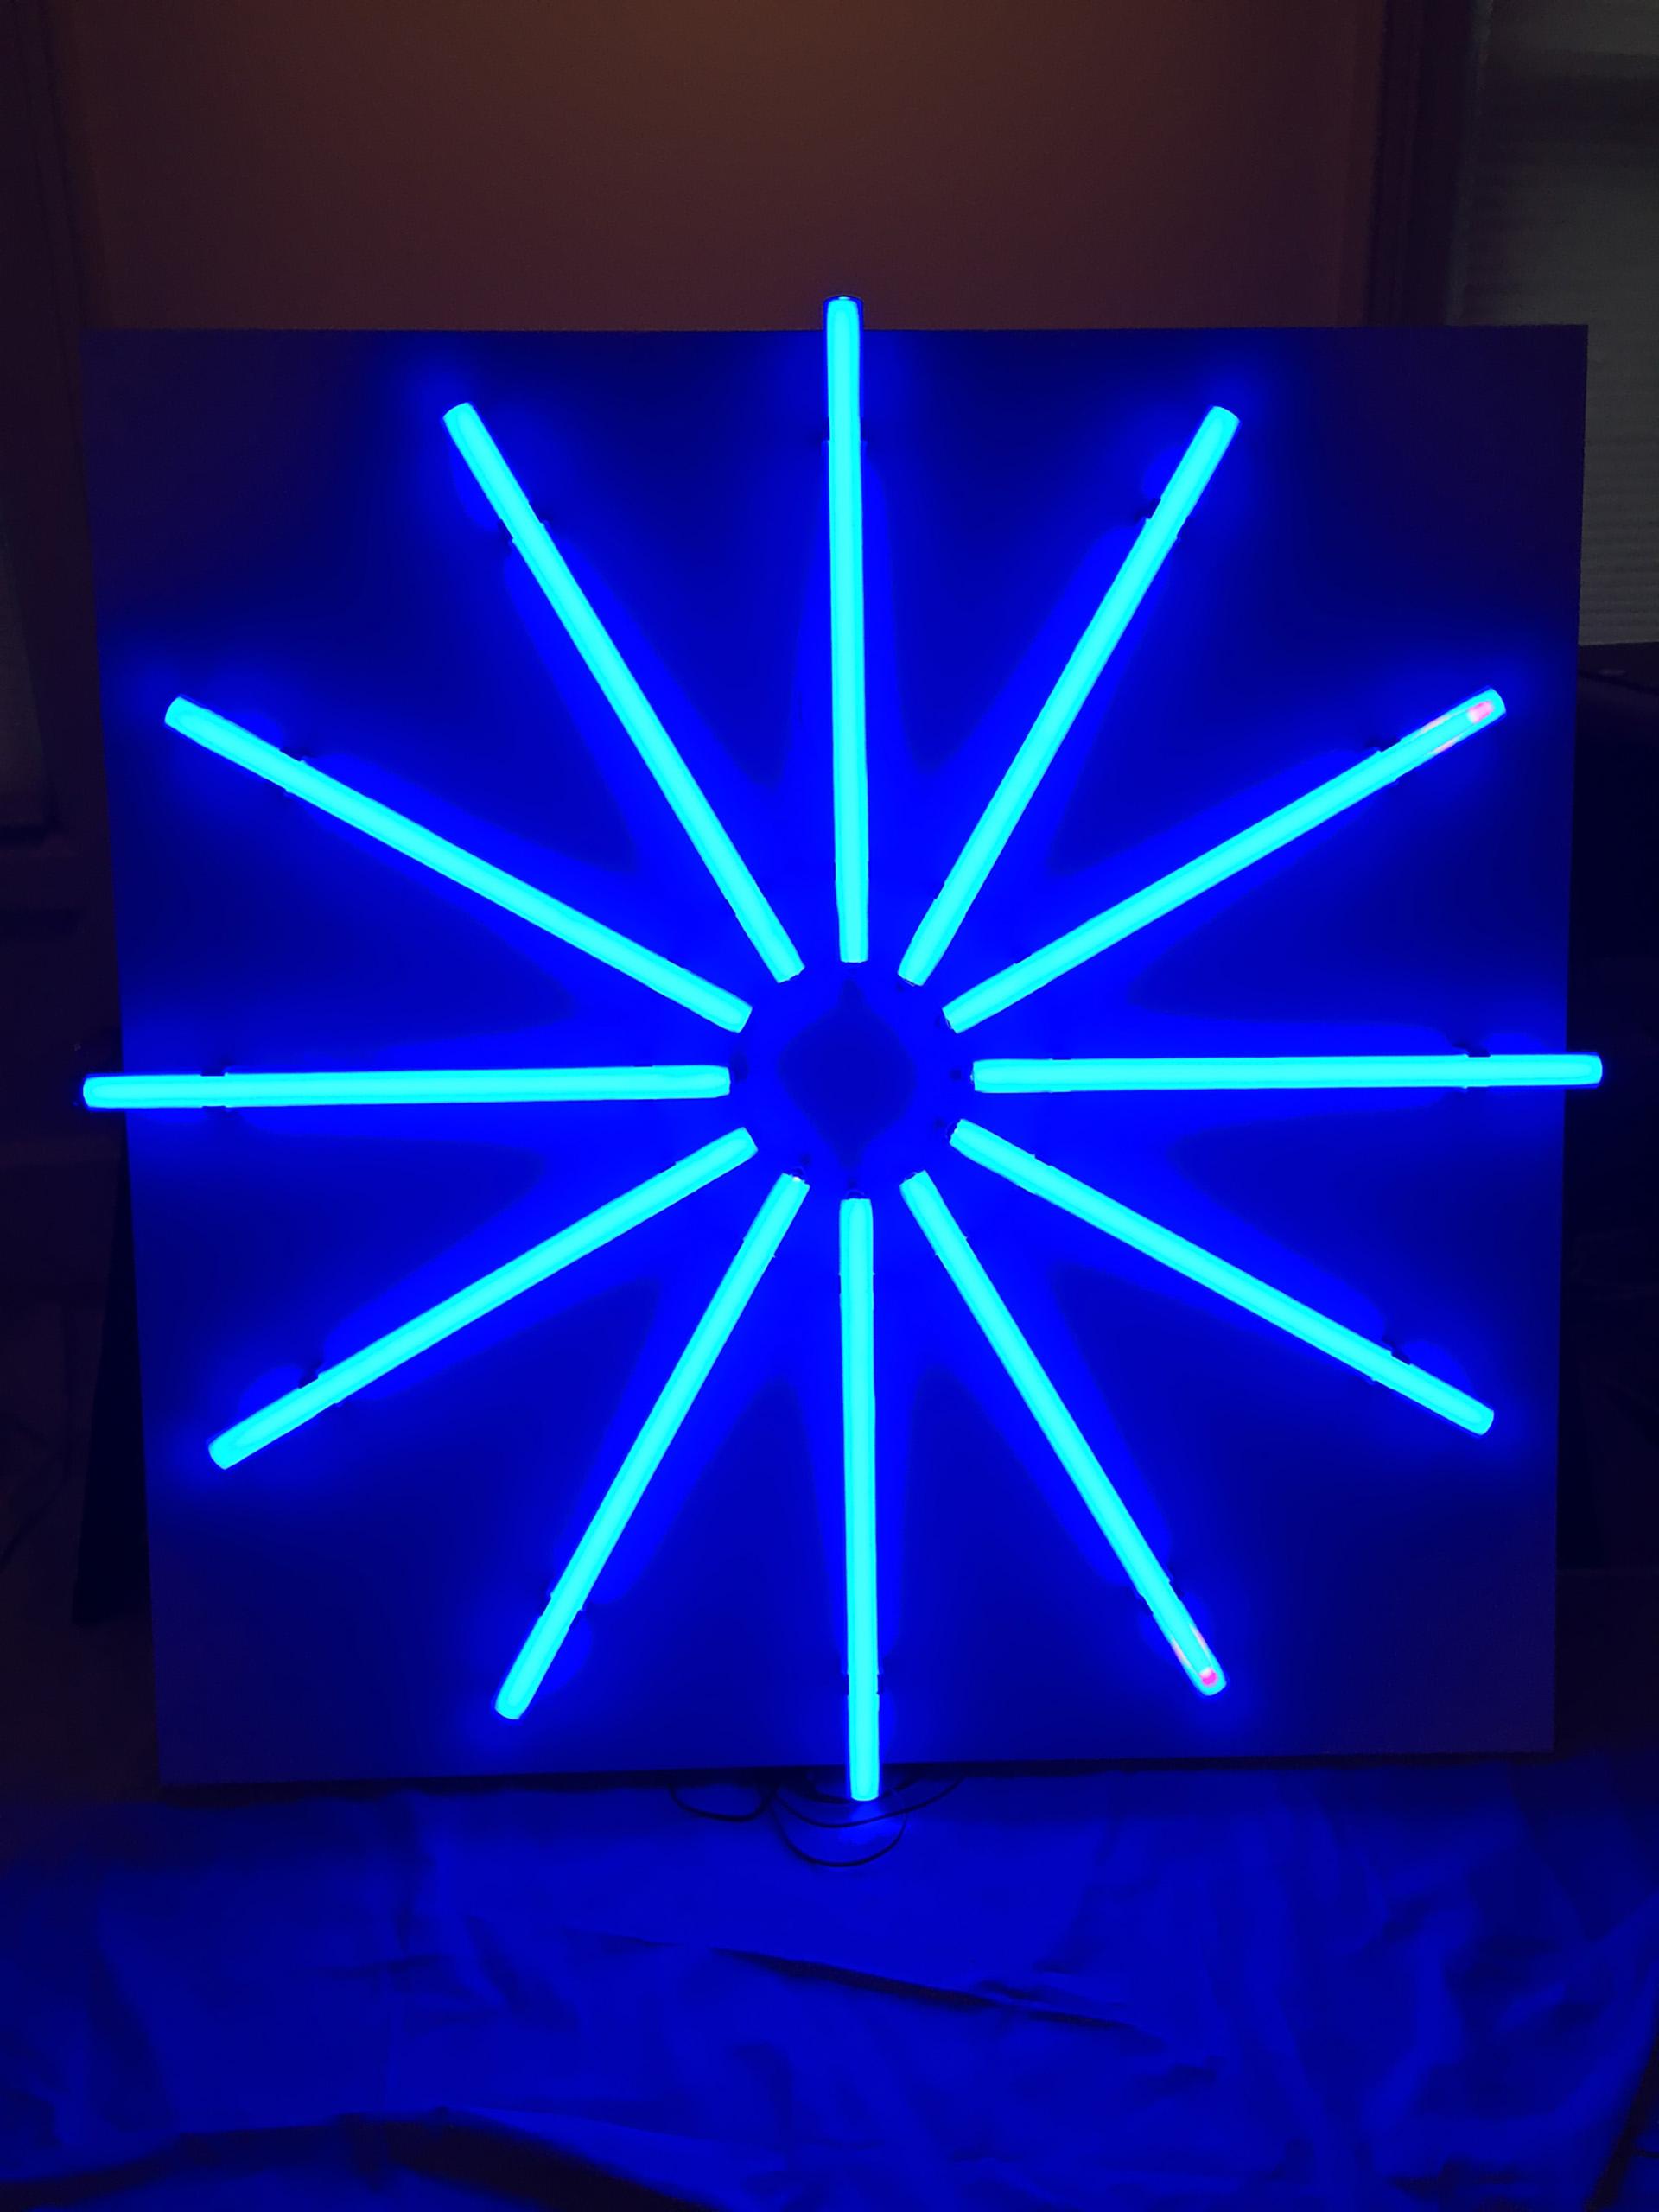
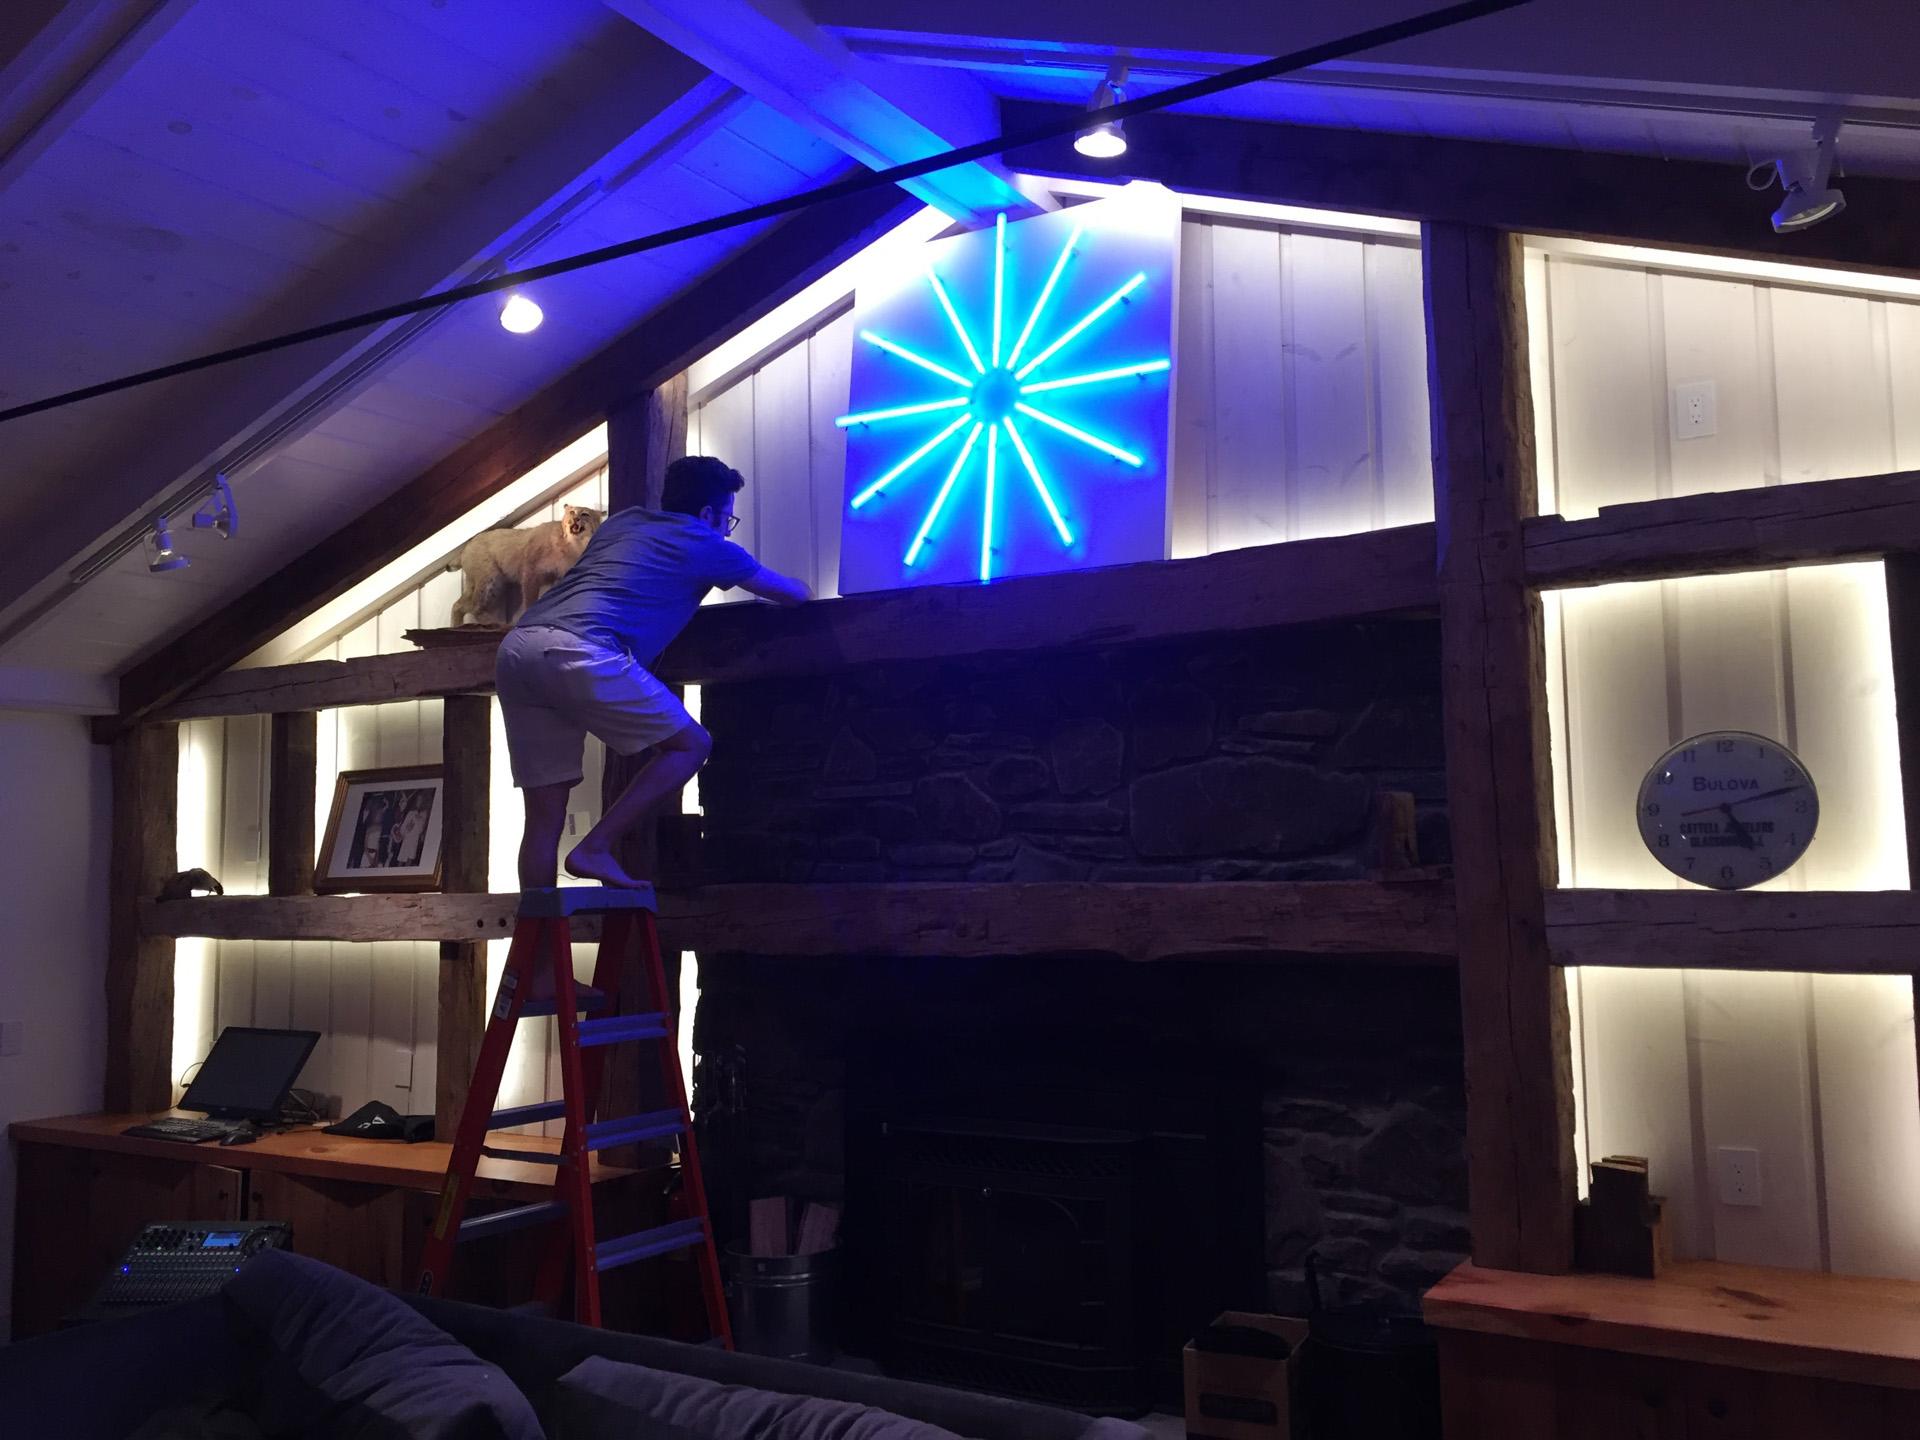
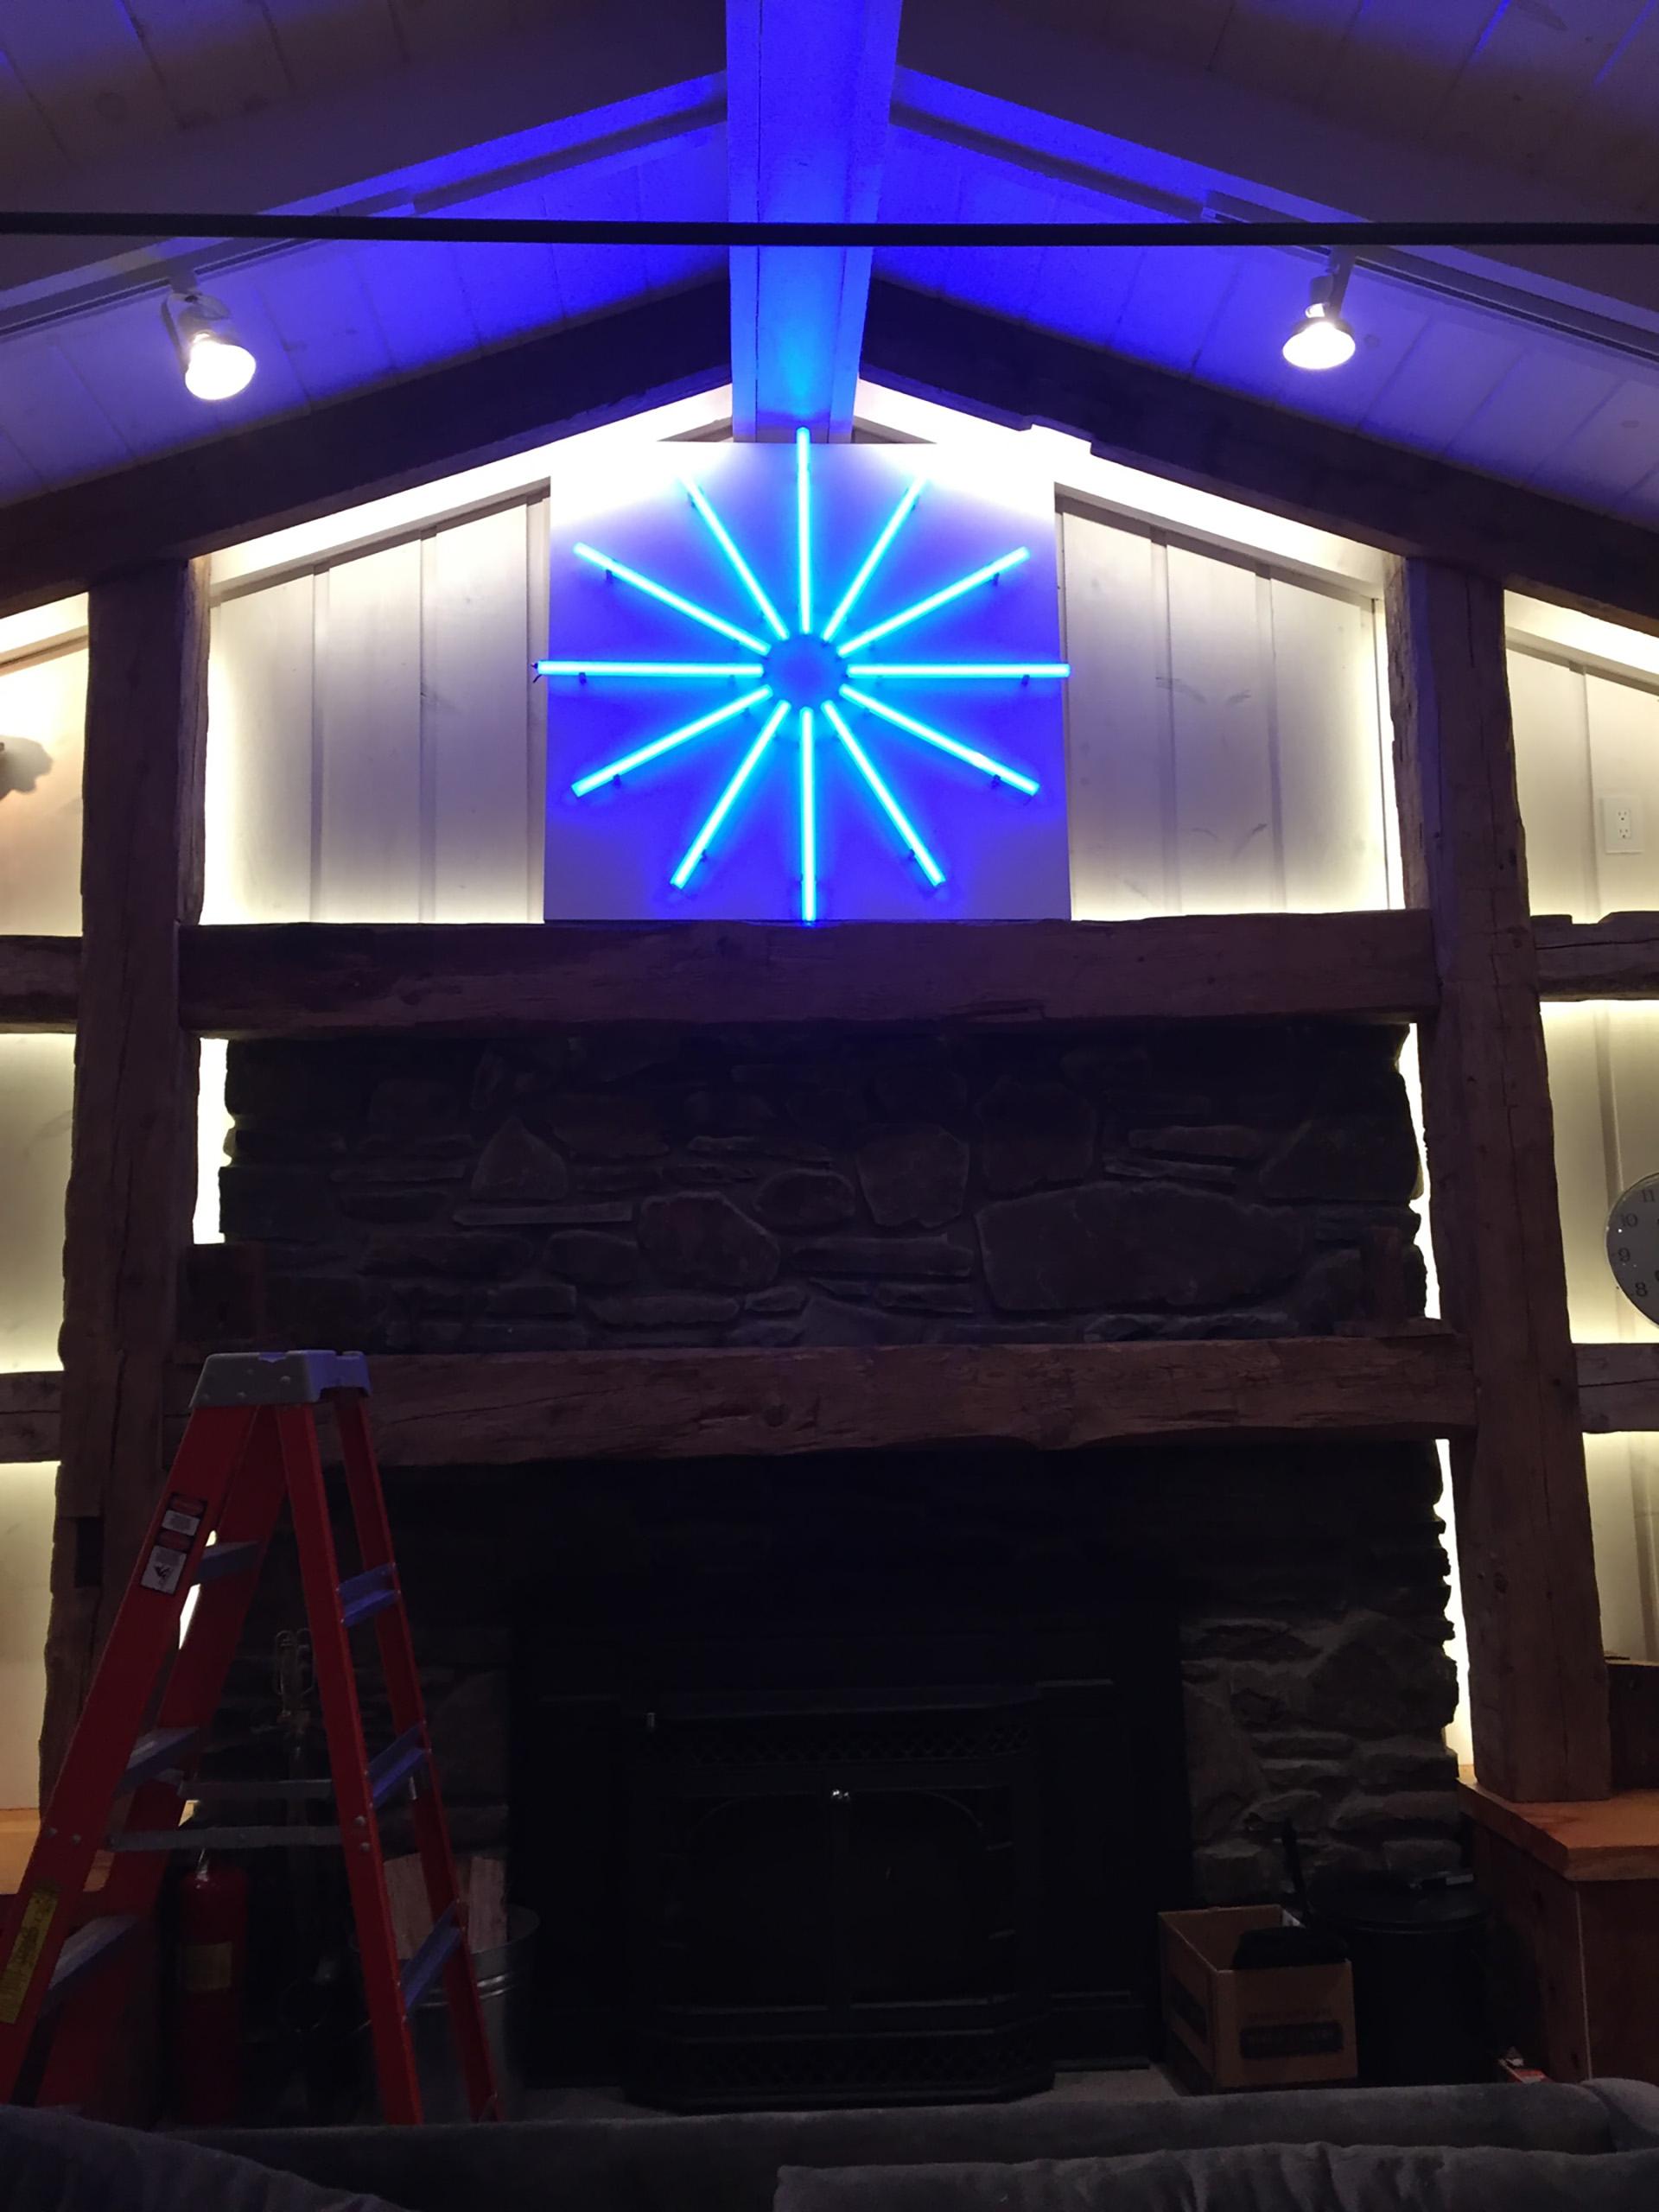
StarPower is an led sculpture consisting of 12 frosted tubes placed precisely in a circle and high frame-rate addressable leds allowing for smooth animations projected onto a circle.
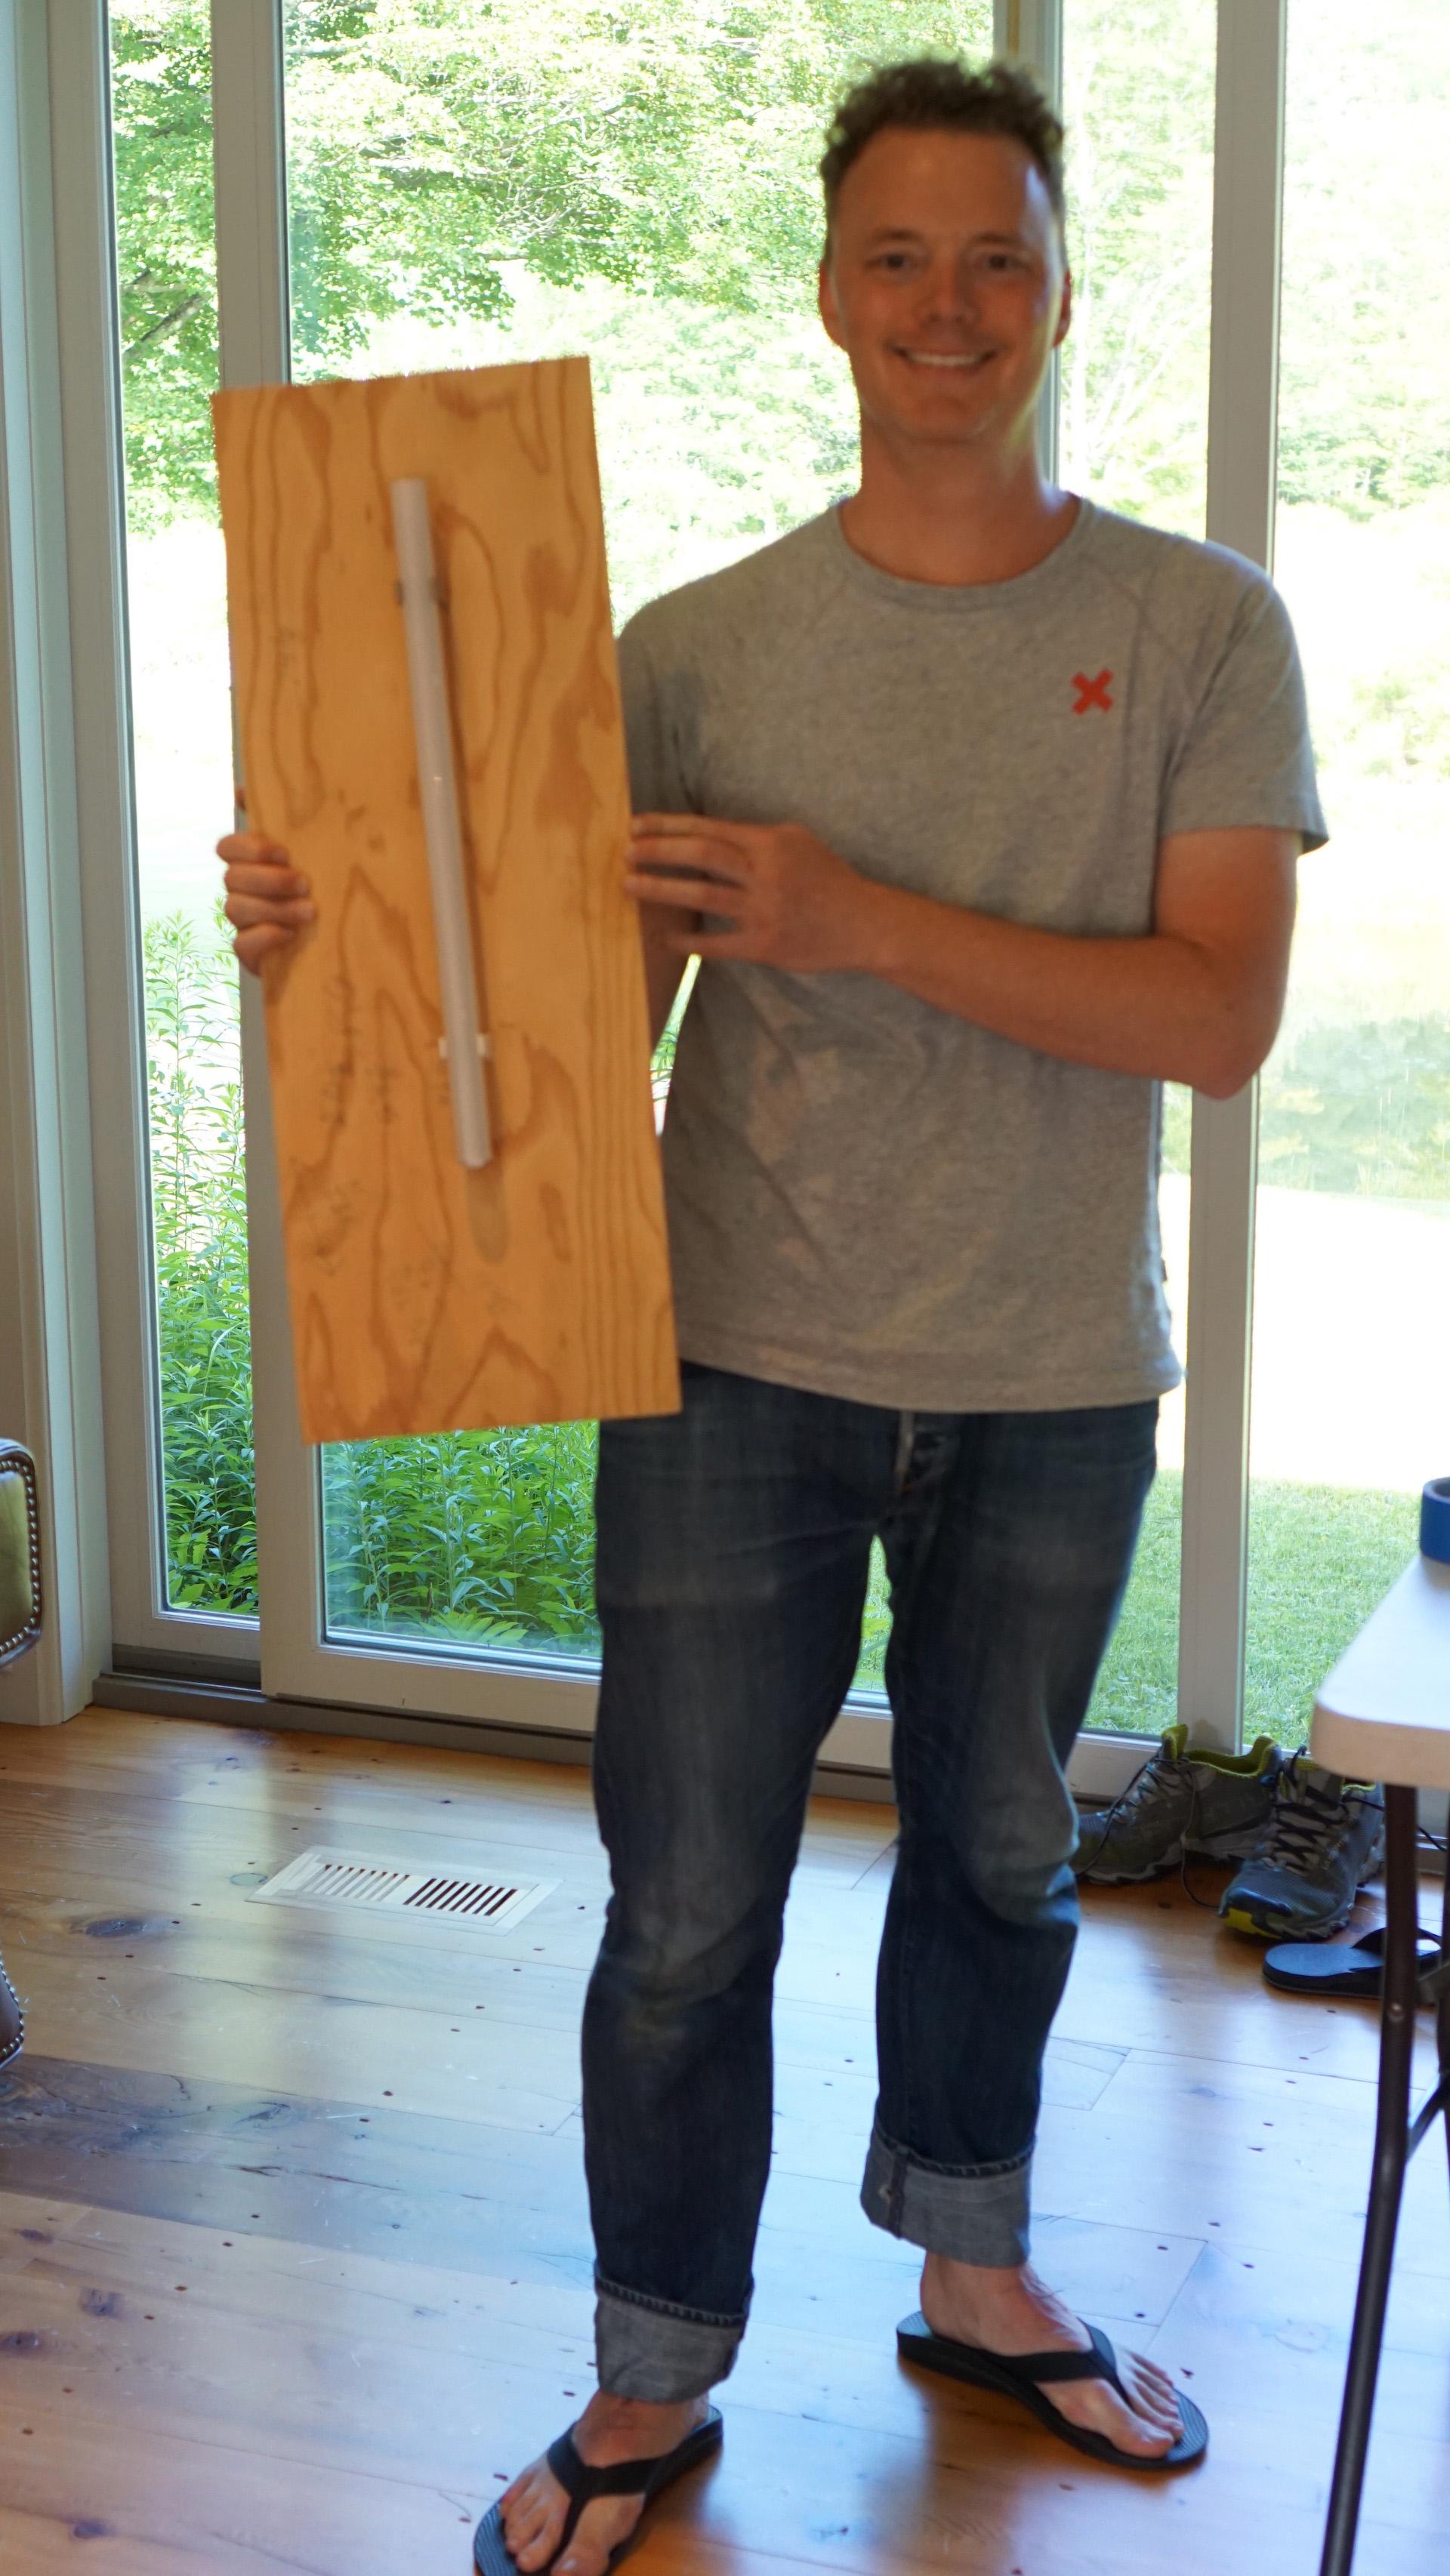
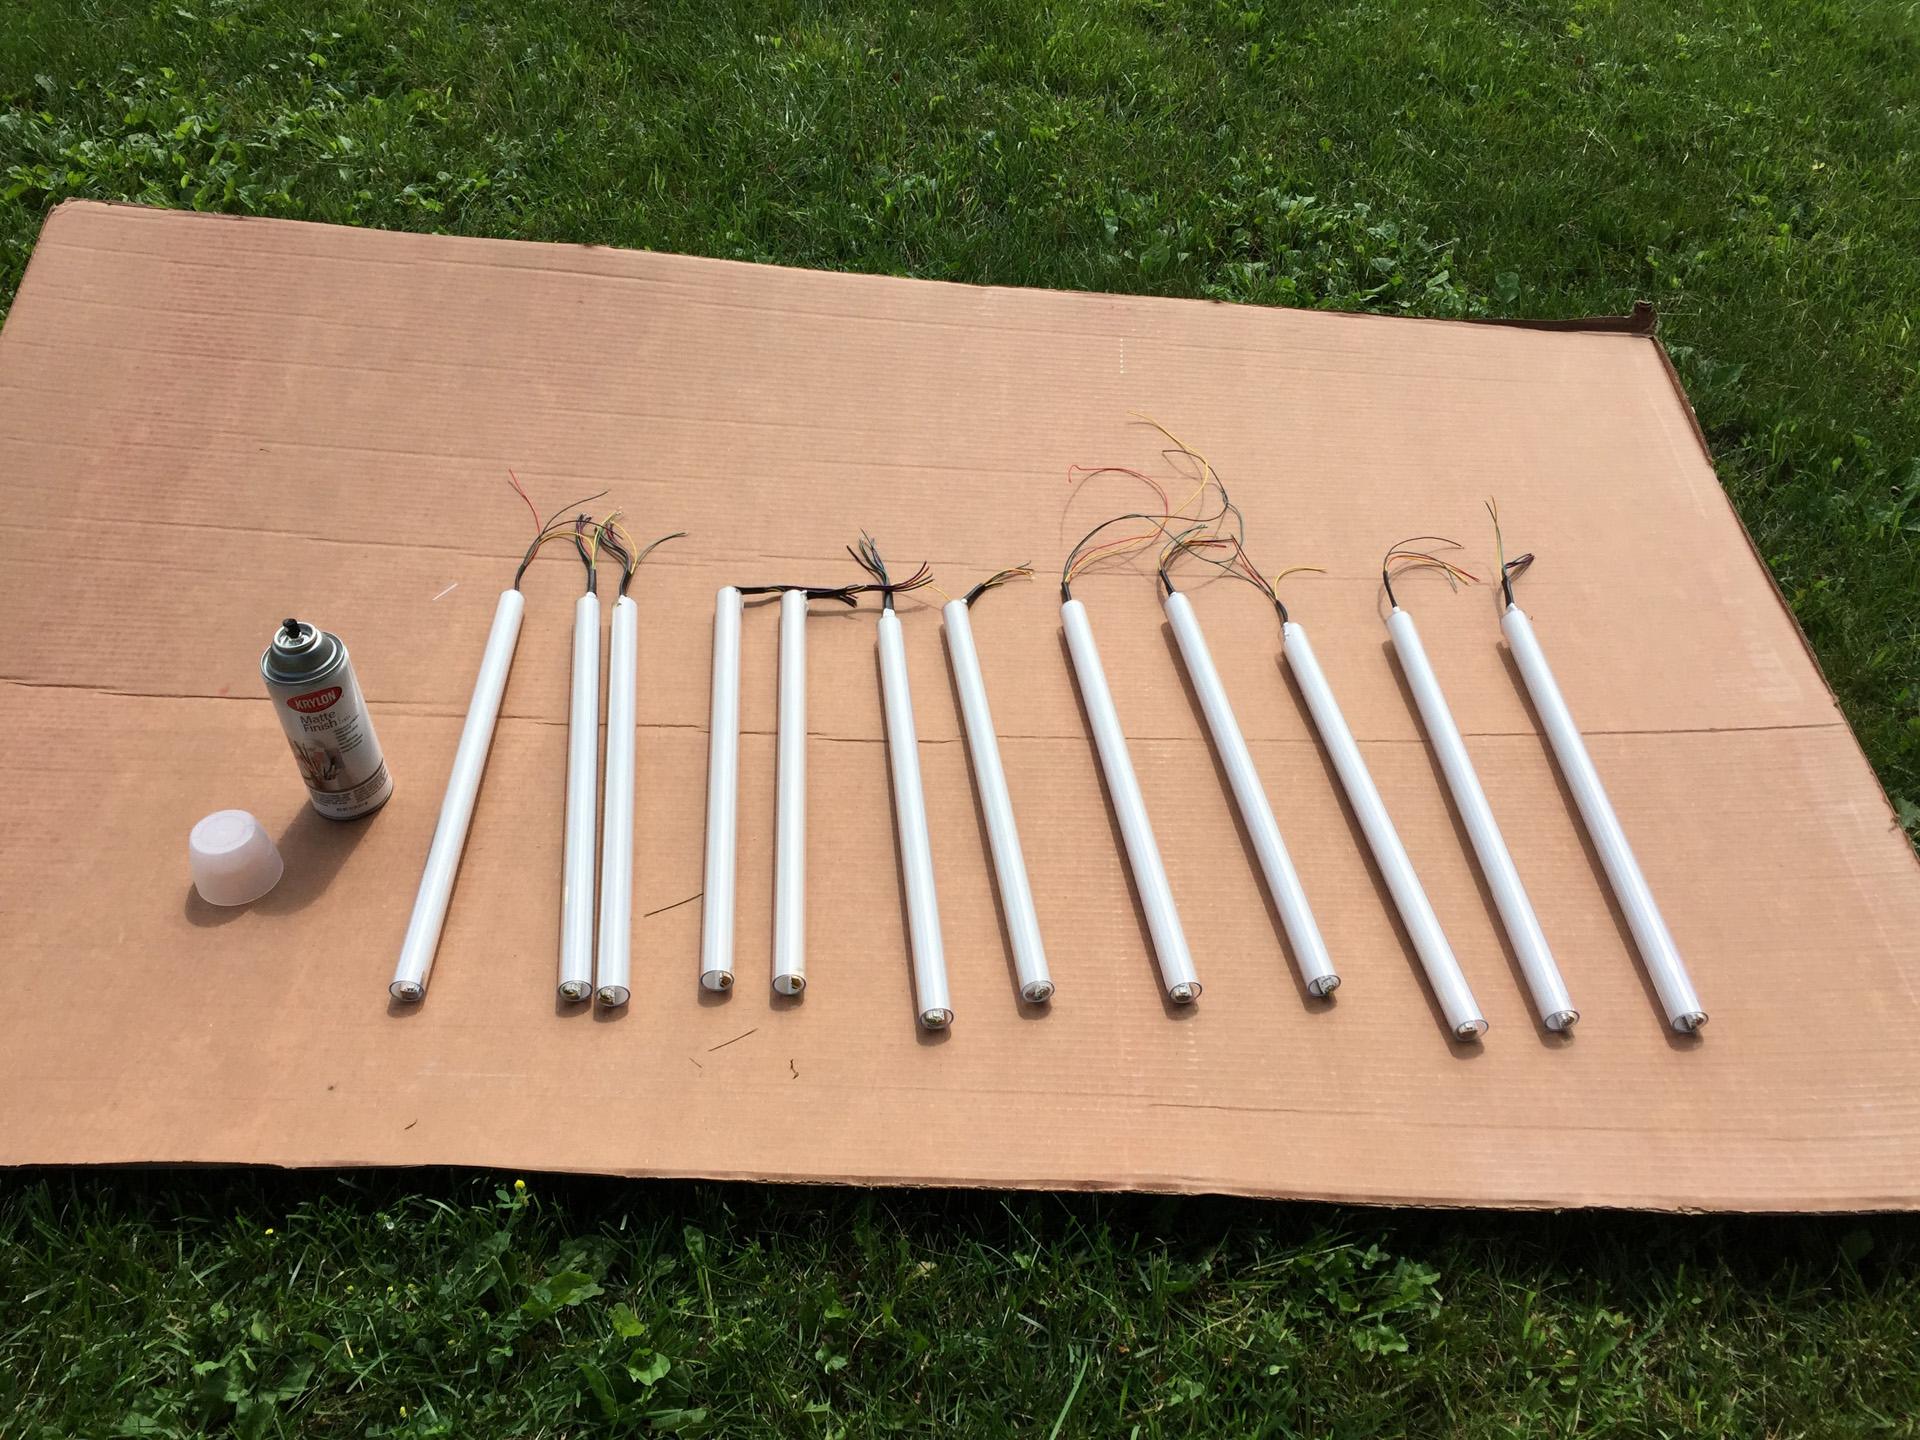
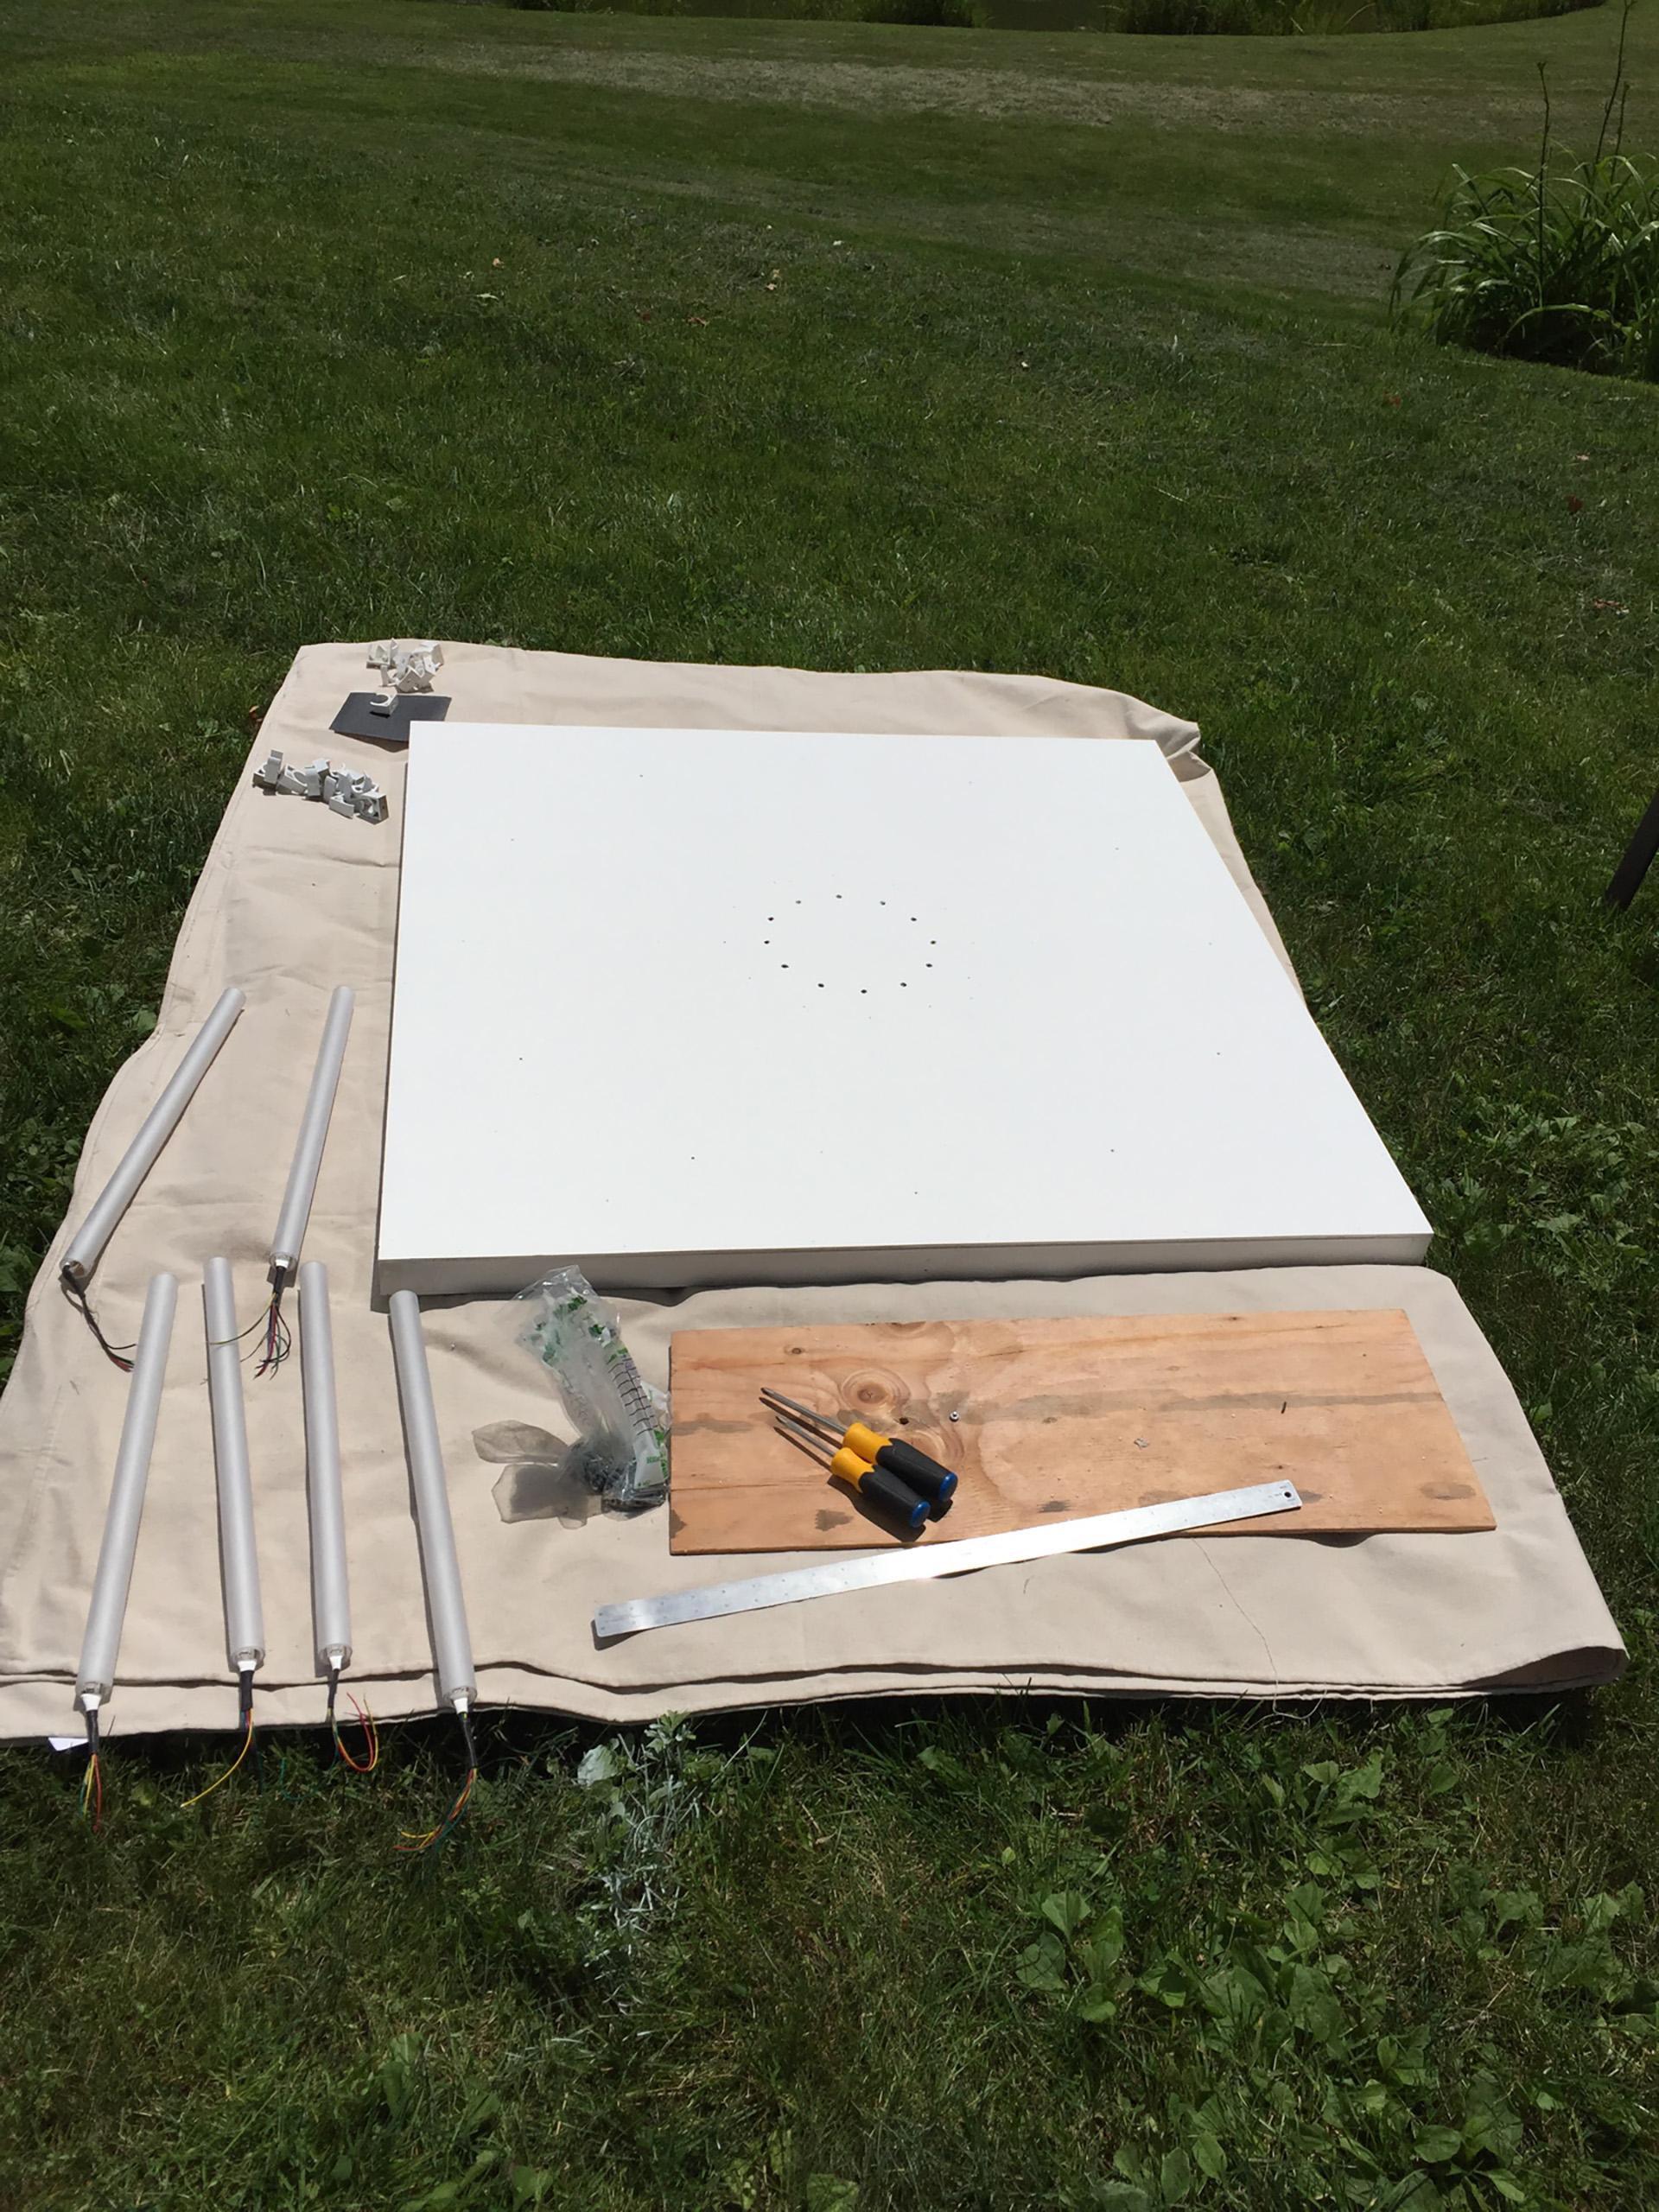
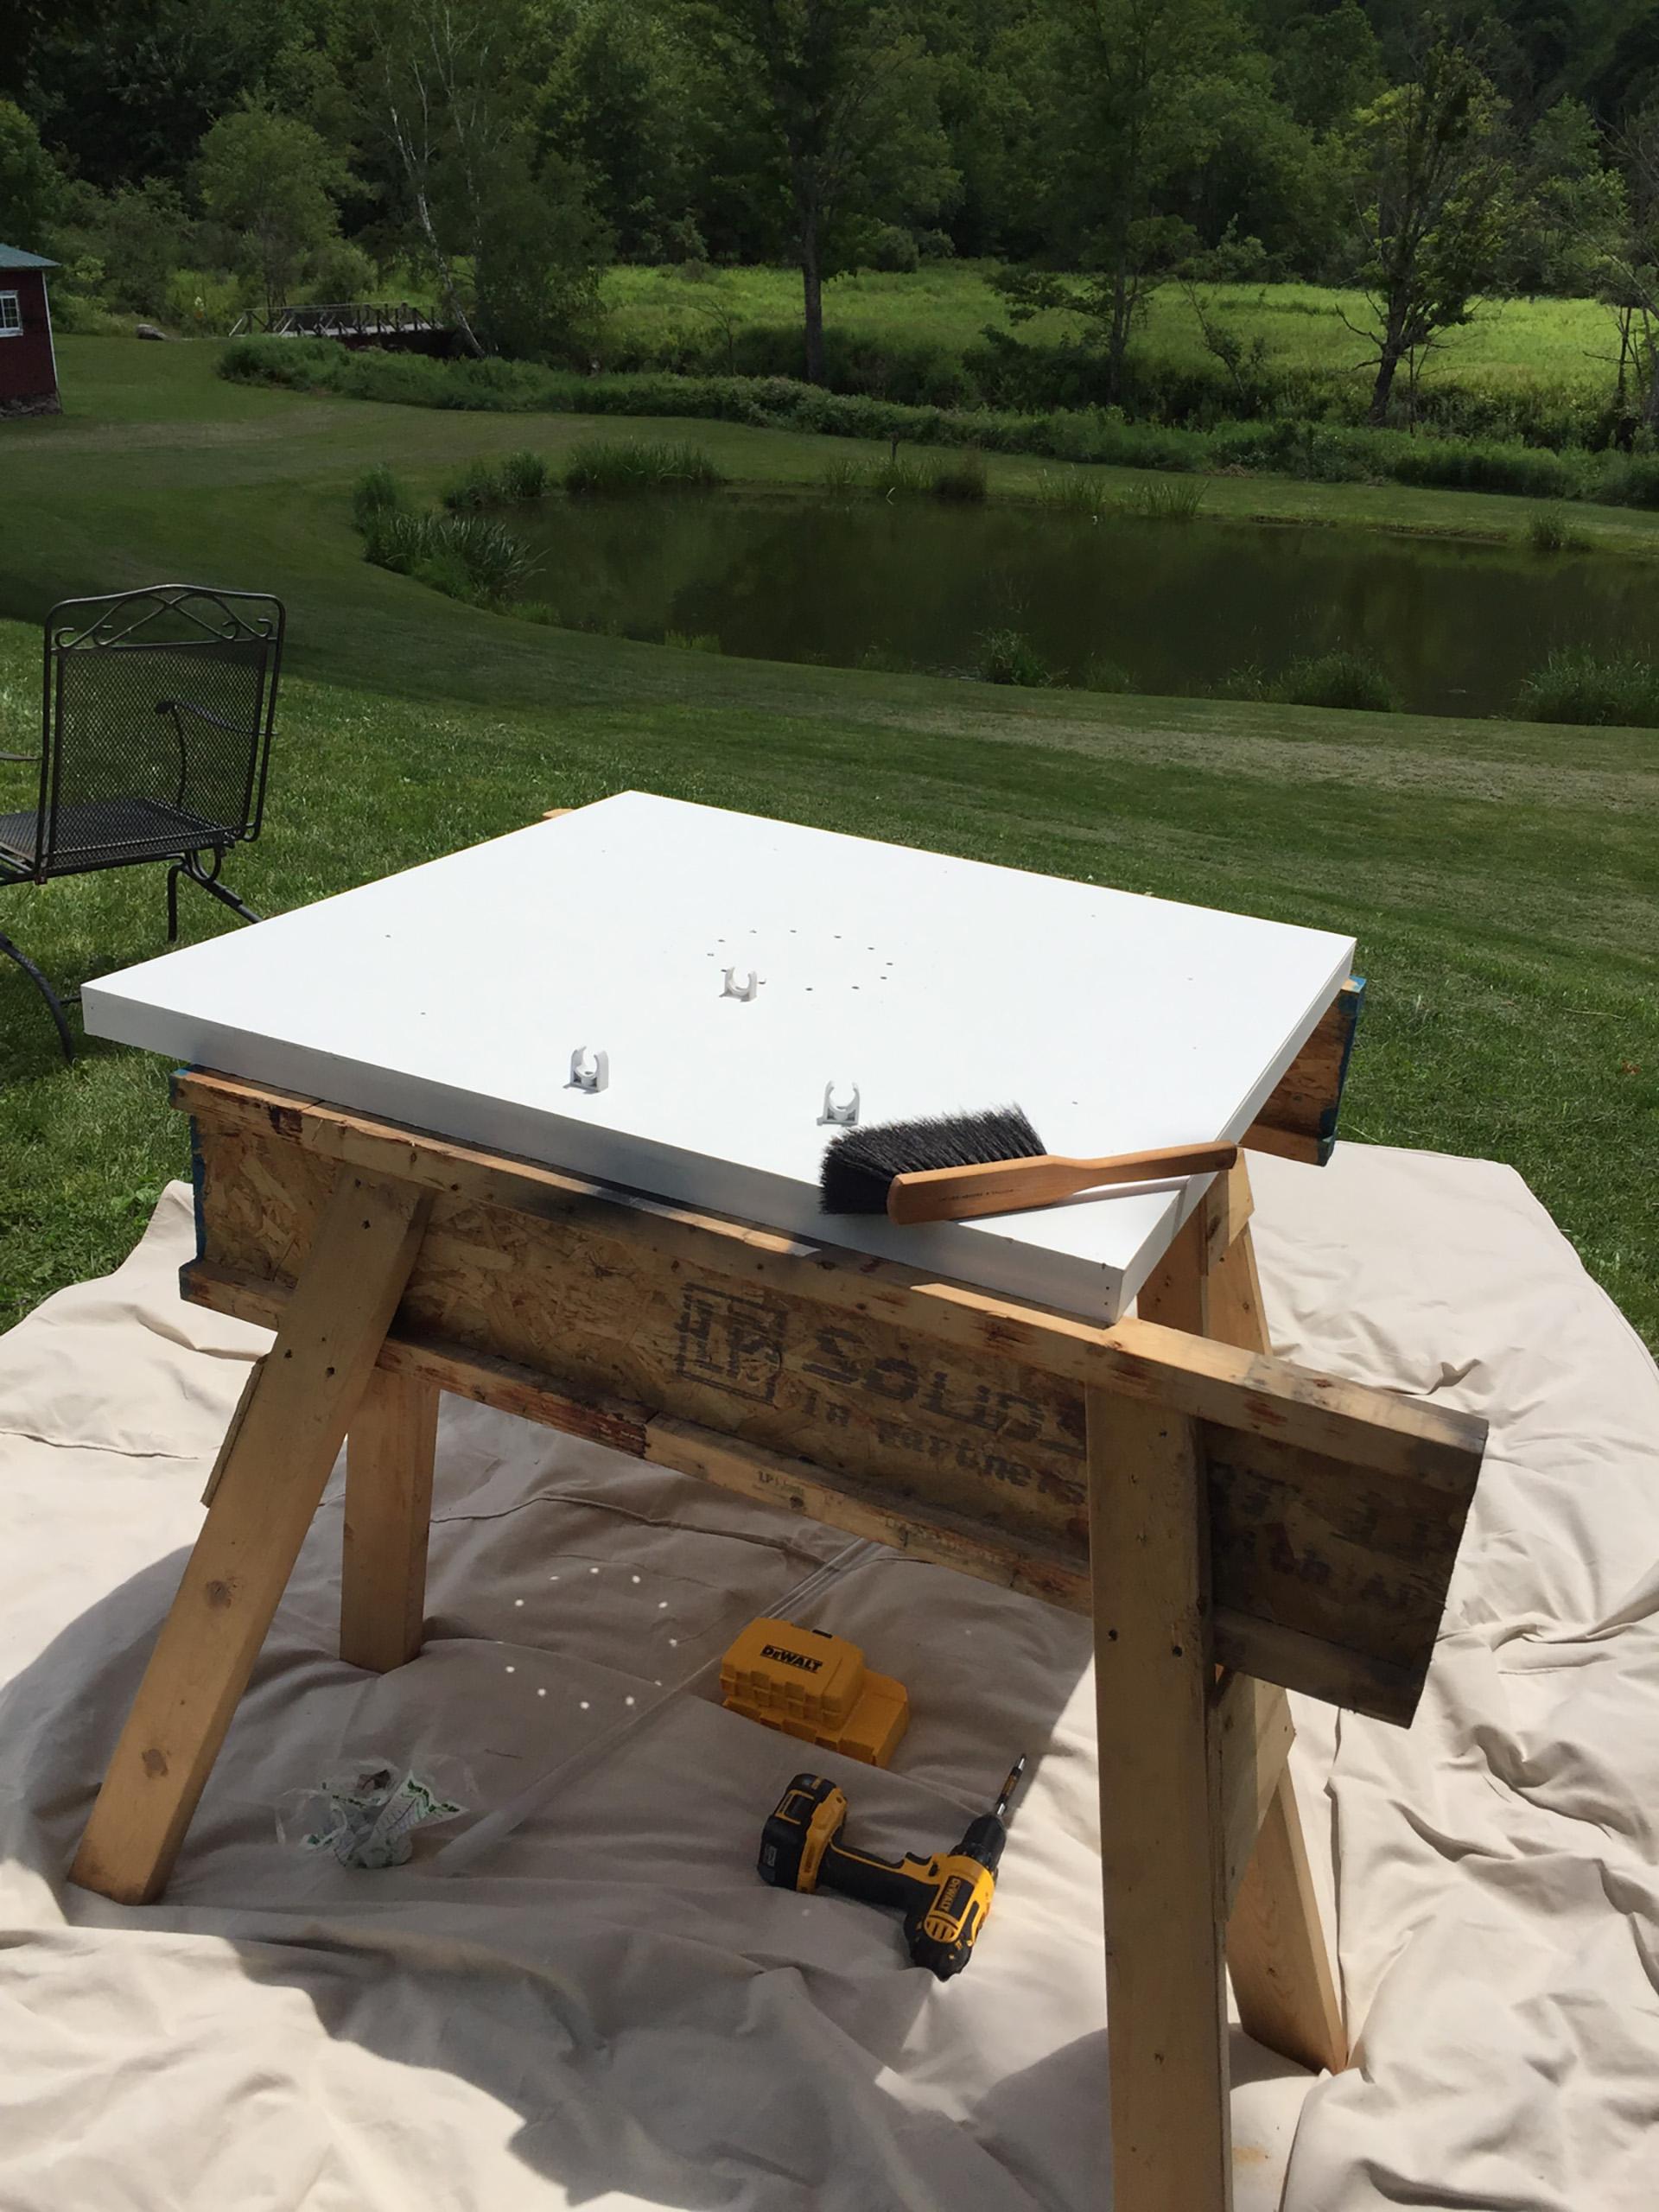
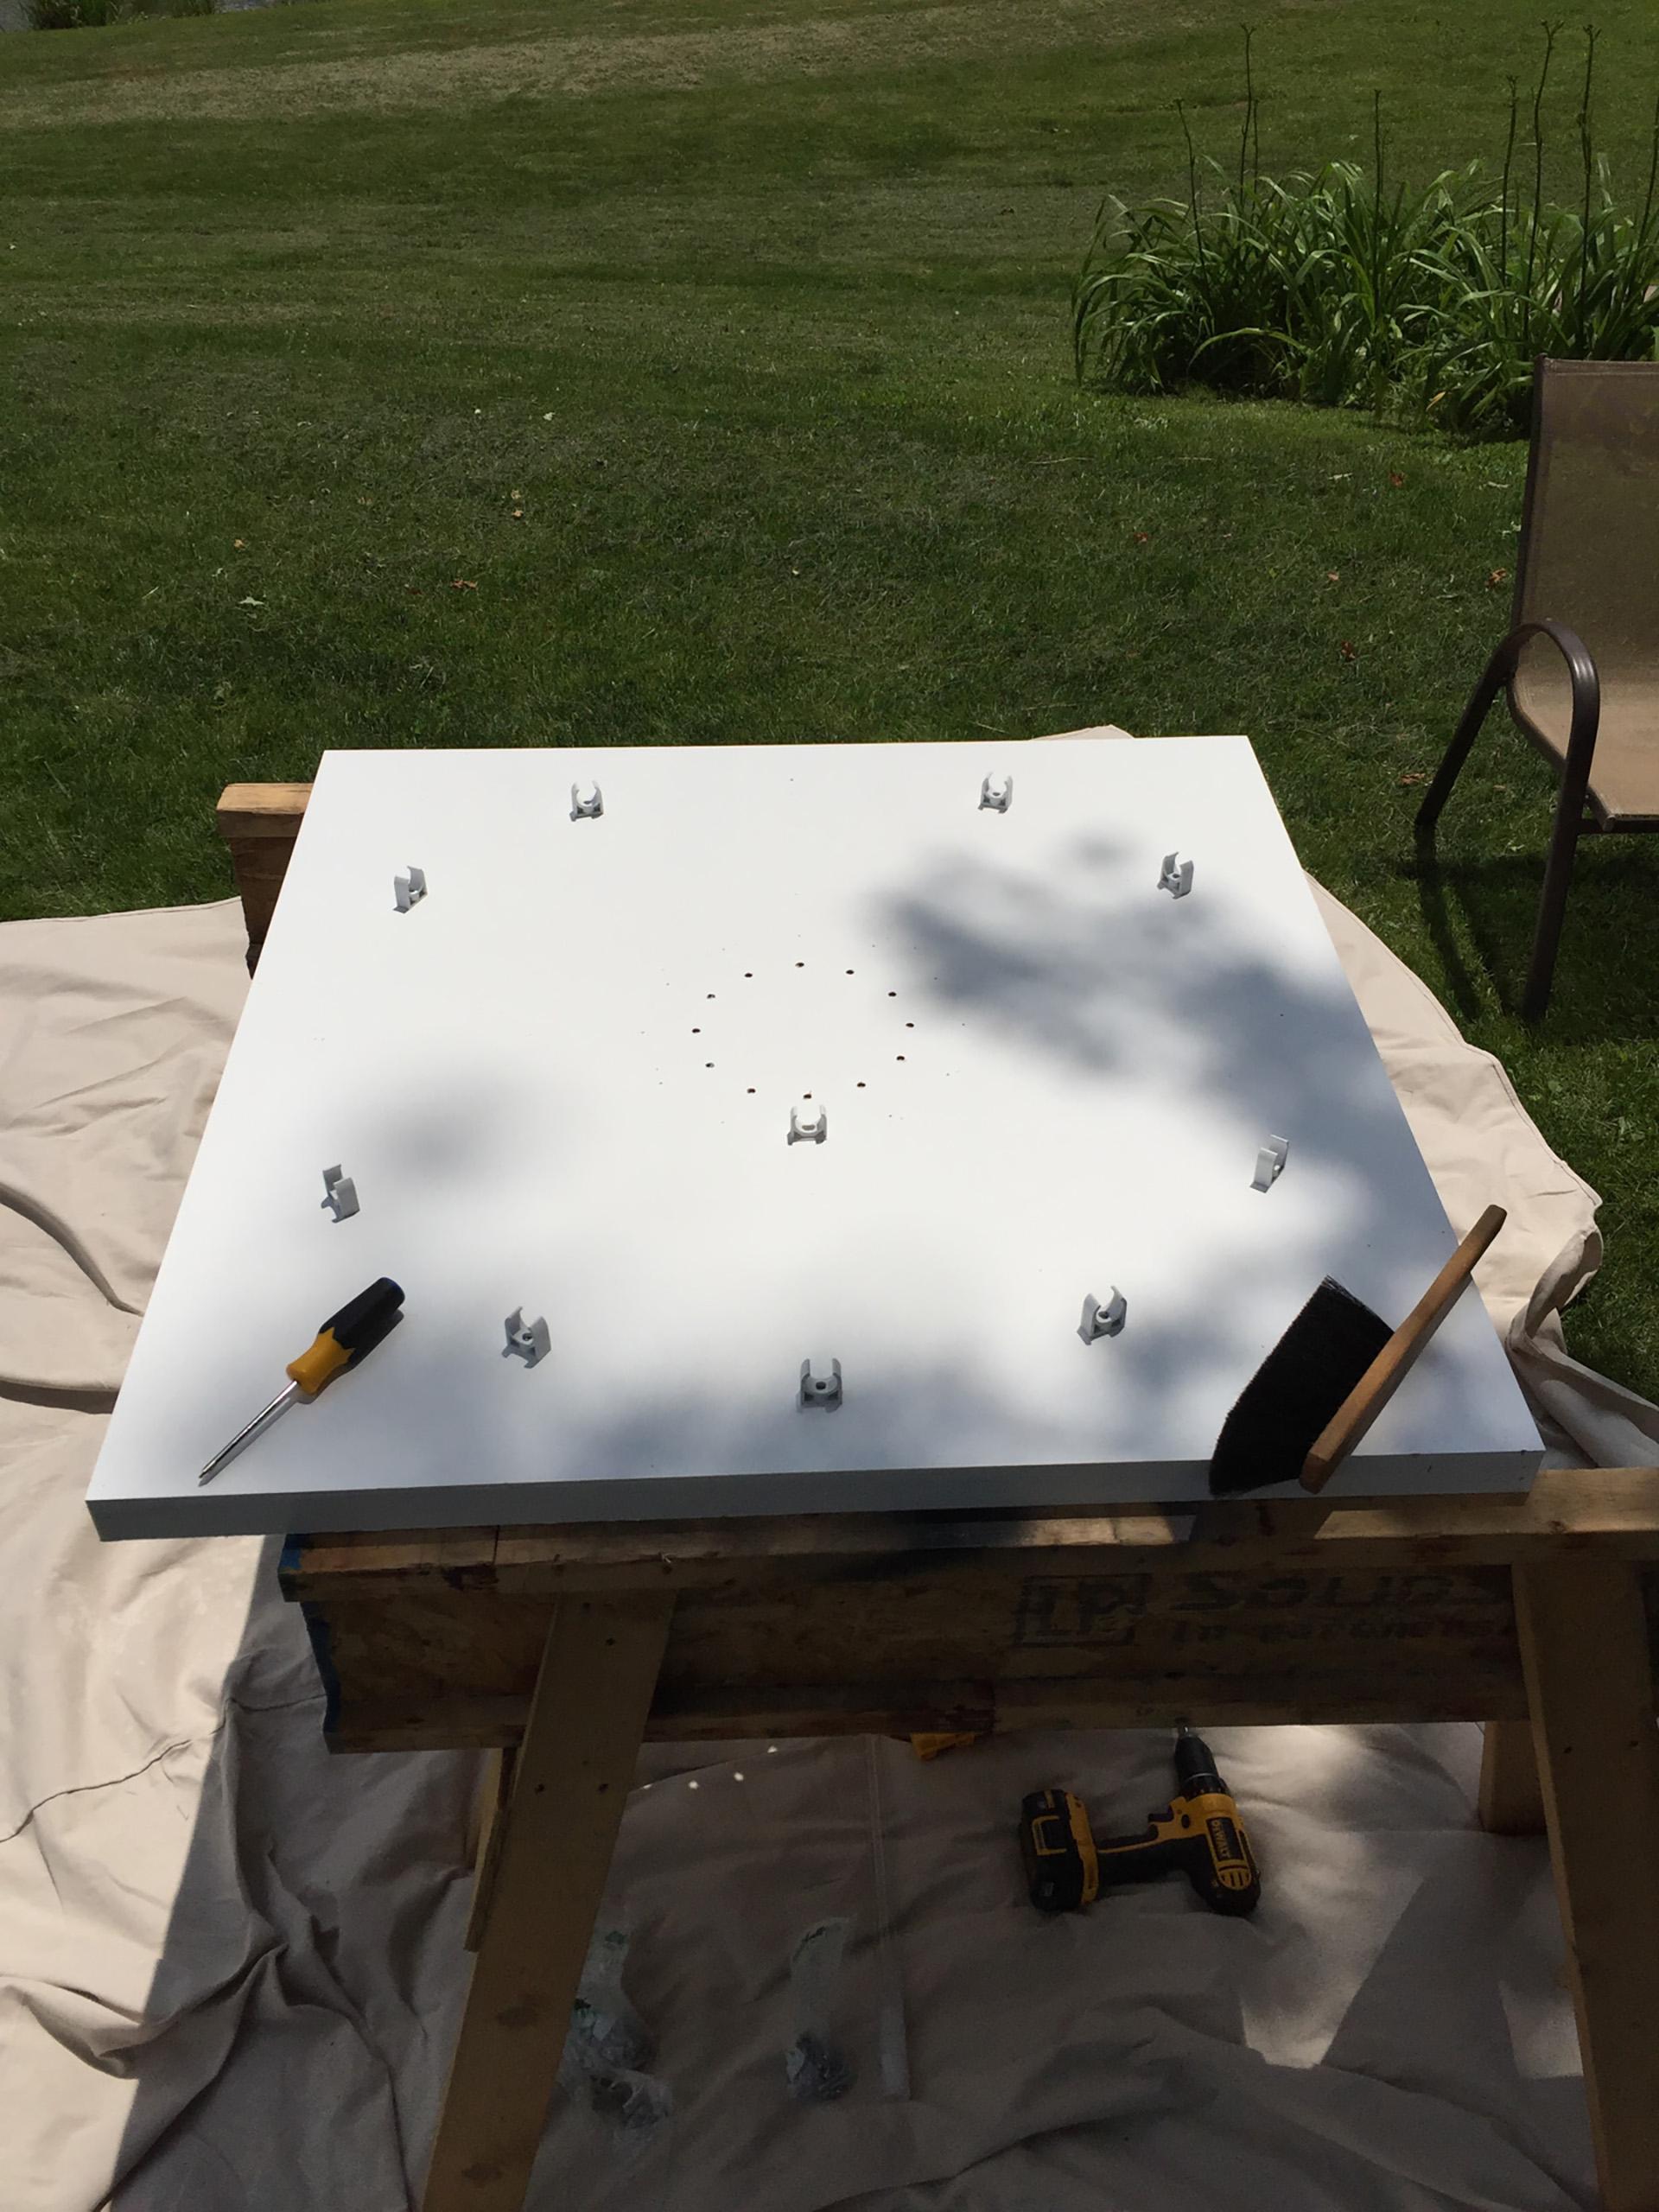
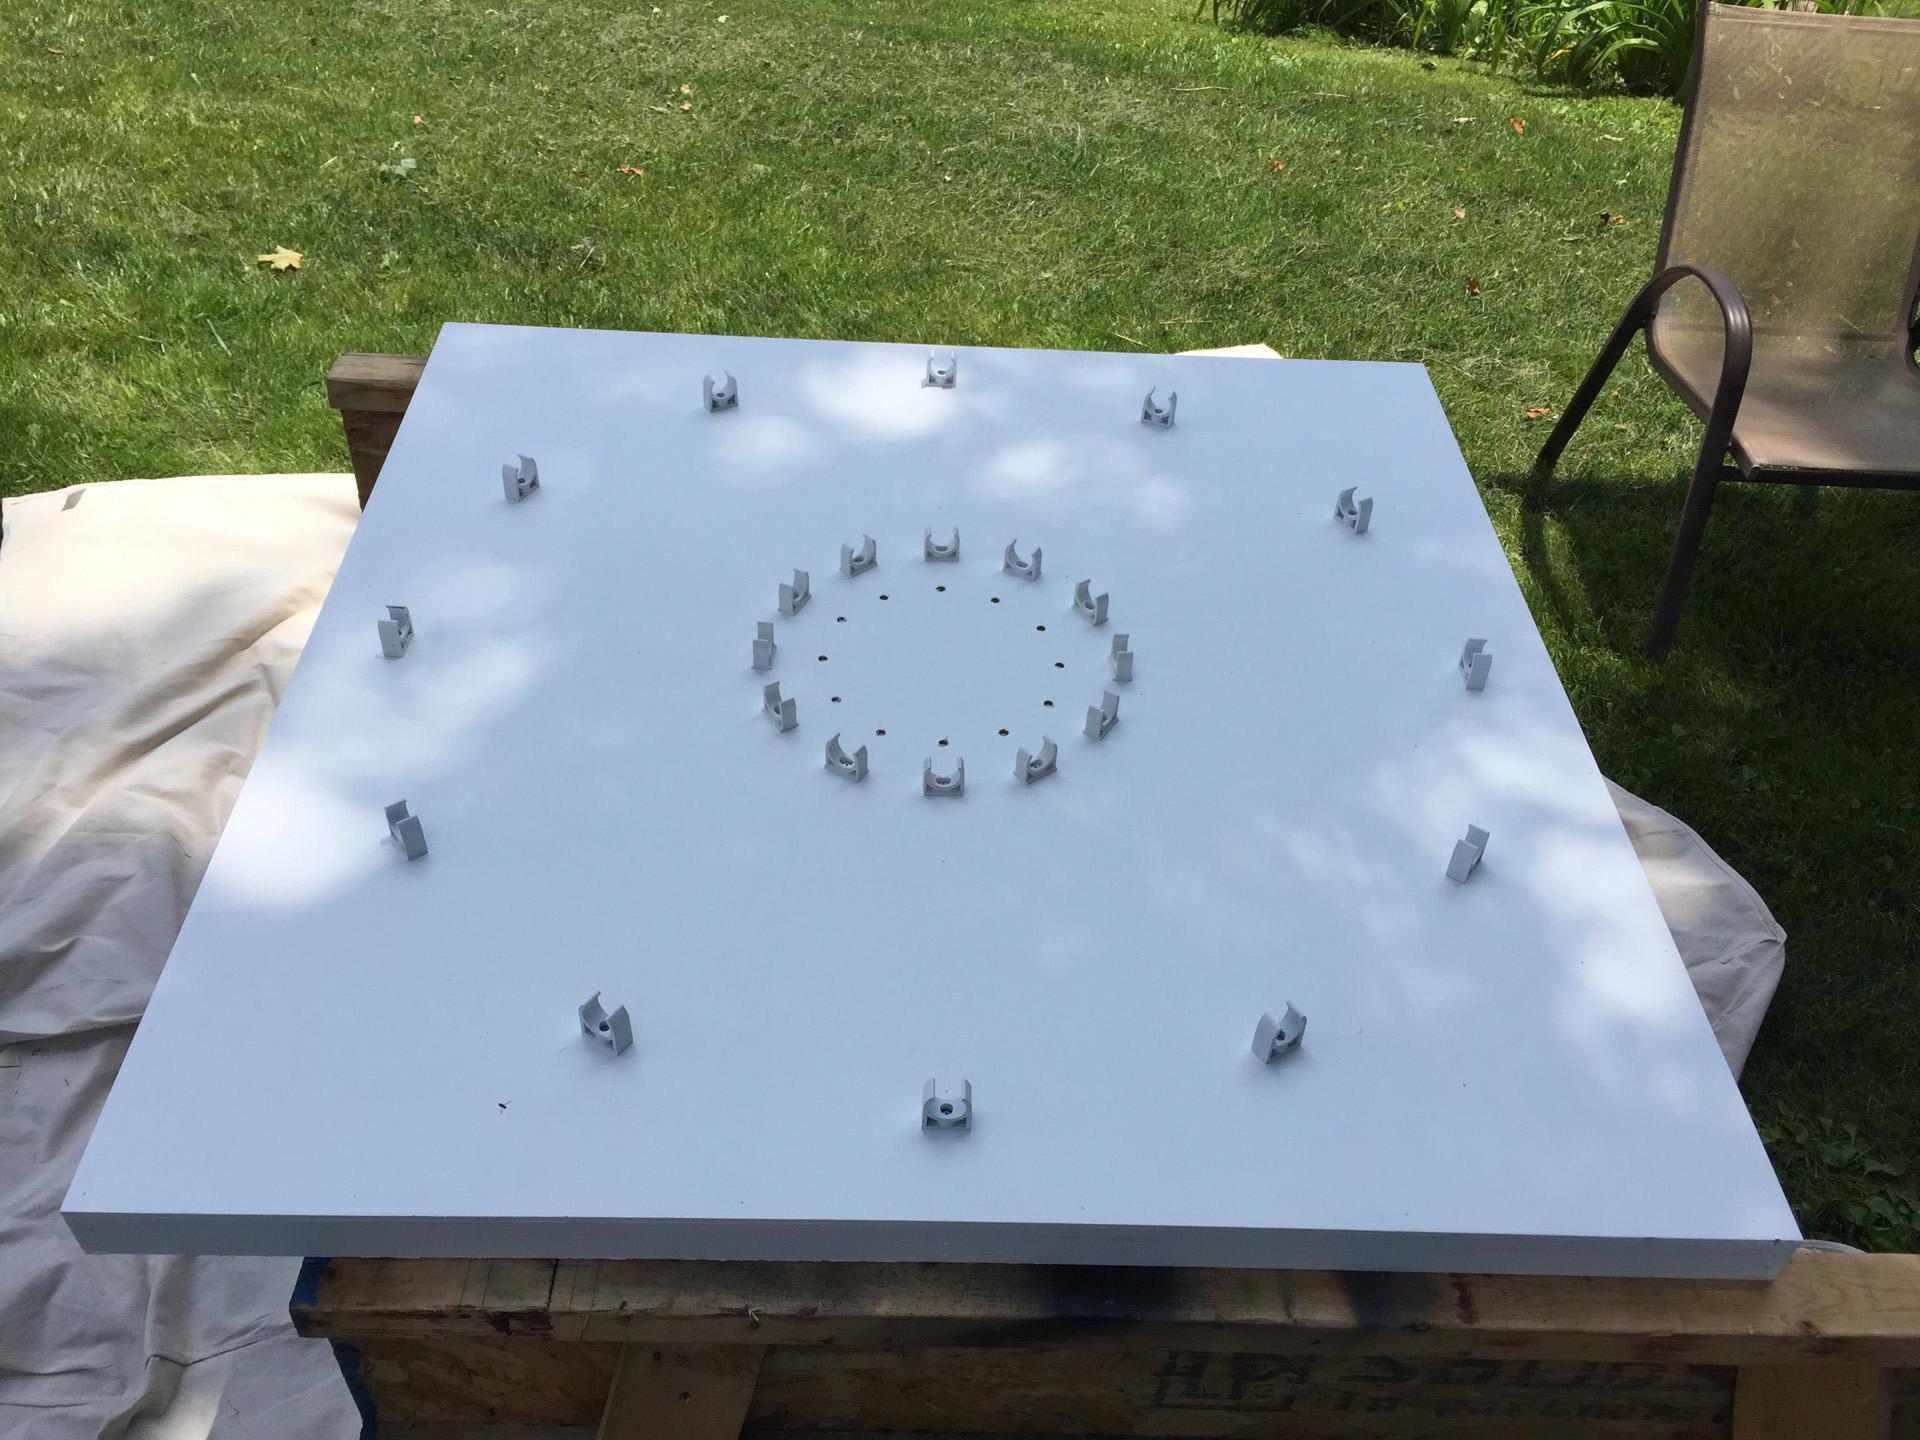
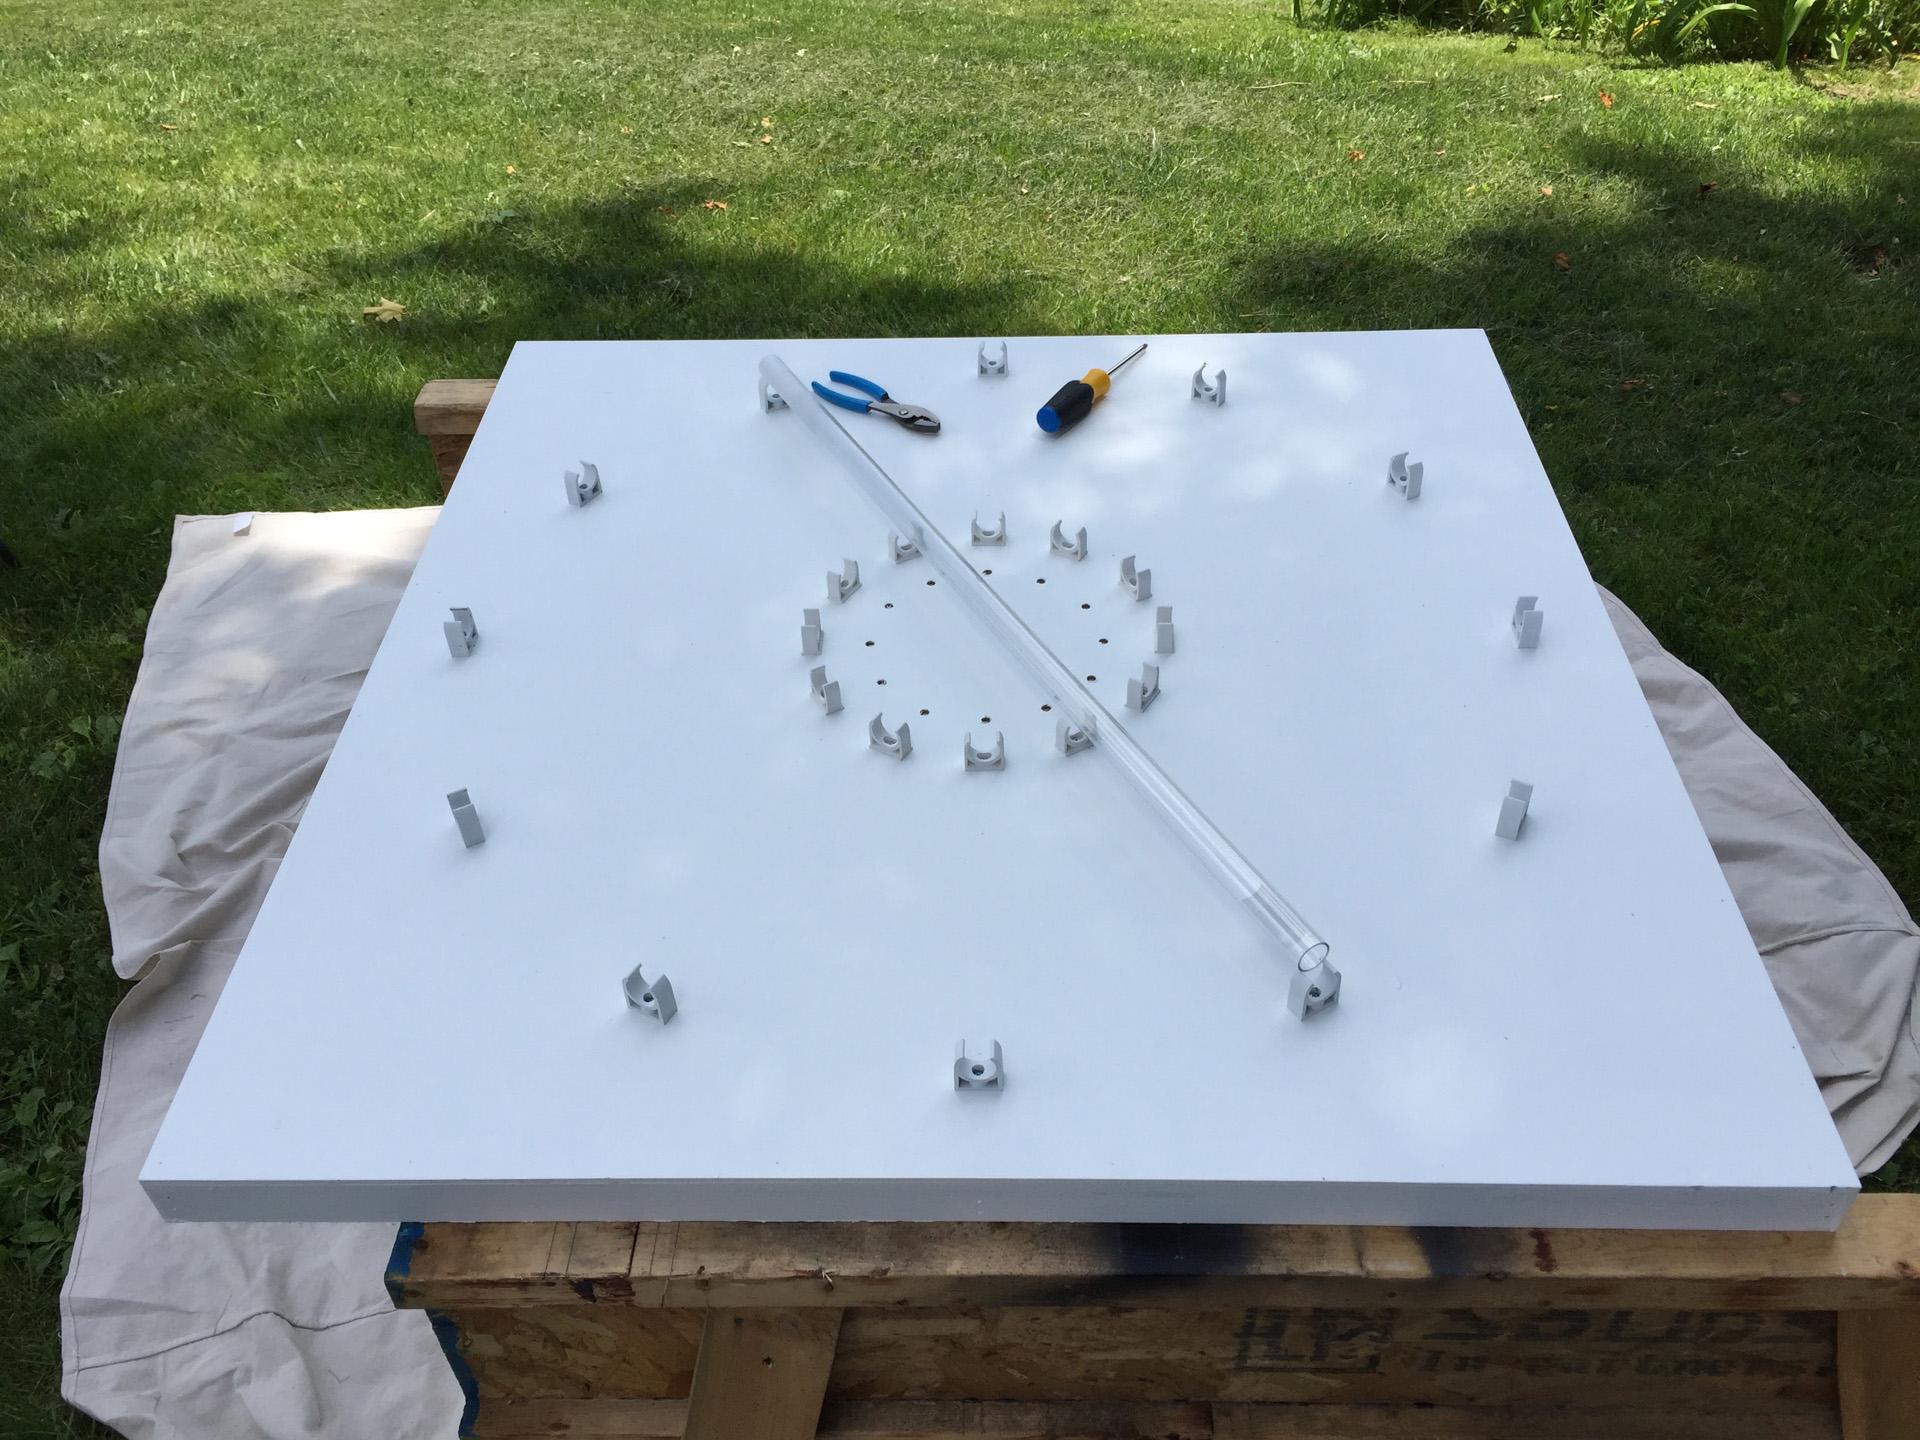
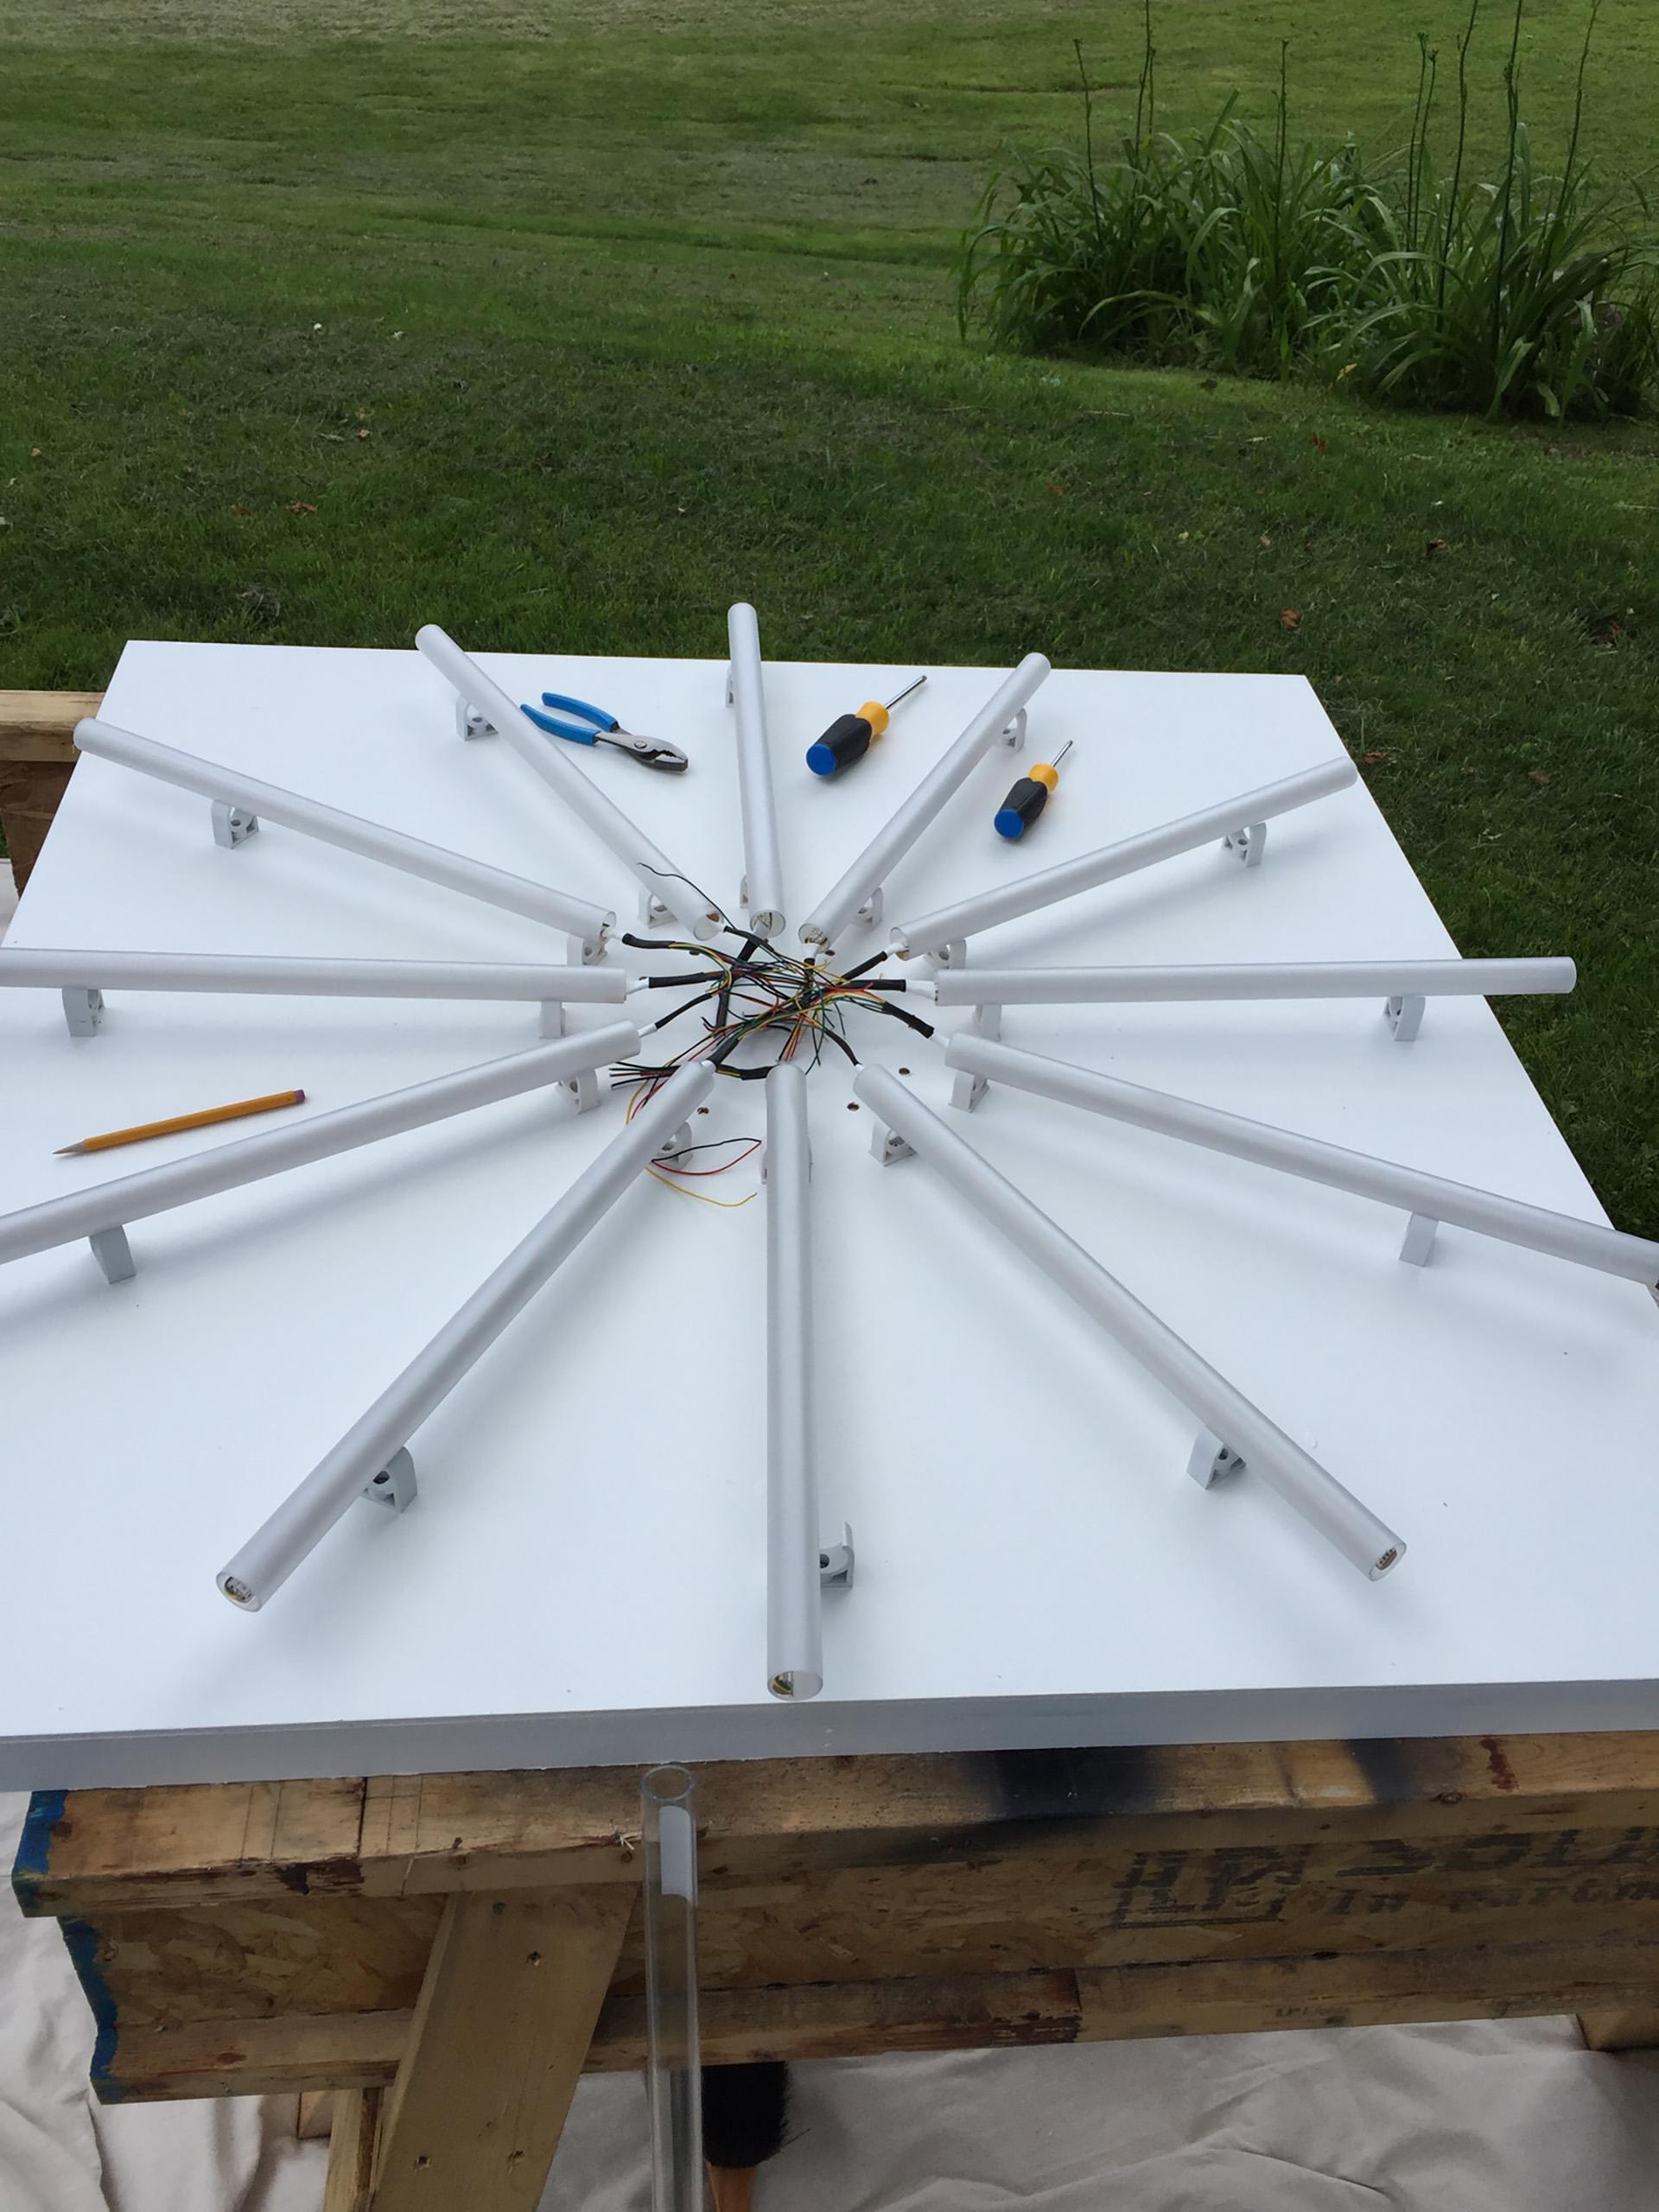
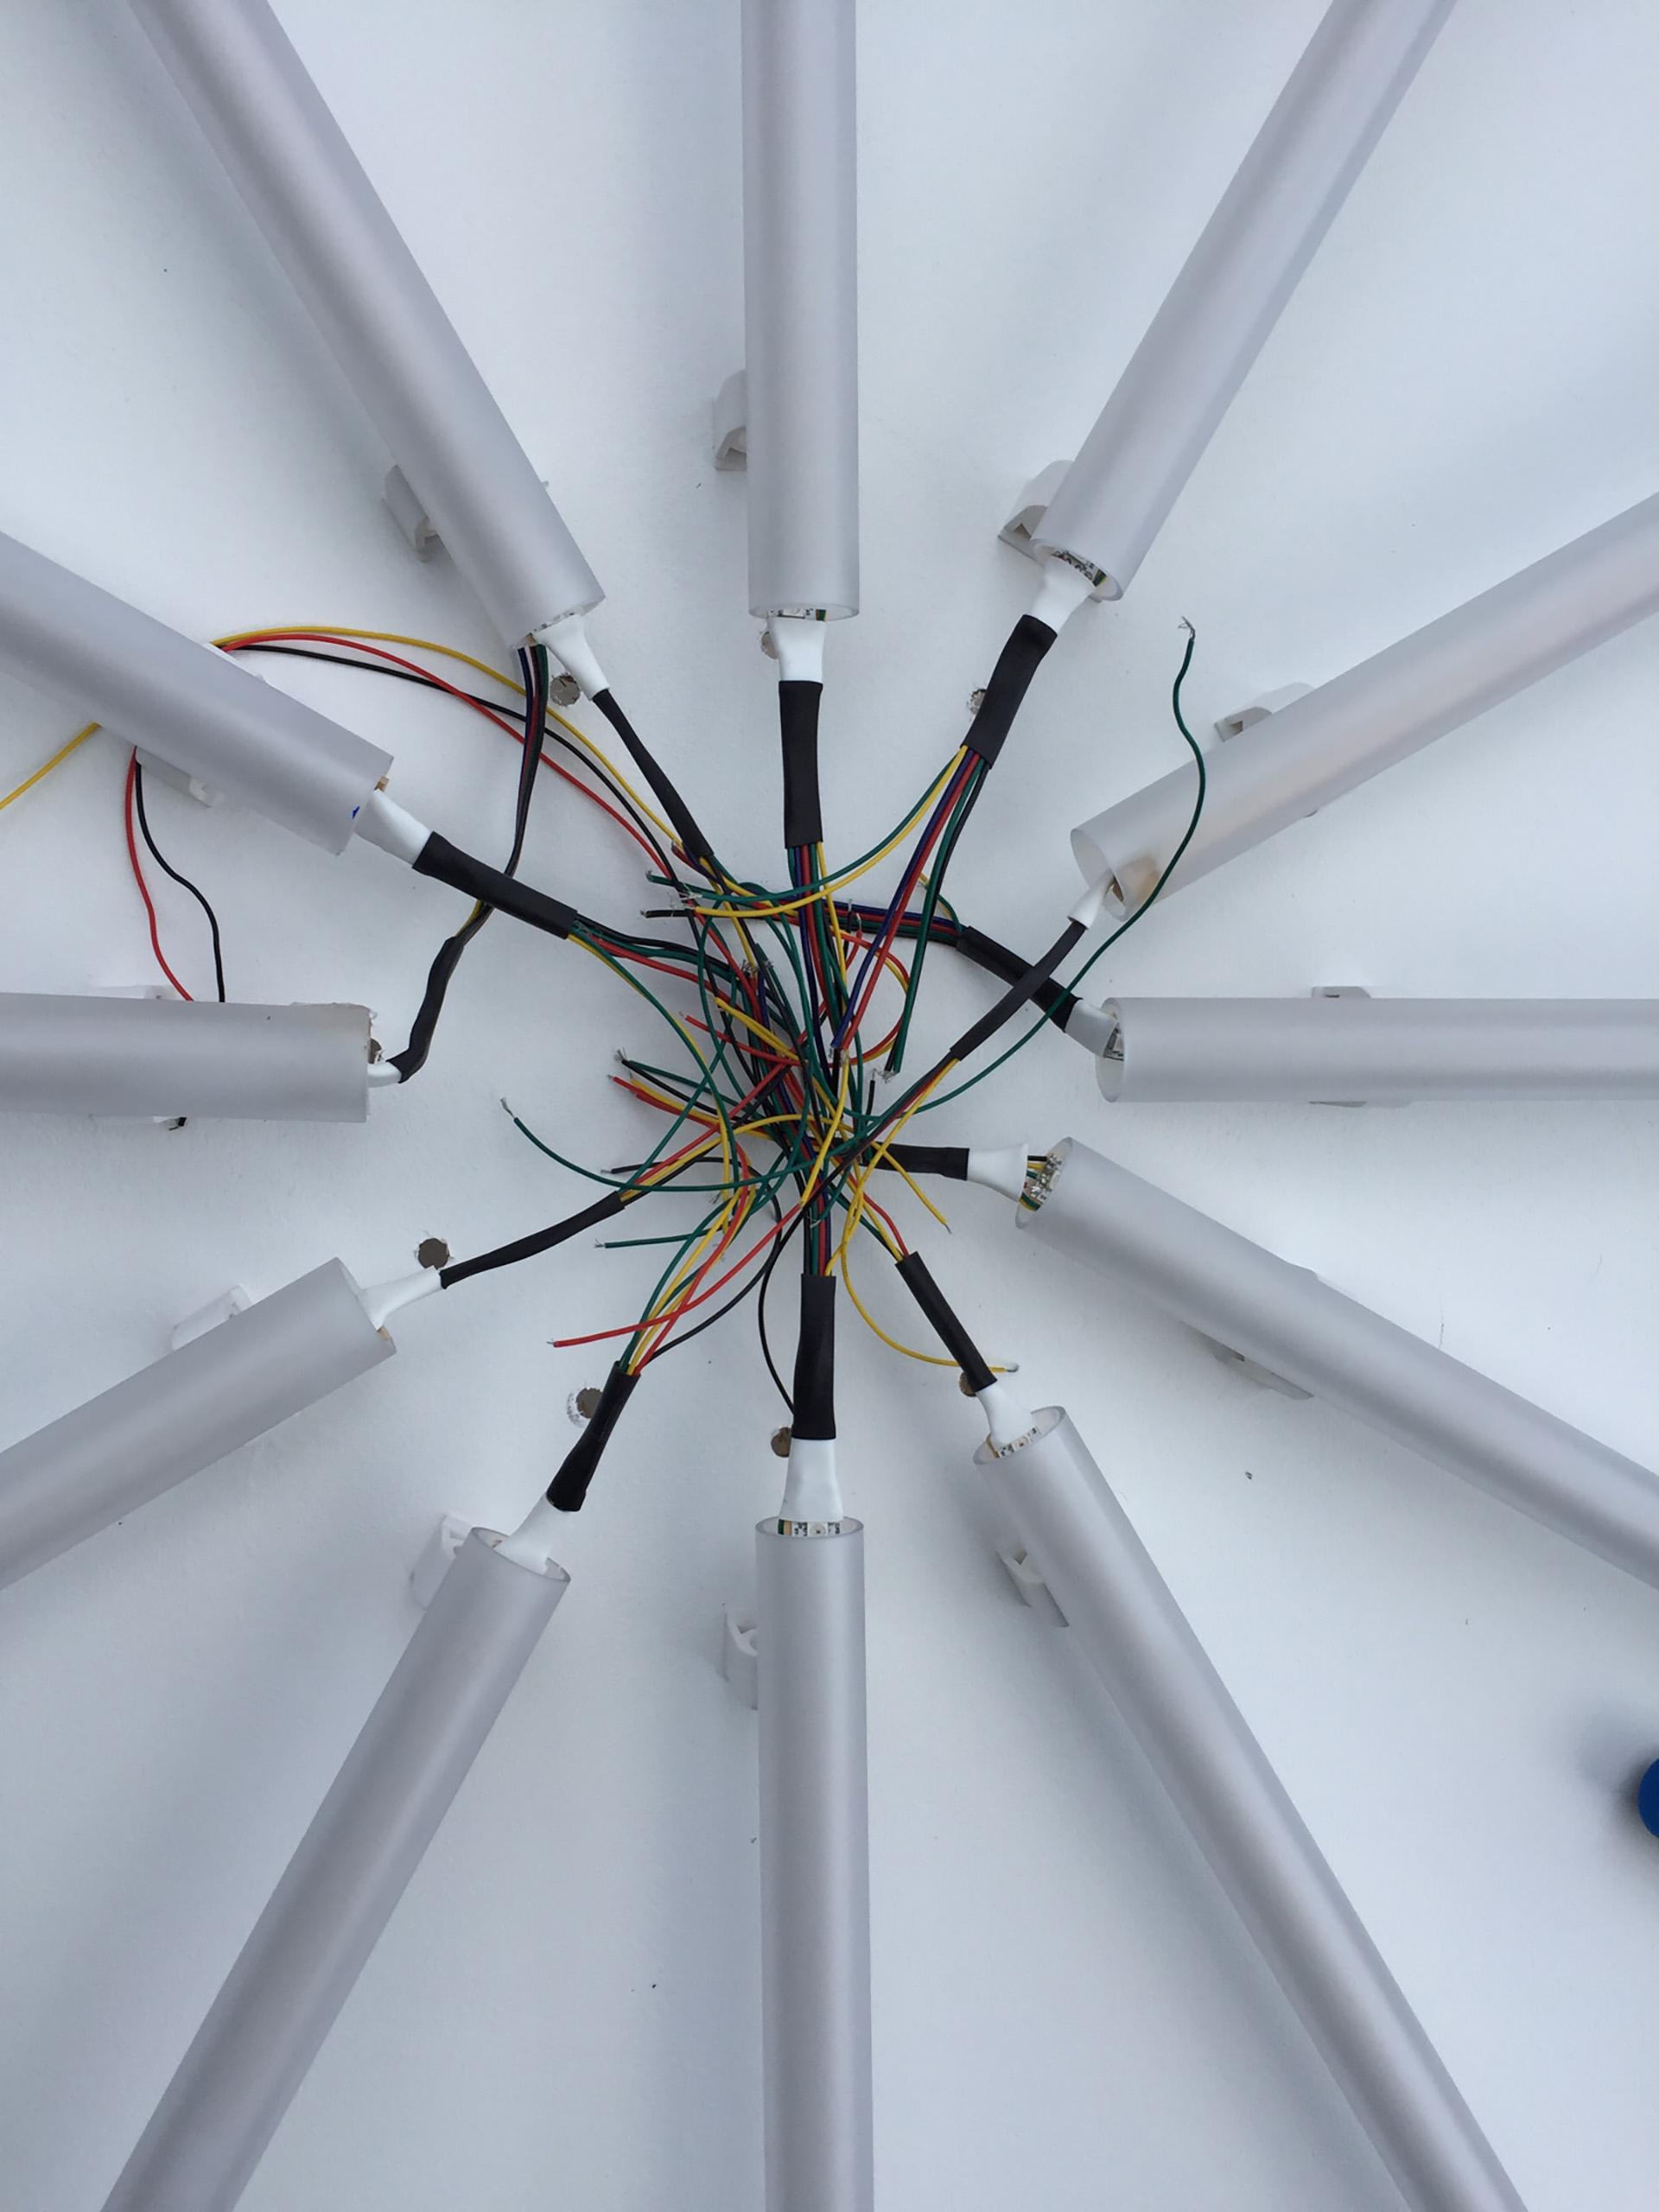
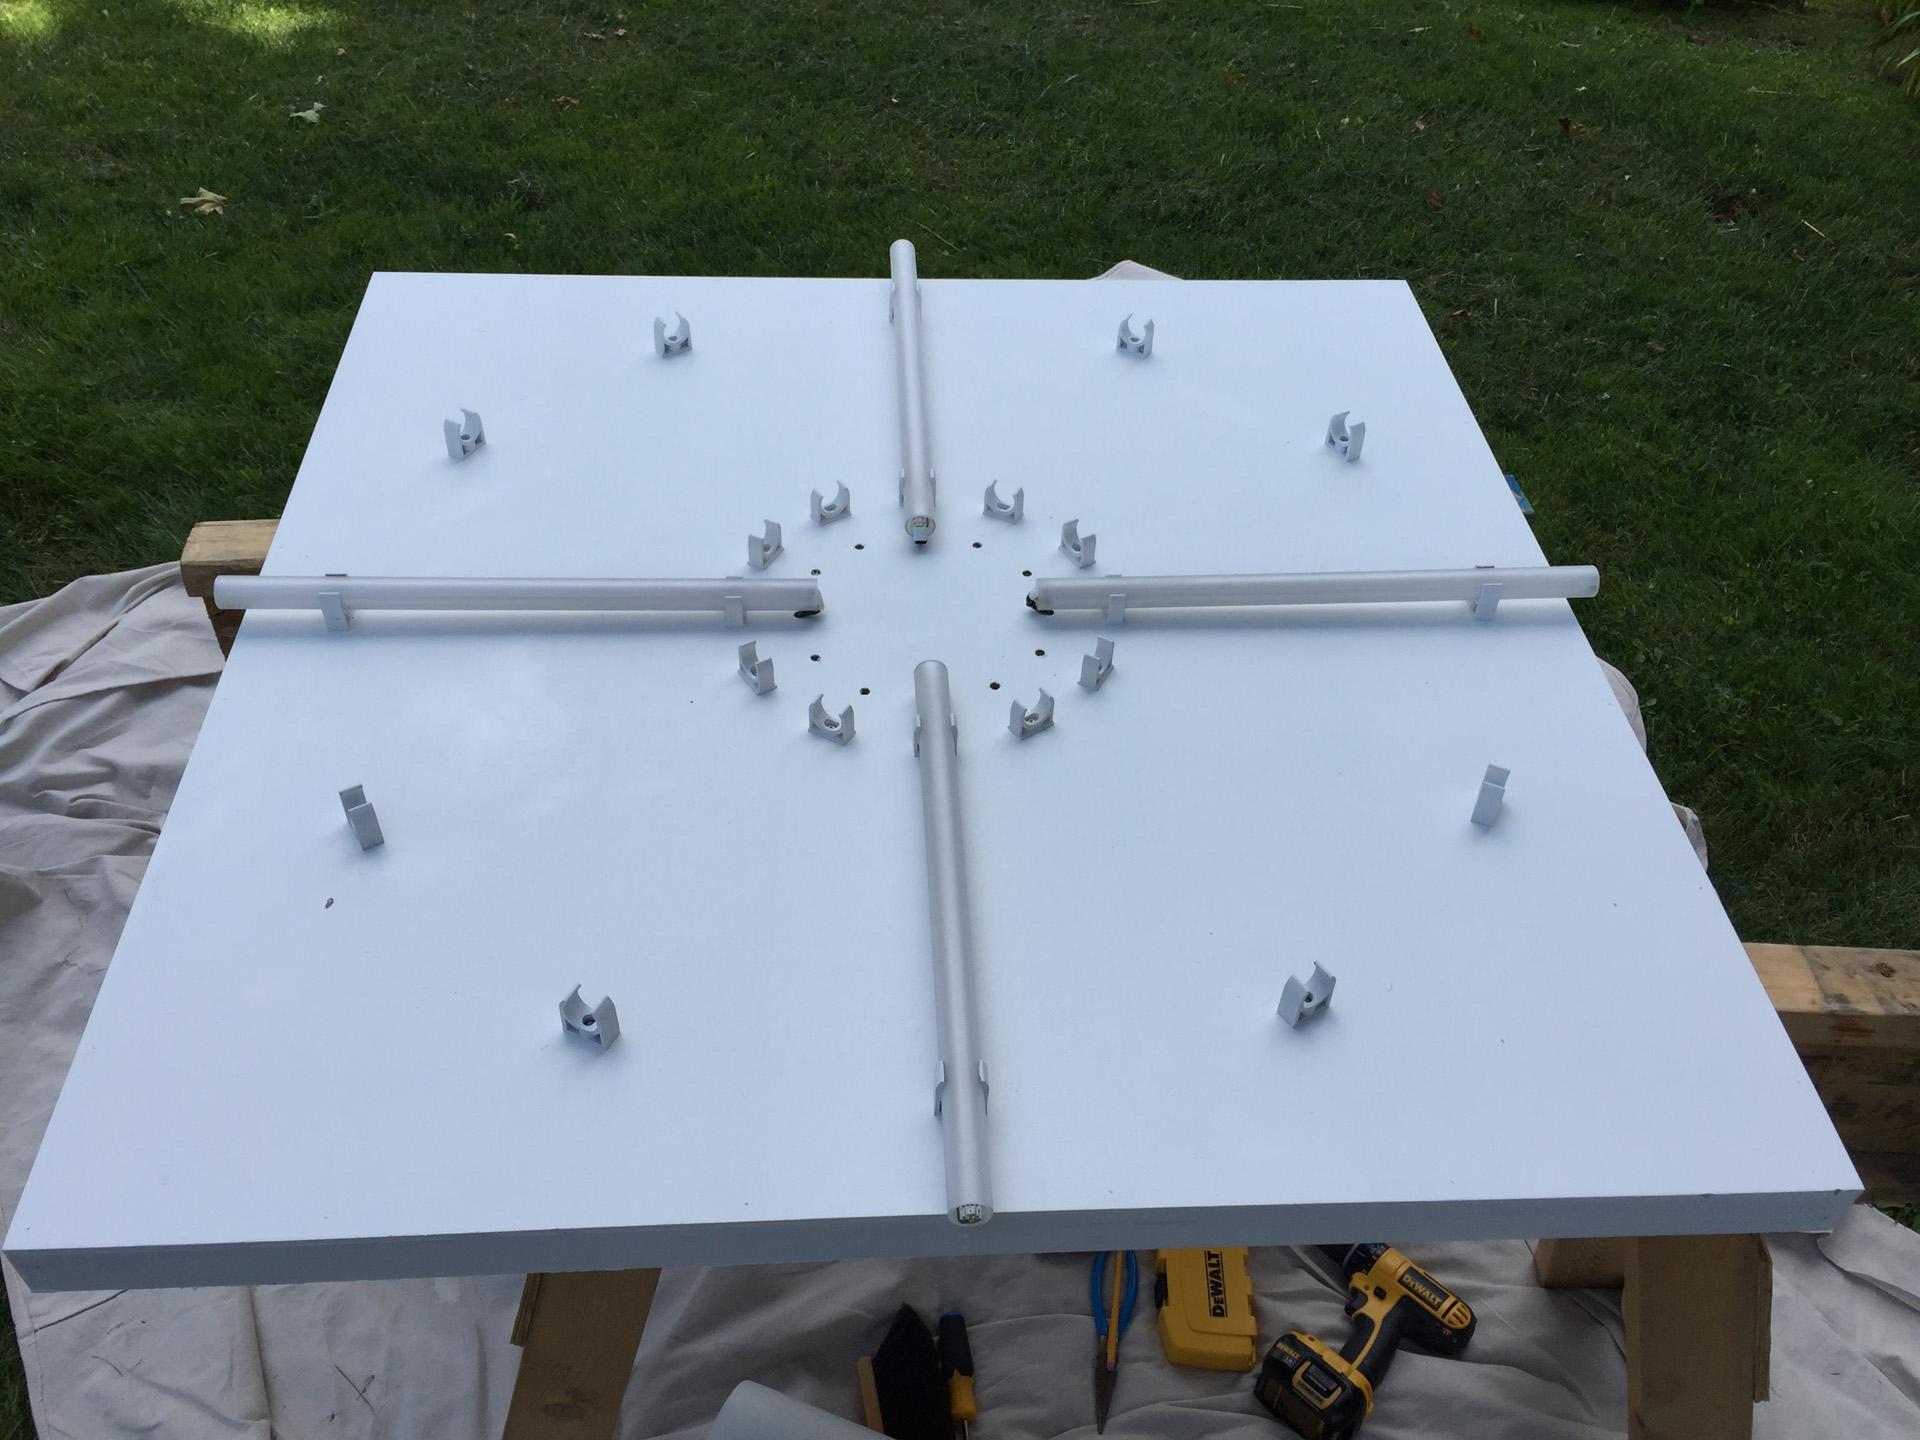
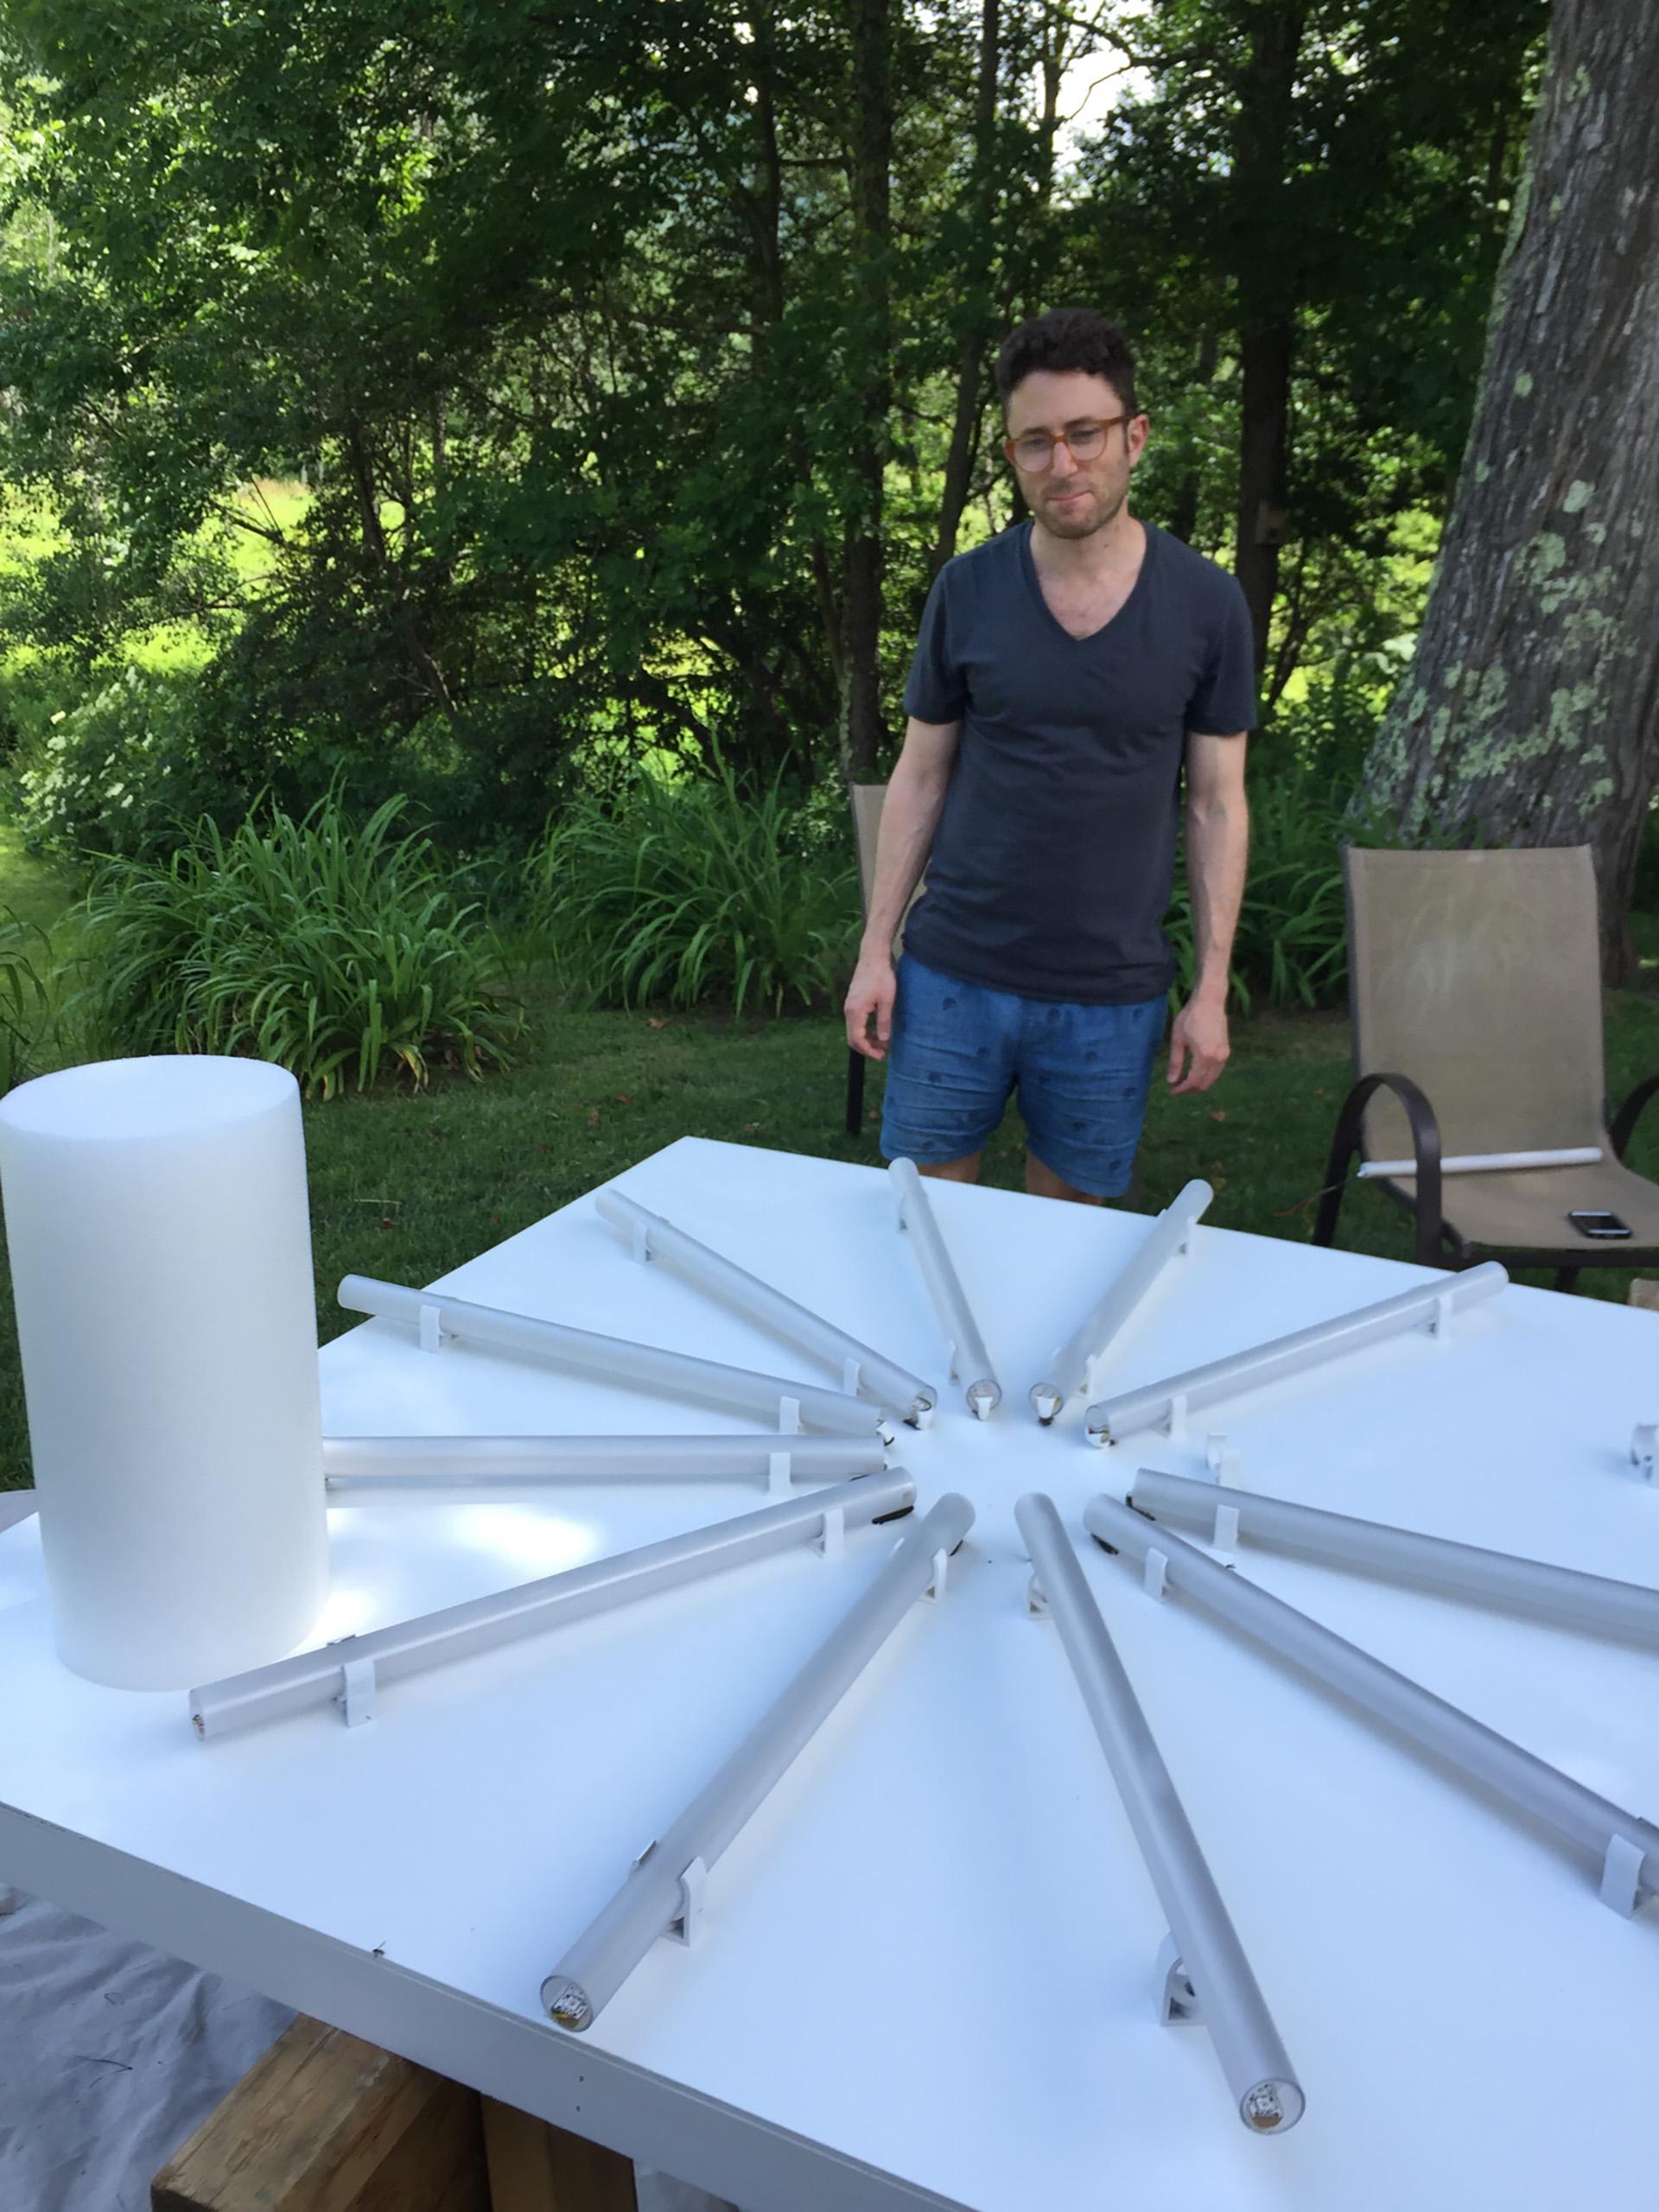
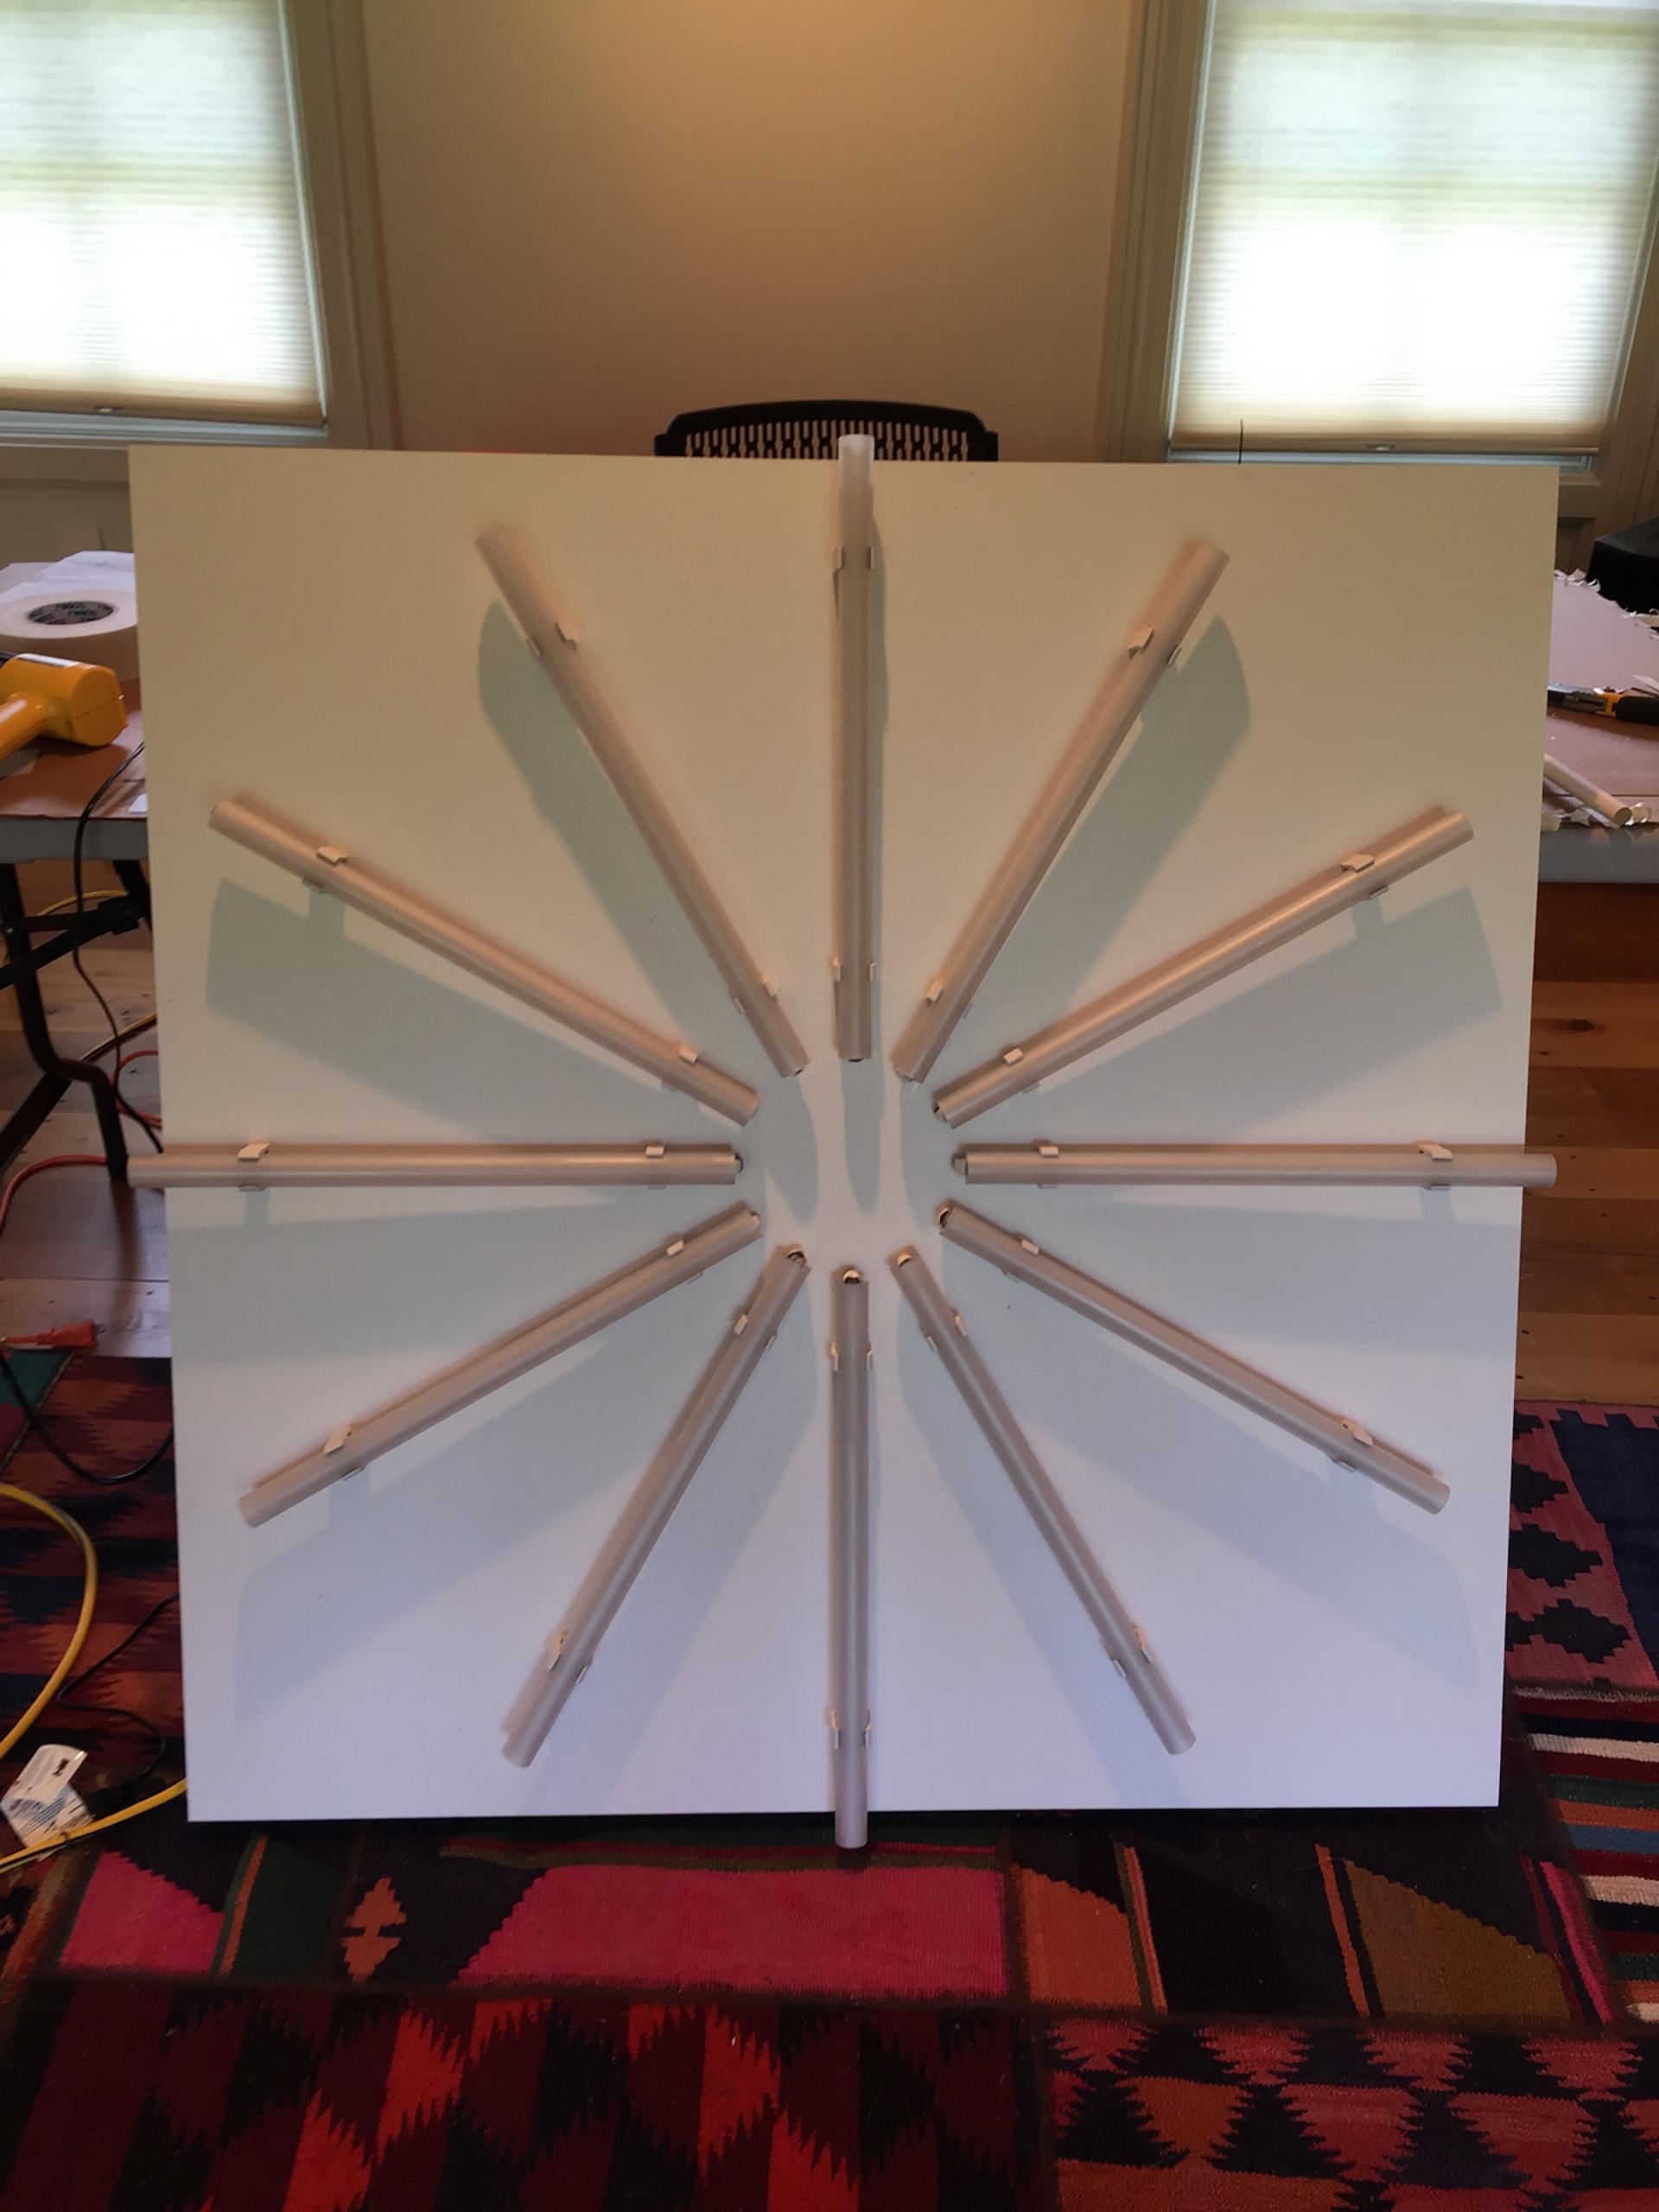
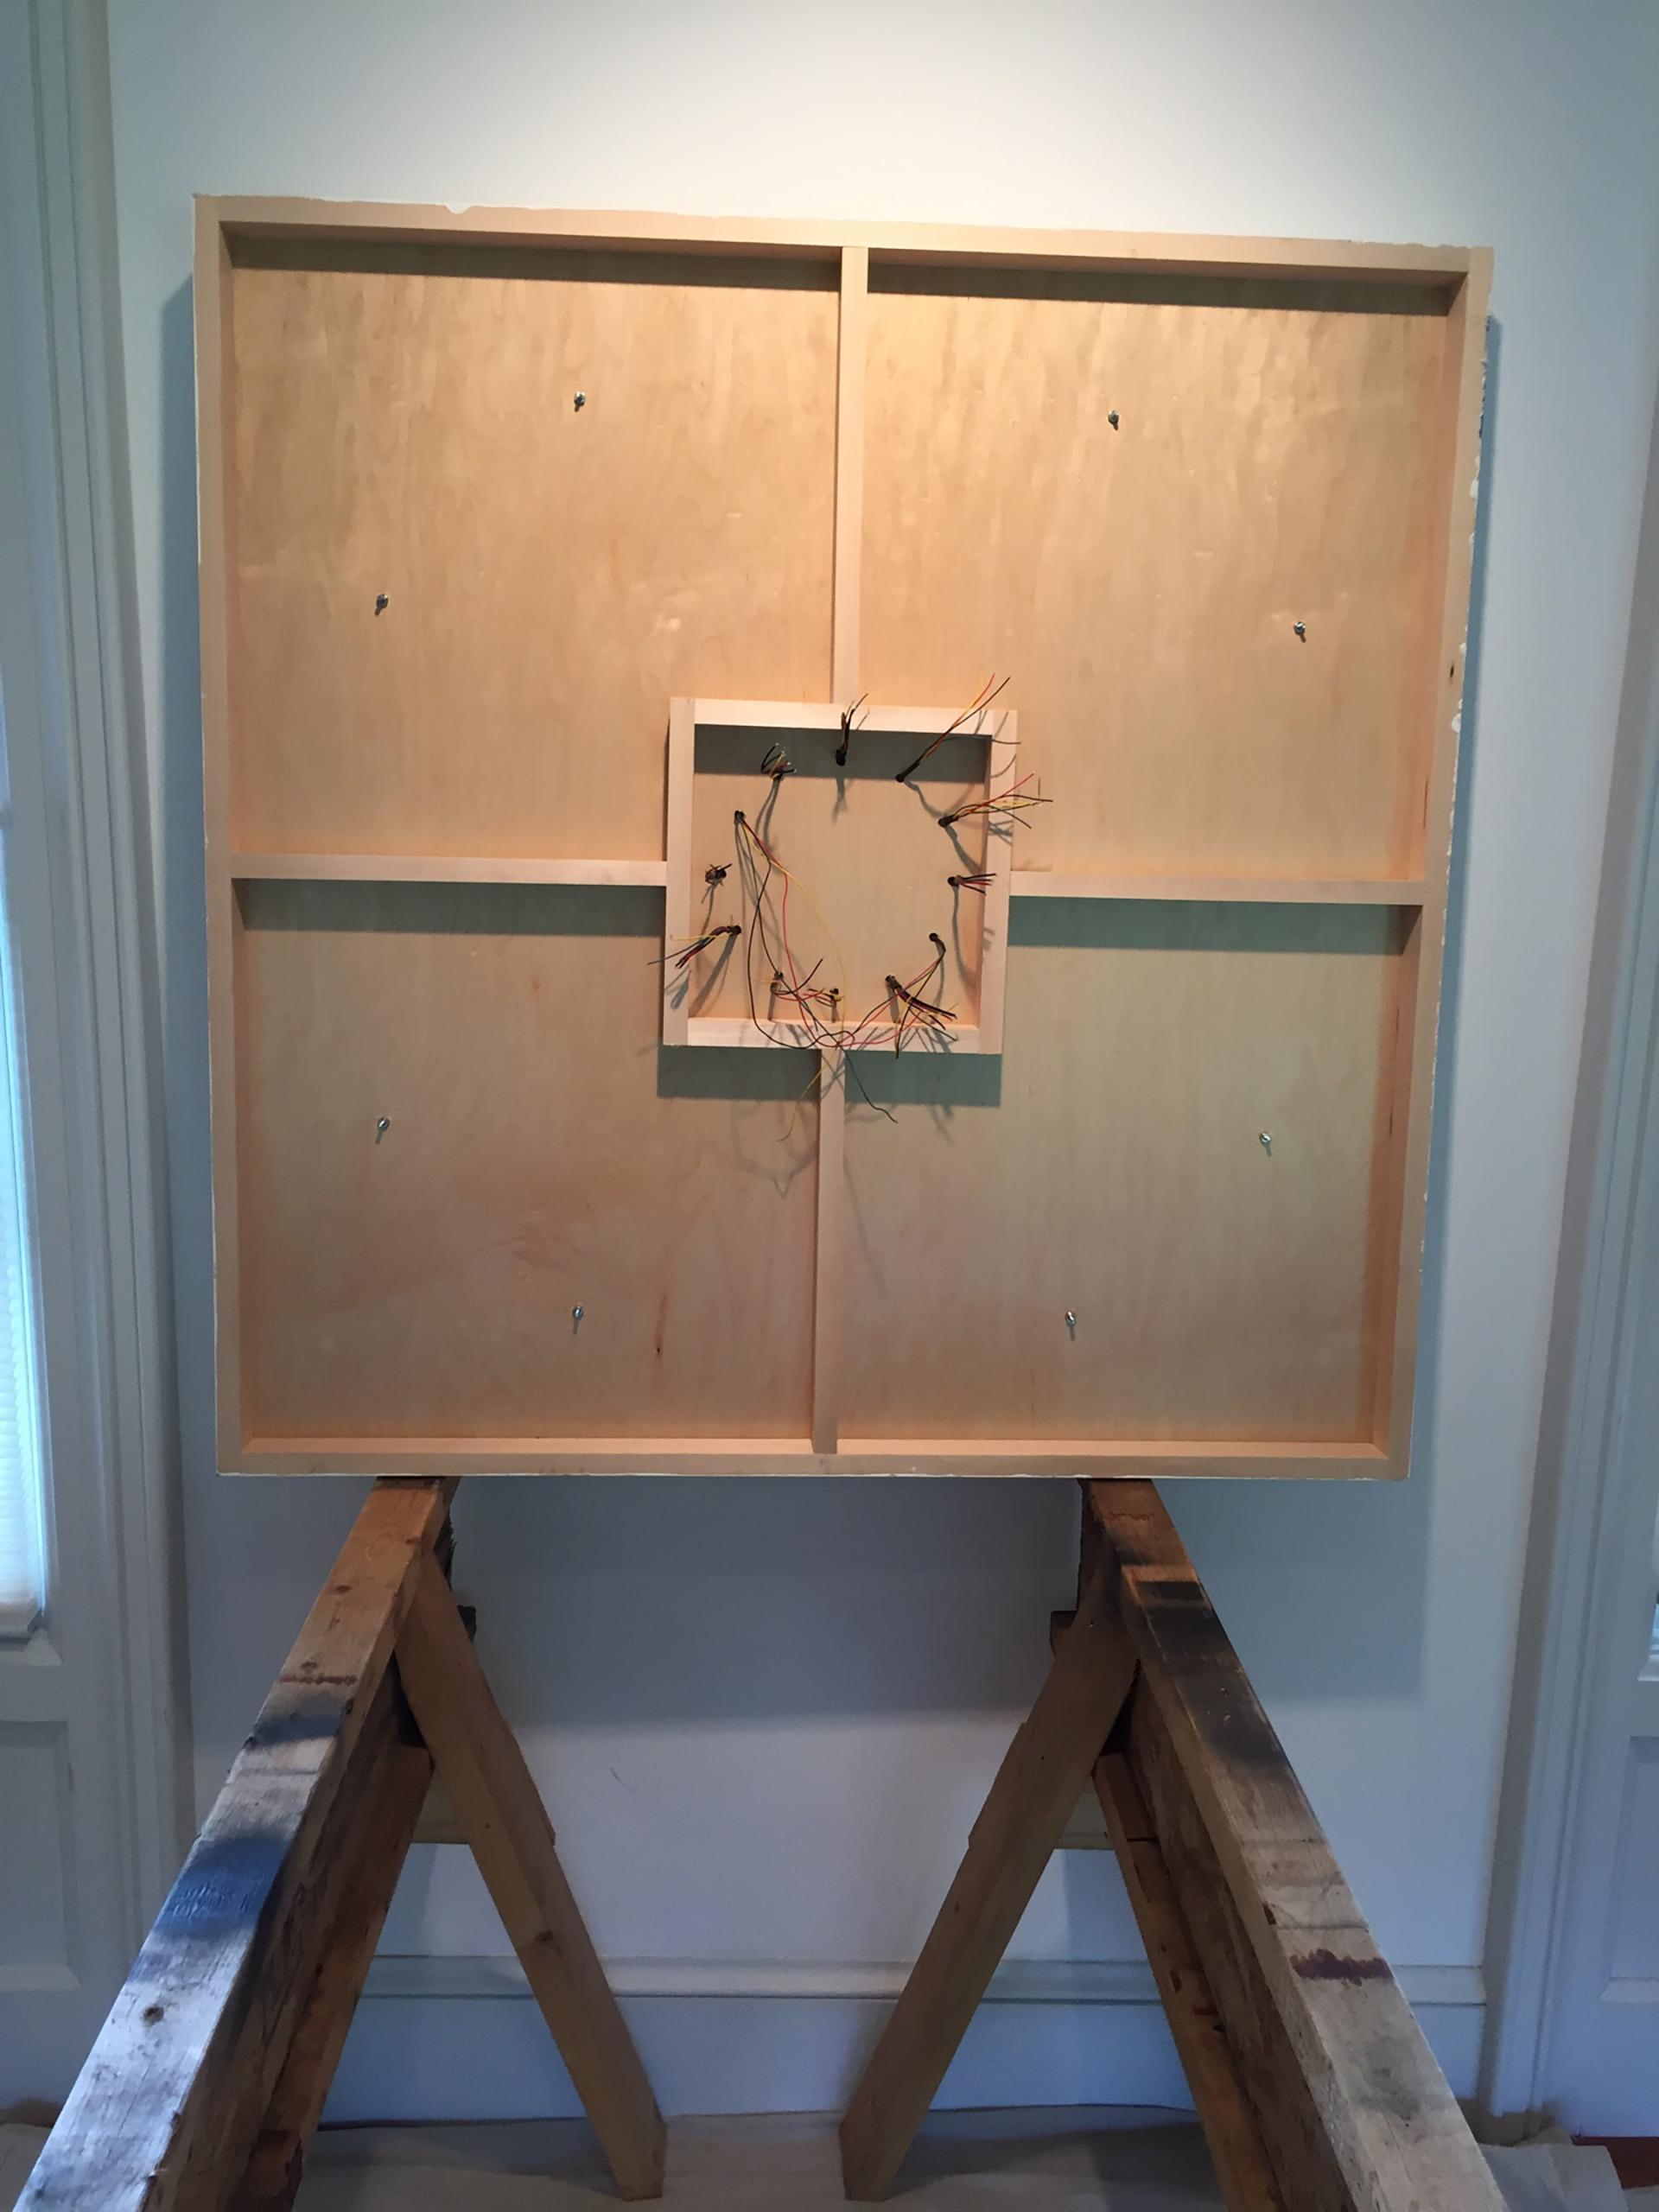
StarPower is made in collaboration with Breck Armstrong. It is consisted of a wooden frame and 12 pcv tubes, which we frosted ourselves, using gels on the inside and frosted spraypaint on the outside.
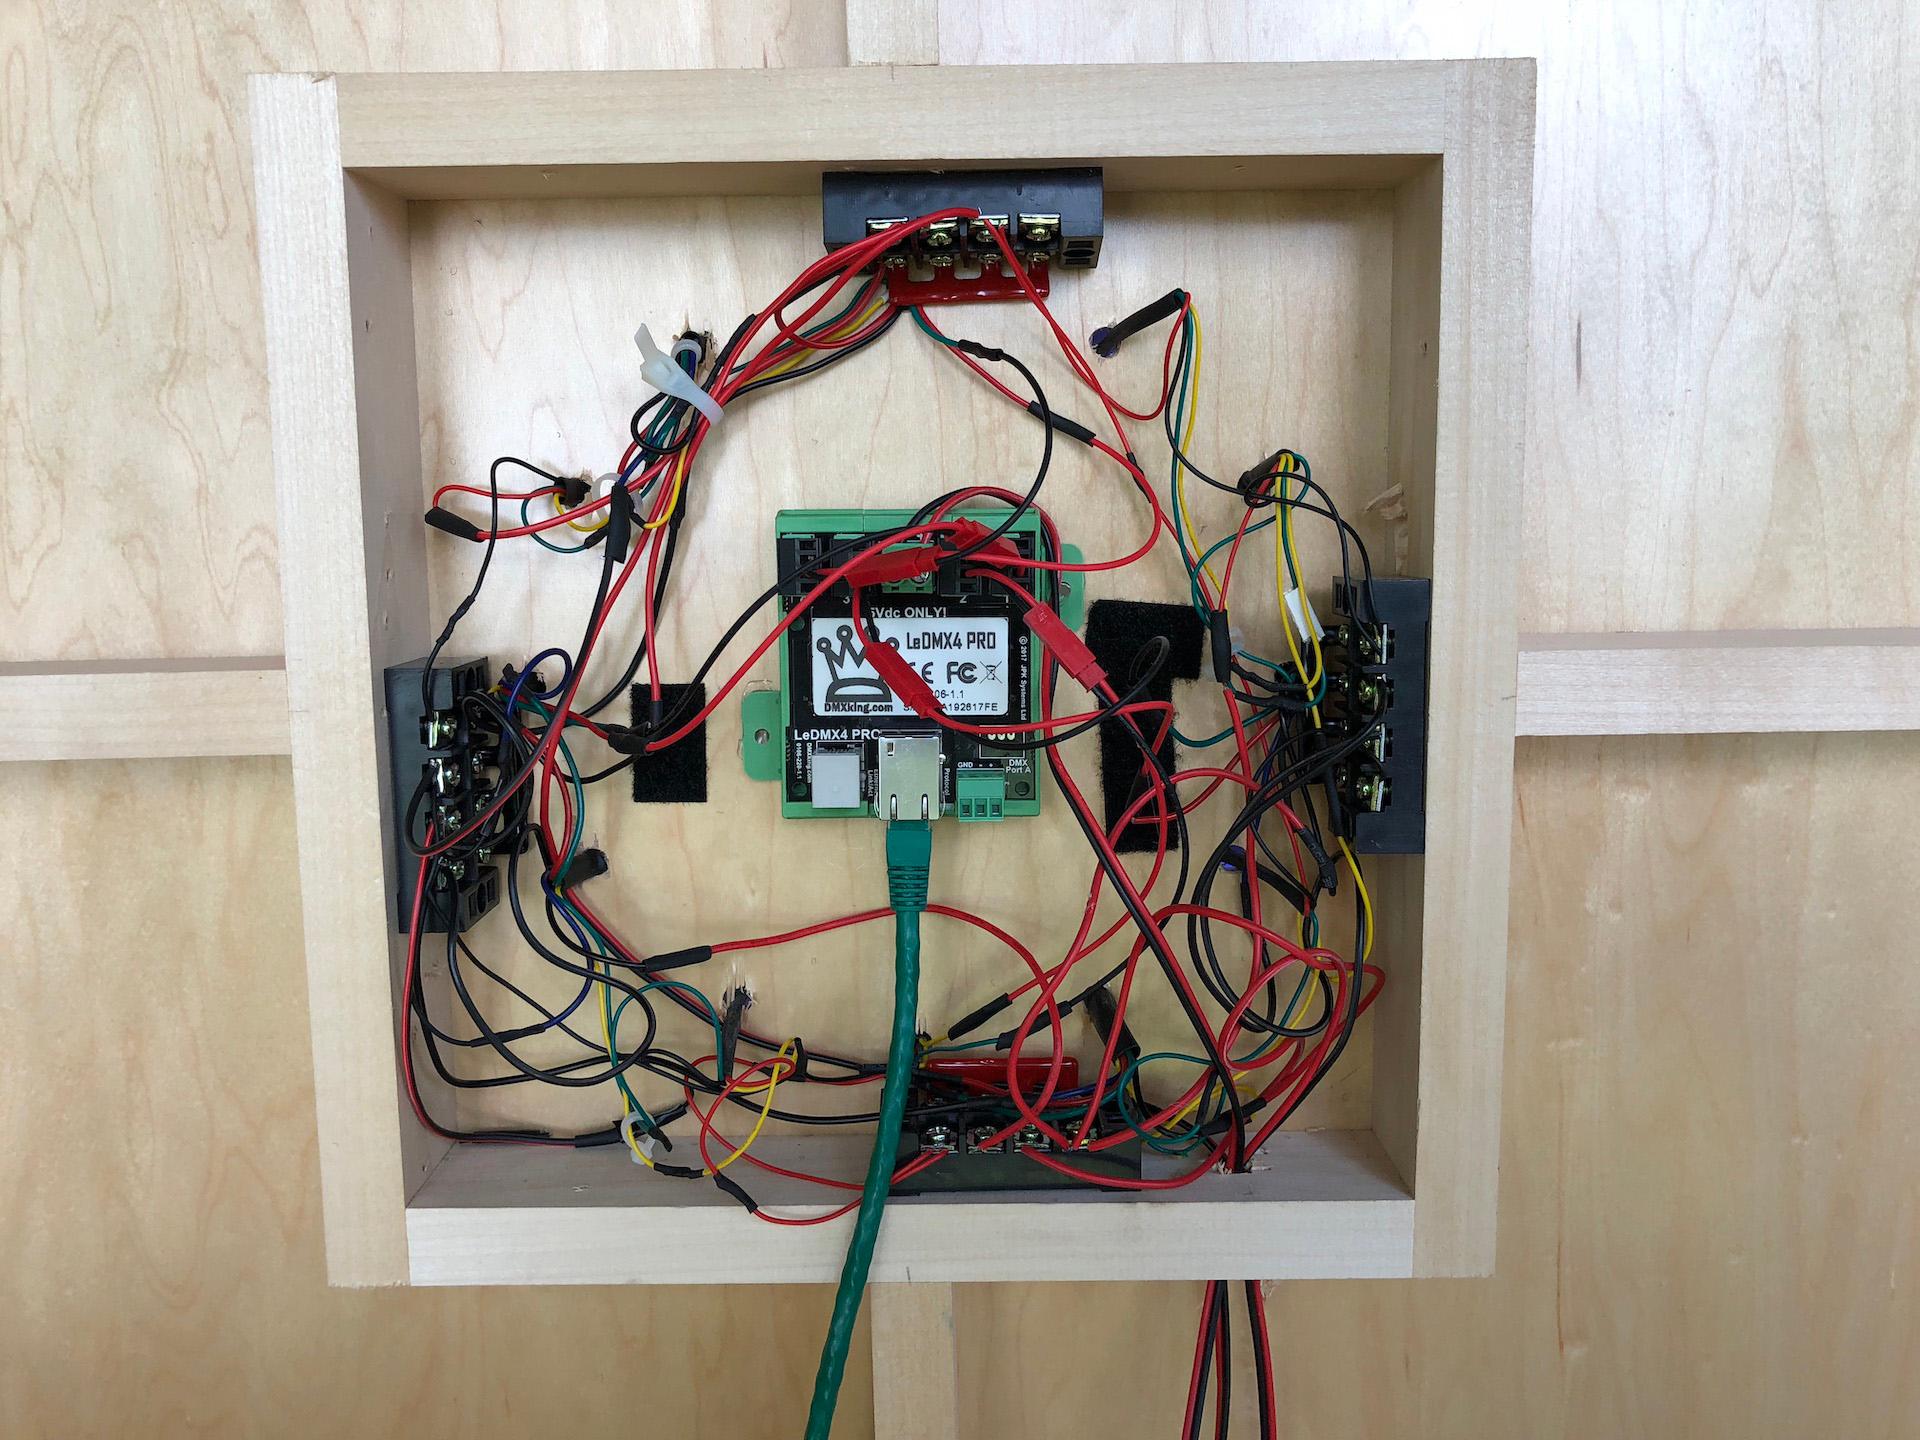
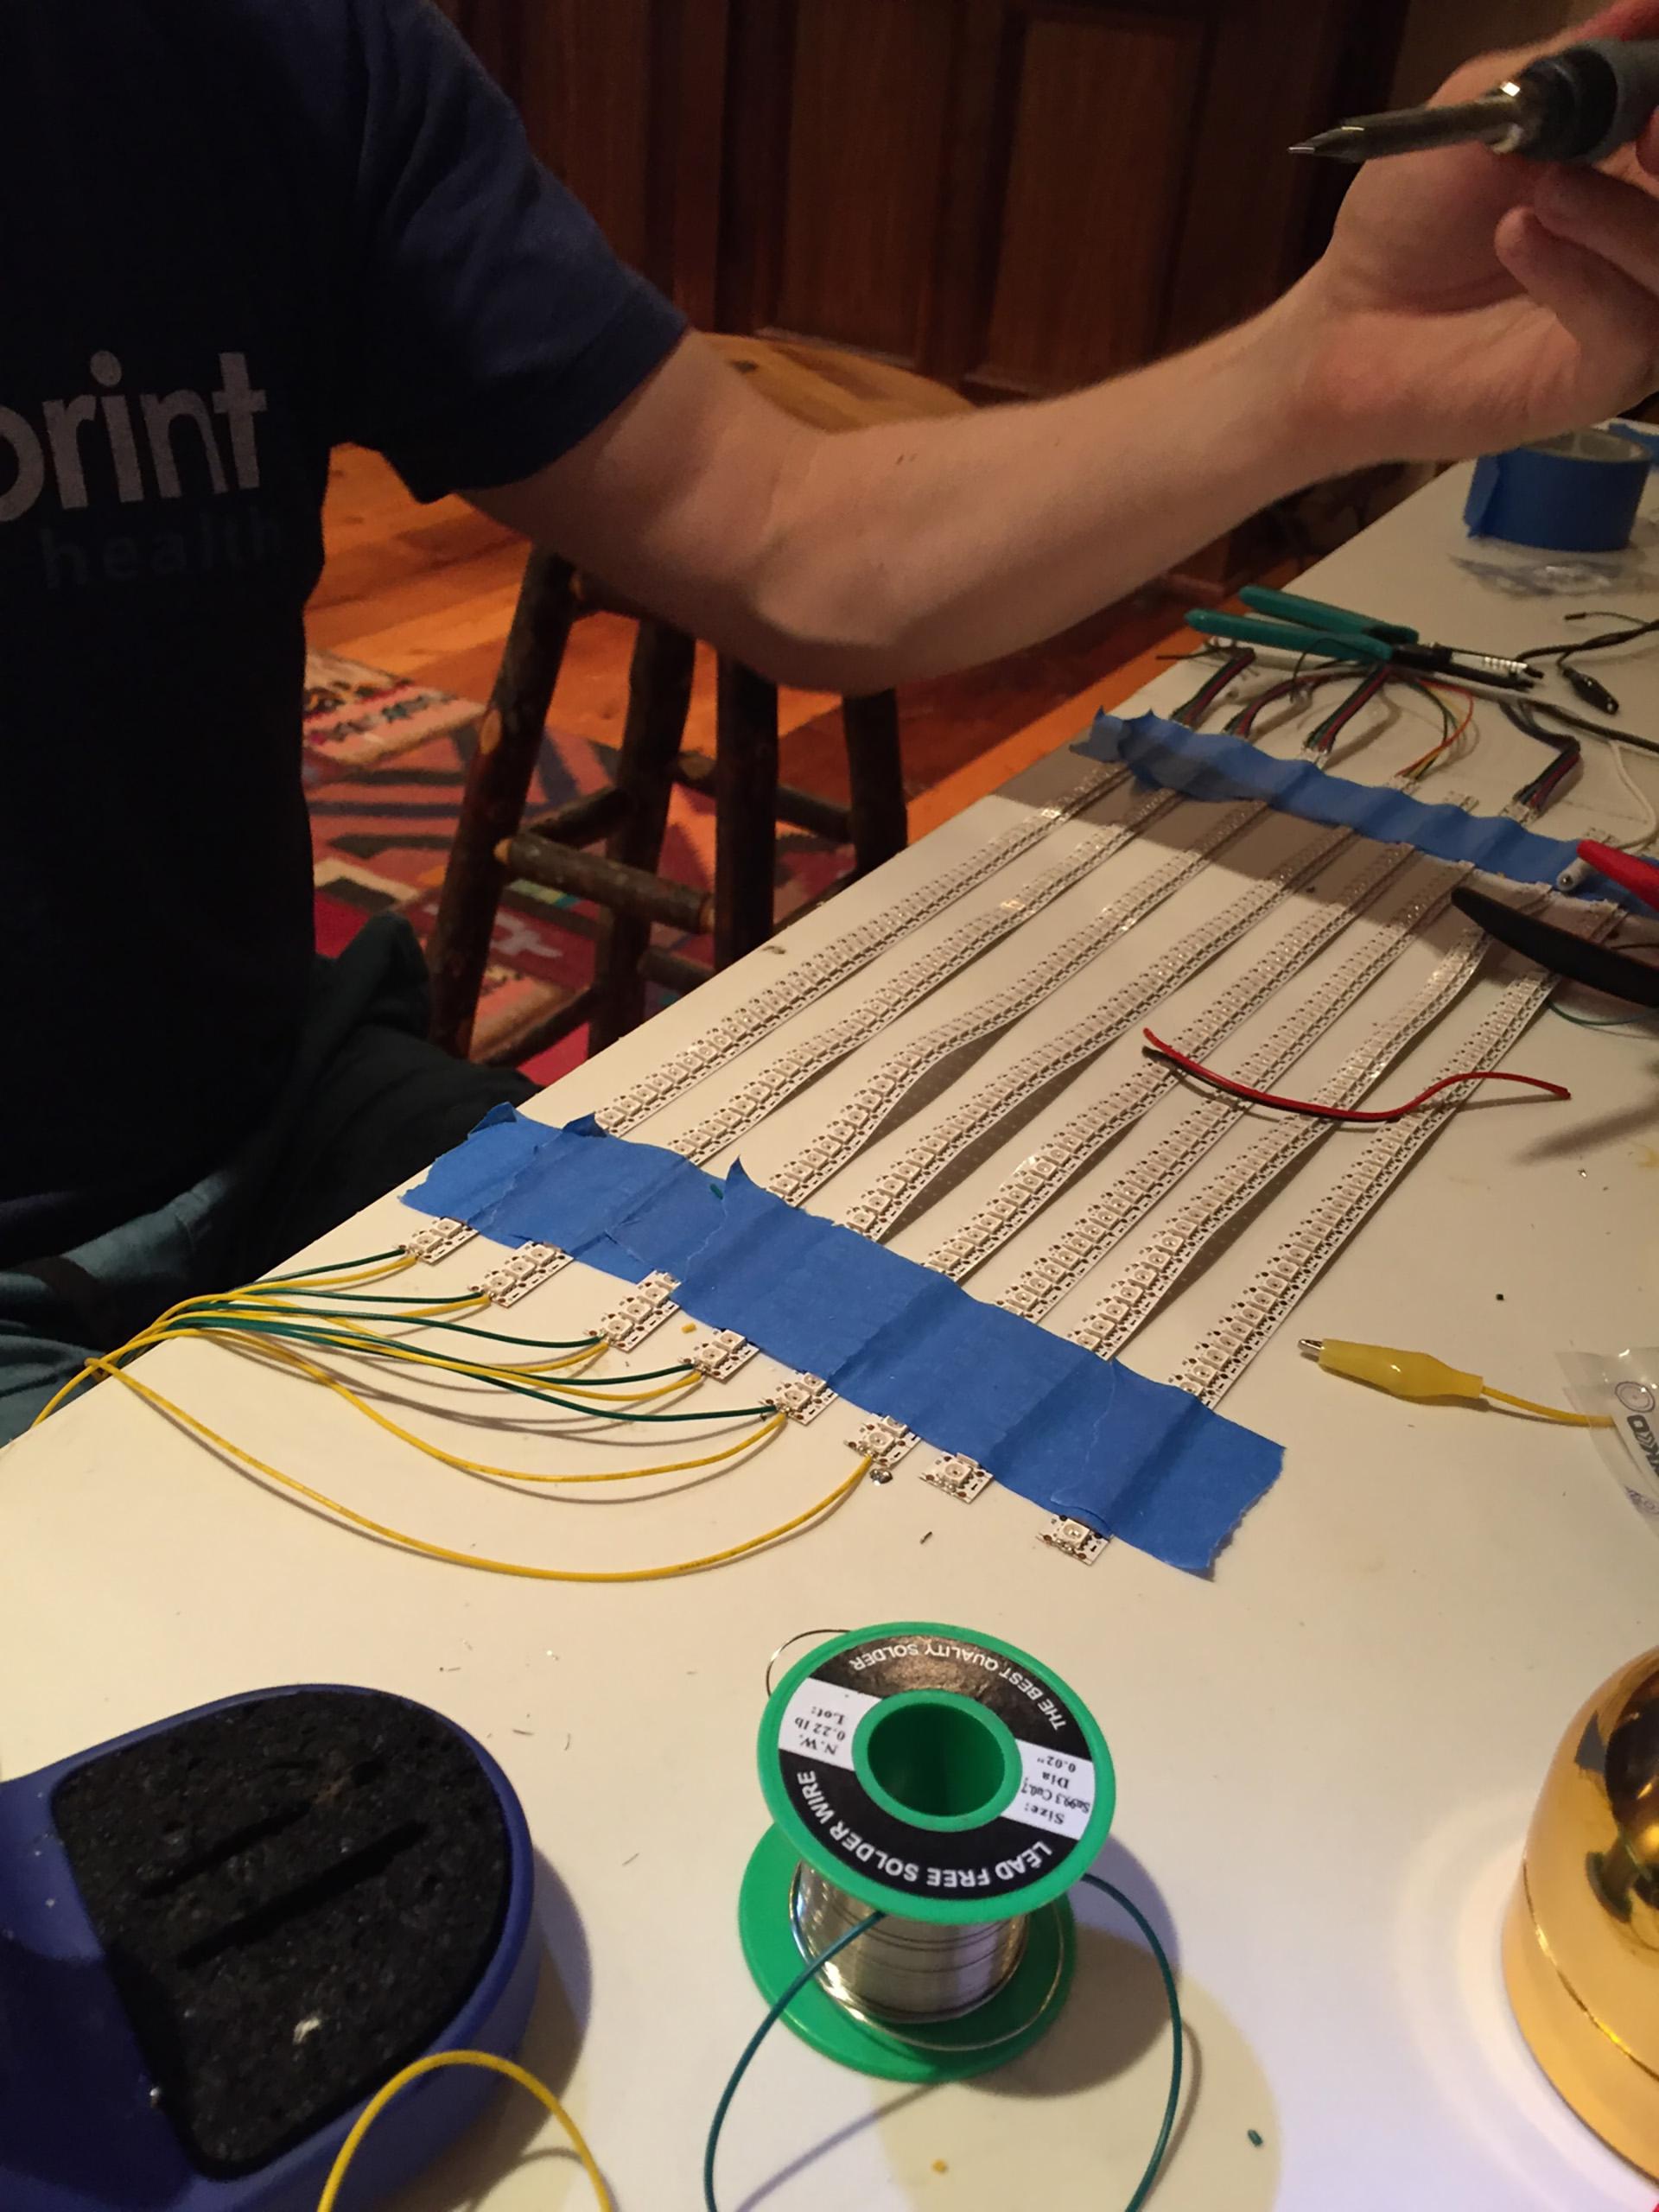
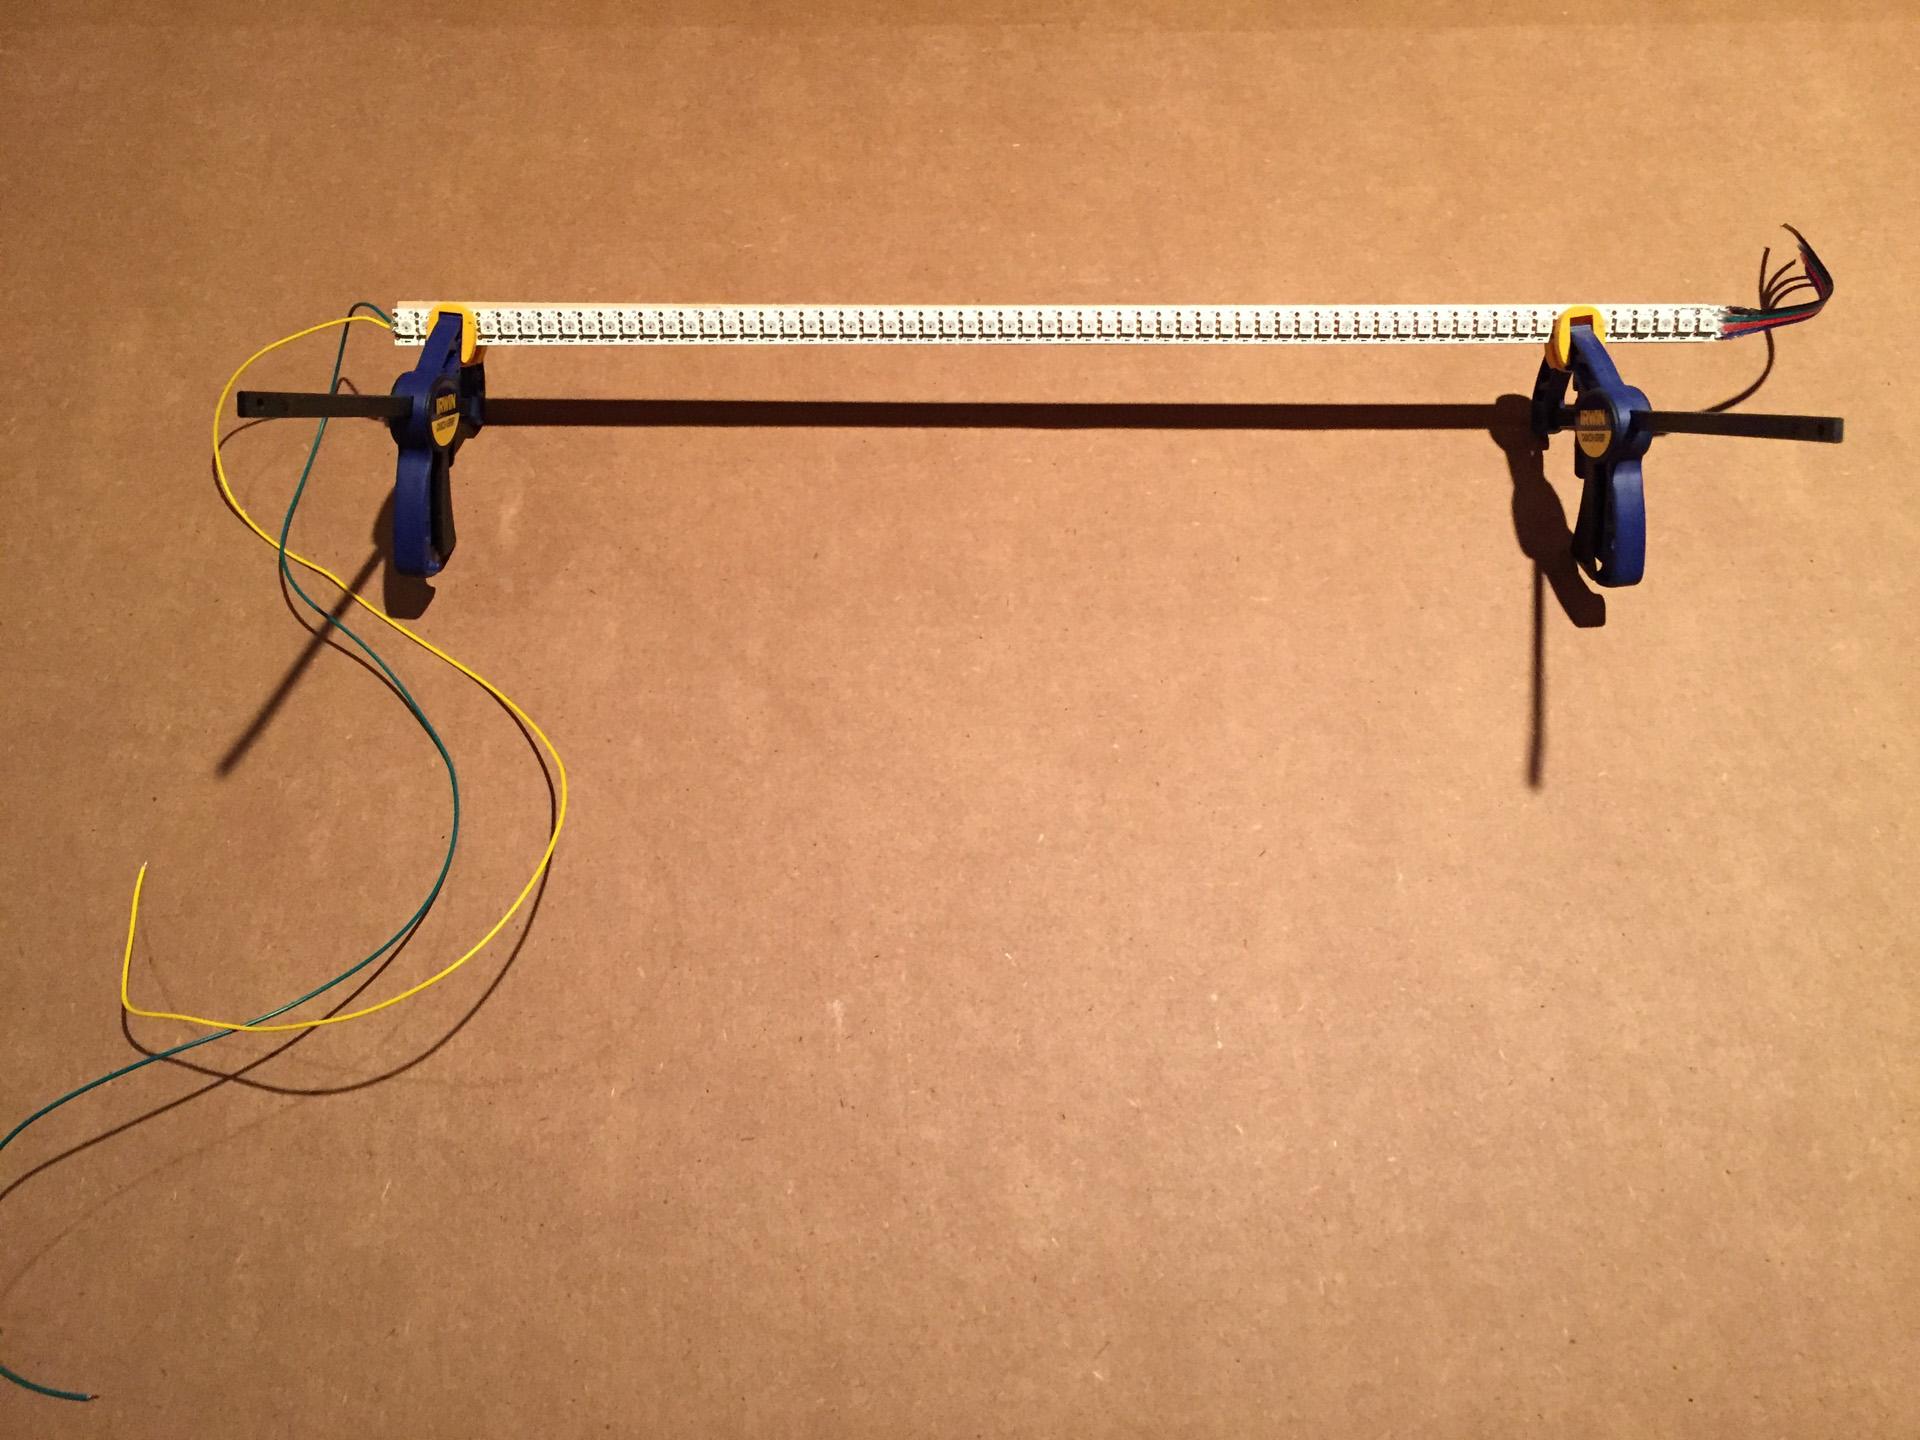
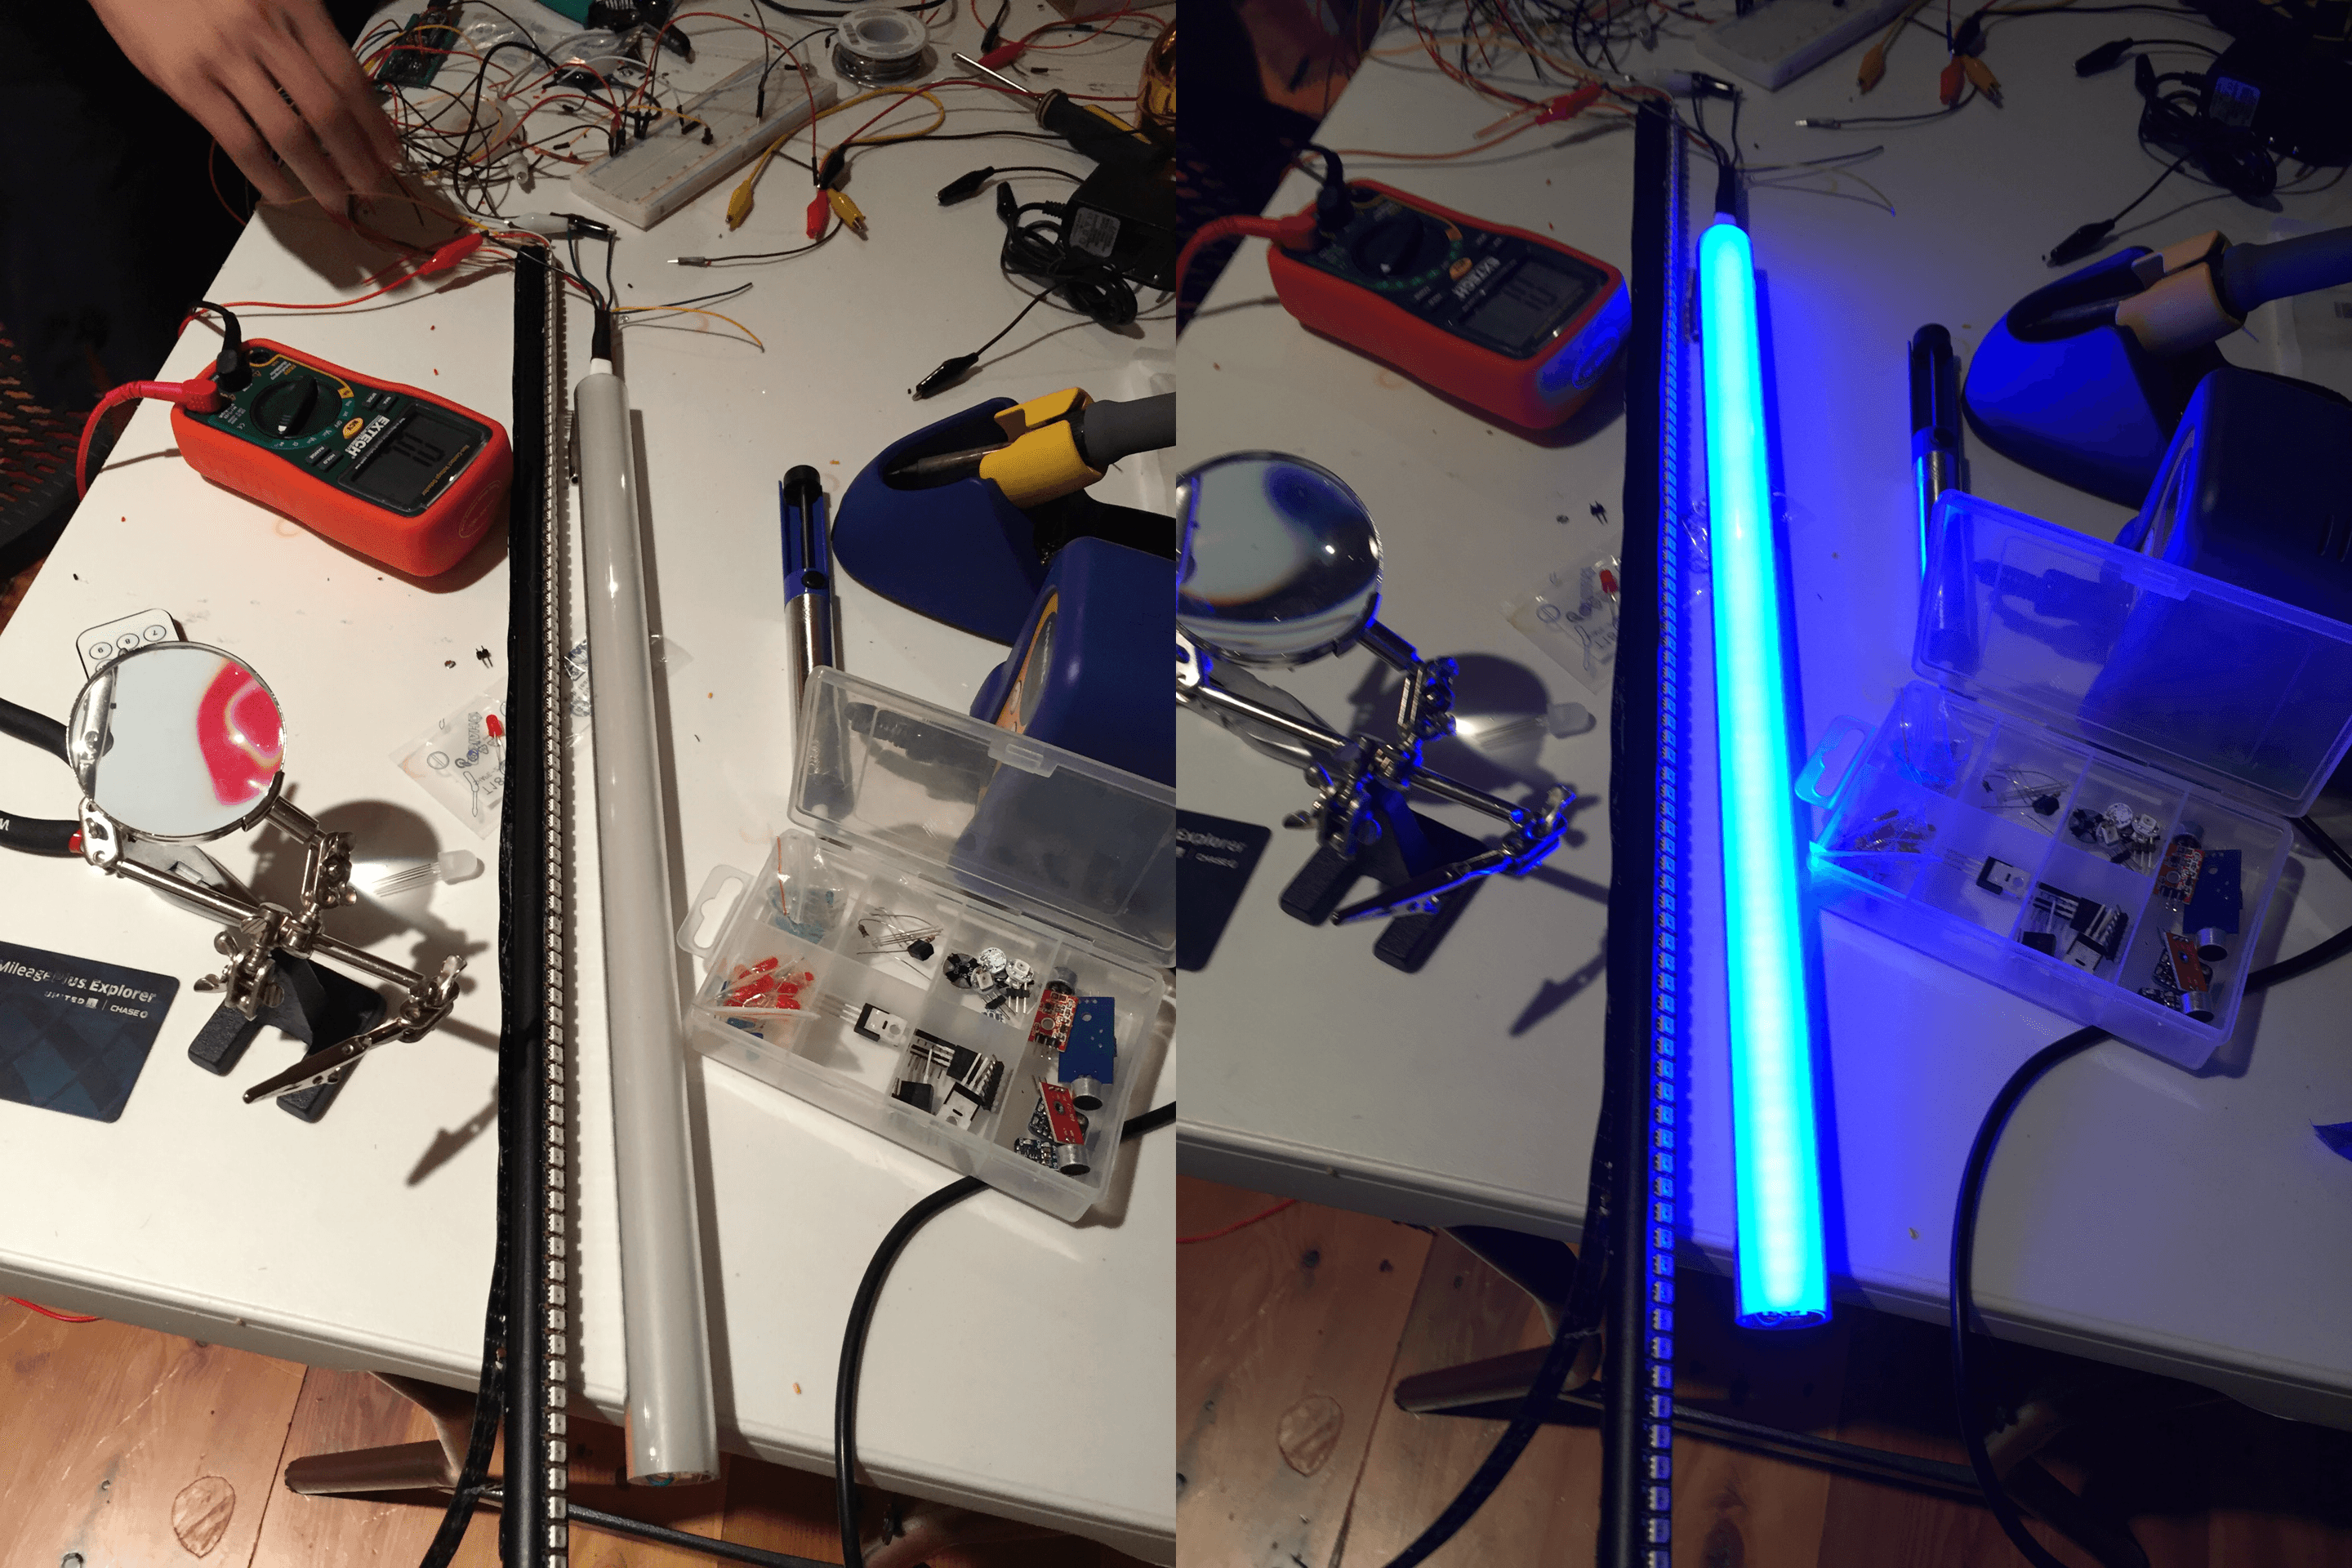
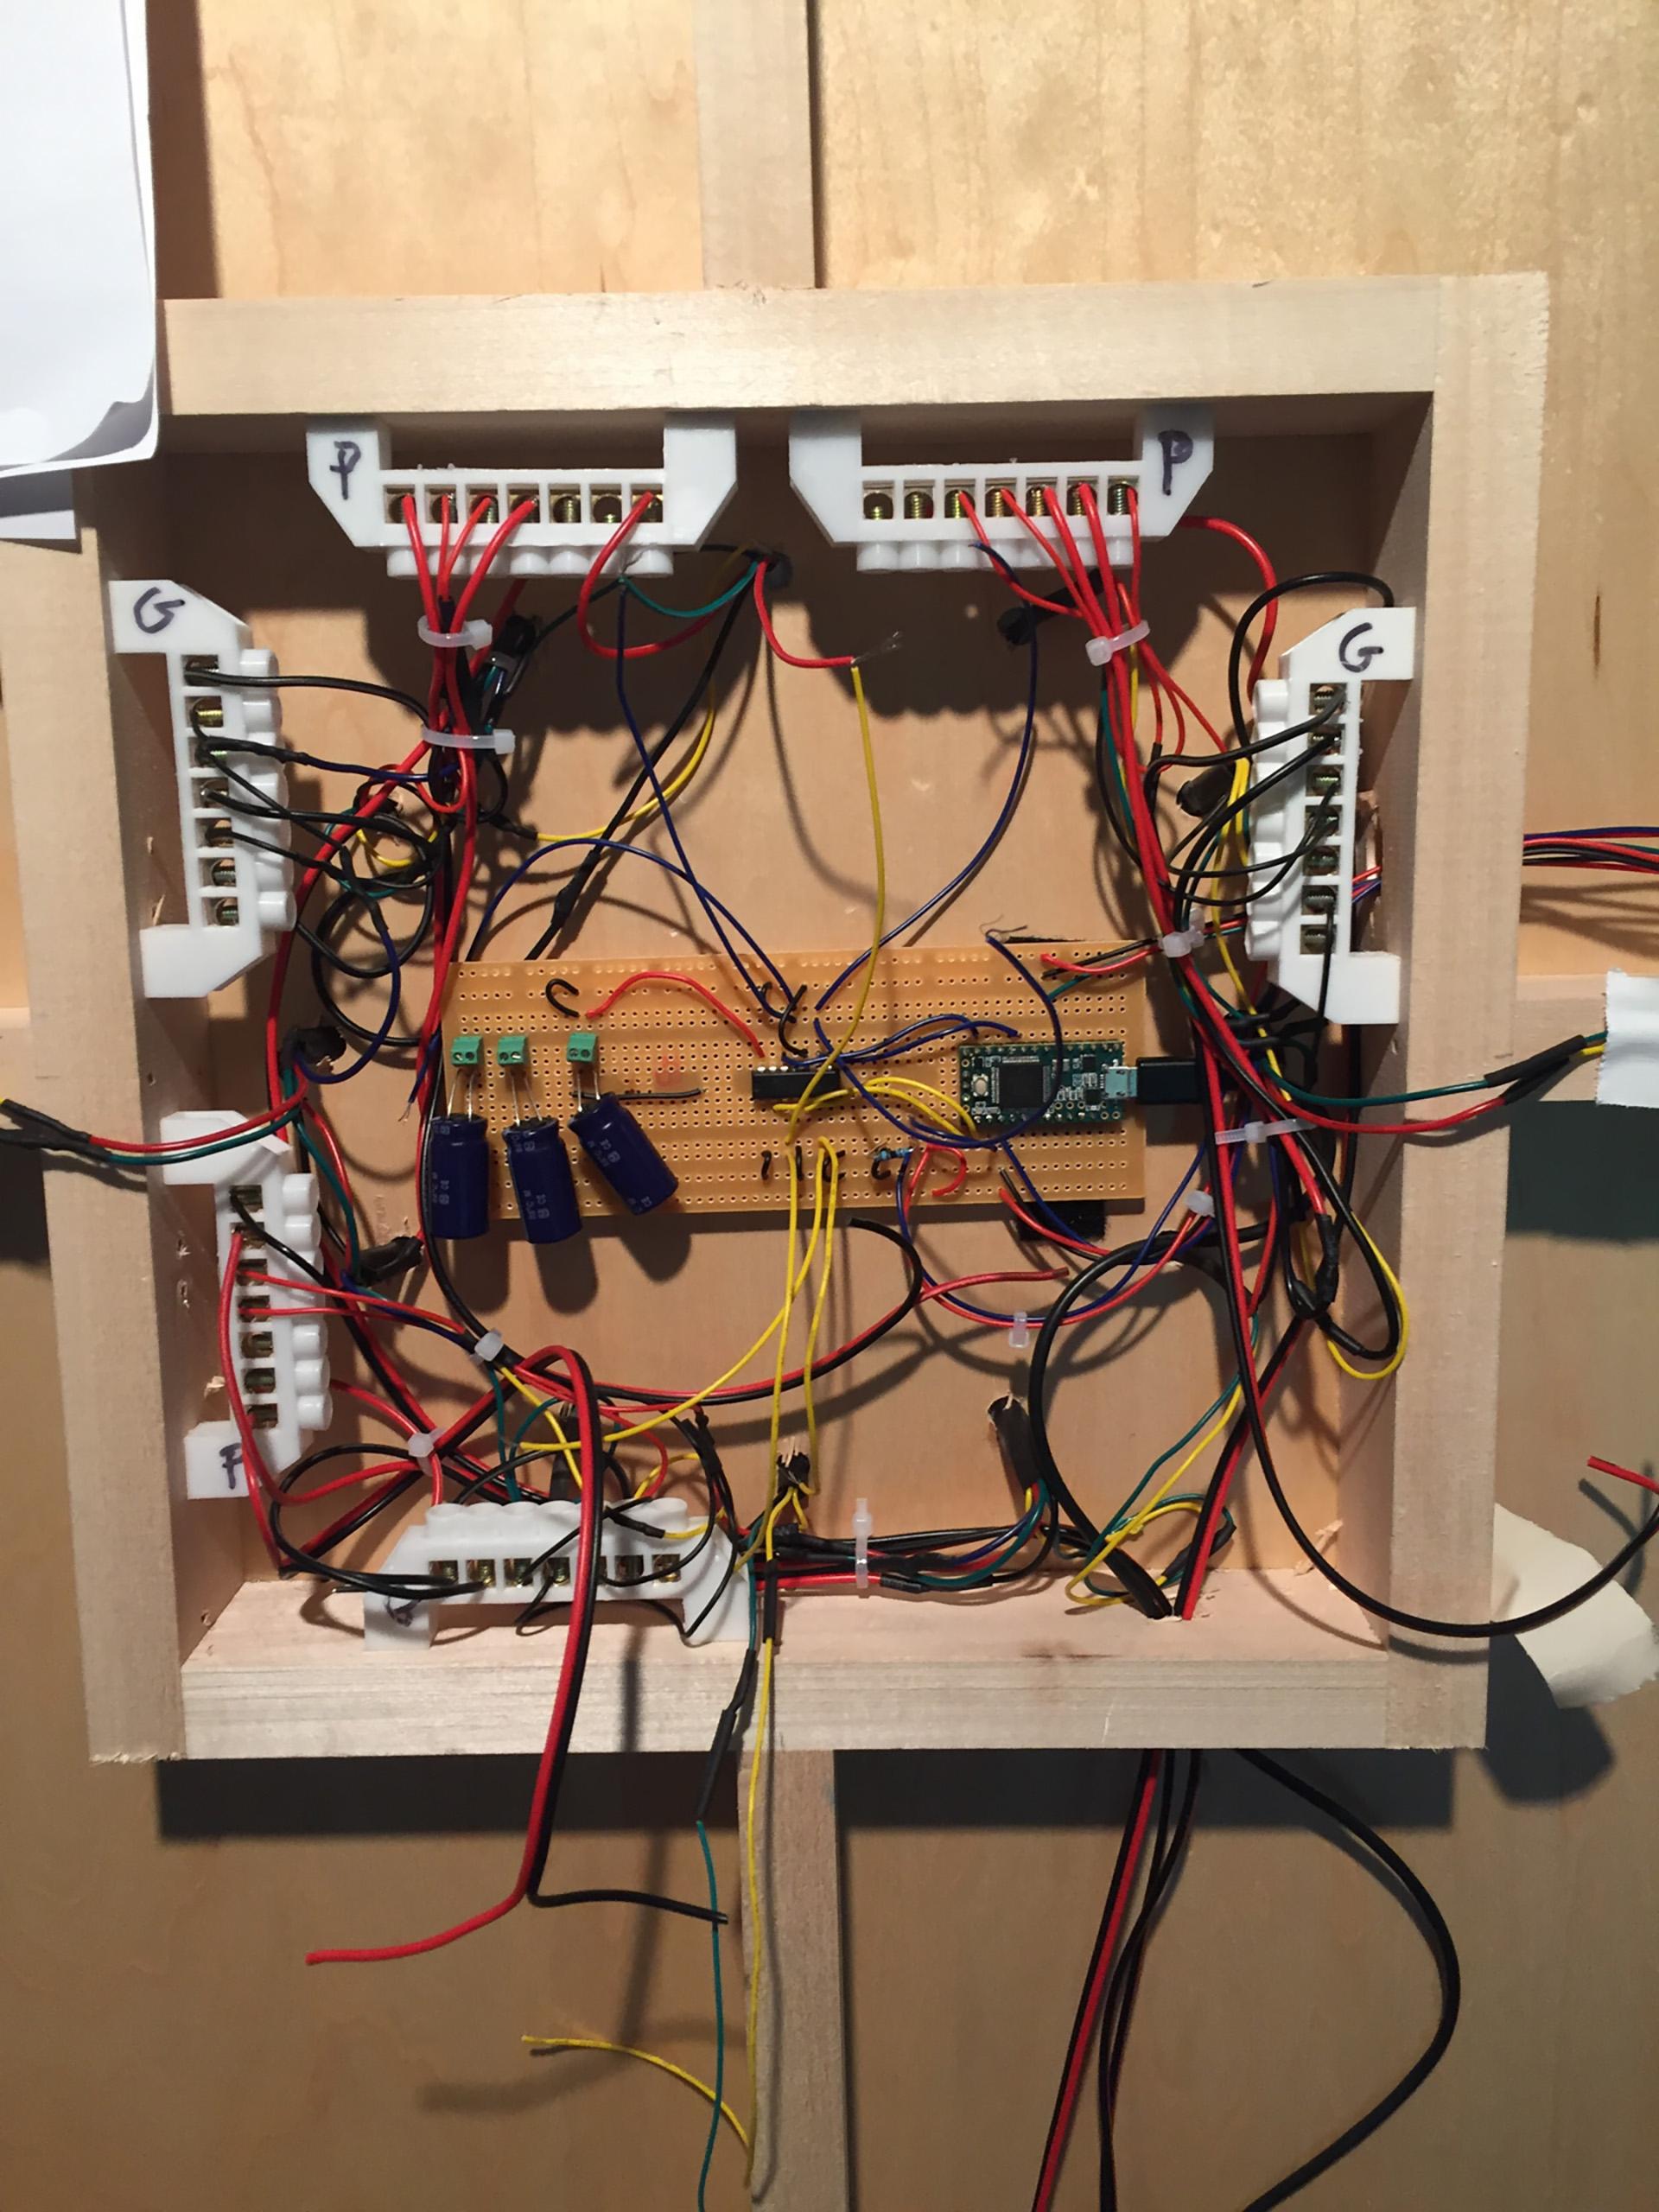
The LEDs are APA102s, the equivalent of Adafruit Dotstars, allowing for high framerate animations. For StarPower, the LEDs are configured in 4 sets of 3 bars, with each set of bars having the data and clock daisy chained, and the power and ground connected directly to the power source.
We eventually got this working but found the Ardiuno coding environment challenging to program elaborate animations in.
At ITP resident Aaron Parsekian showed me the LeDMX4 PRO controller which can be used to control 4 strips of APA102s using ArtNet.
We ended up switching to use this controller, and I wrote a TouchDesigner program to project the leds in a circular physical space, and allow for generative visuals to show up on the star.
Using the DMXKing LeDMX4 PRO to control using ArtNET 12 strips of LEDS that are daisy chained into 4 sets.LED Mapping in TouchDesigner
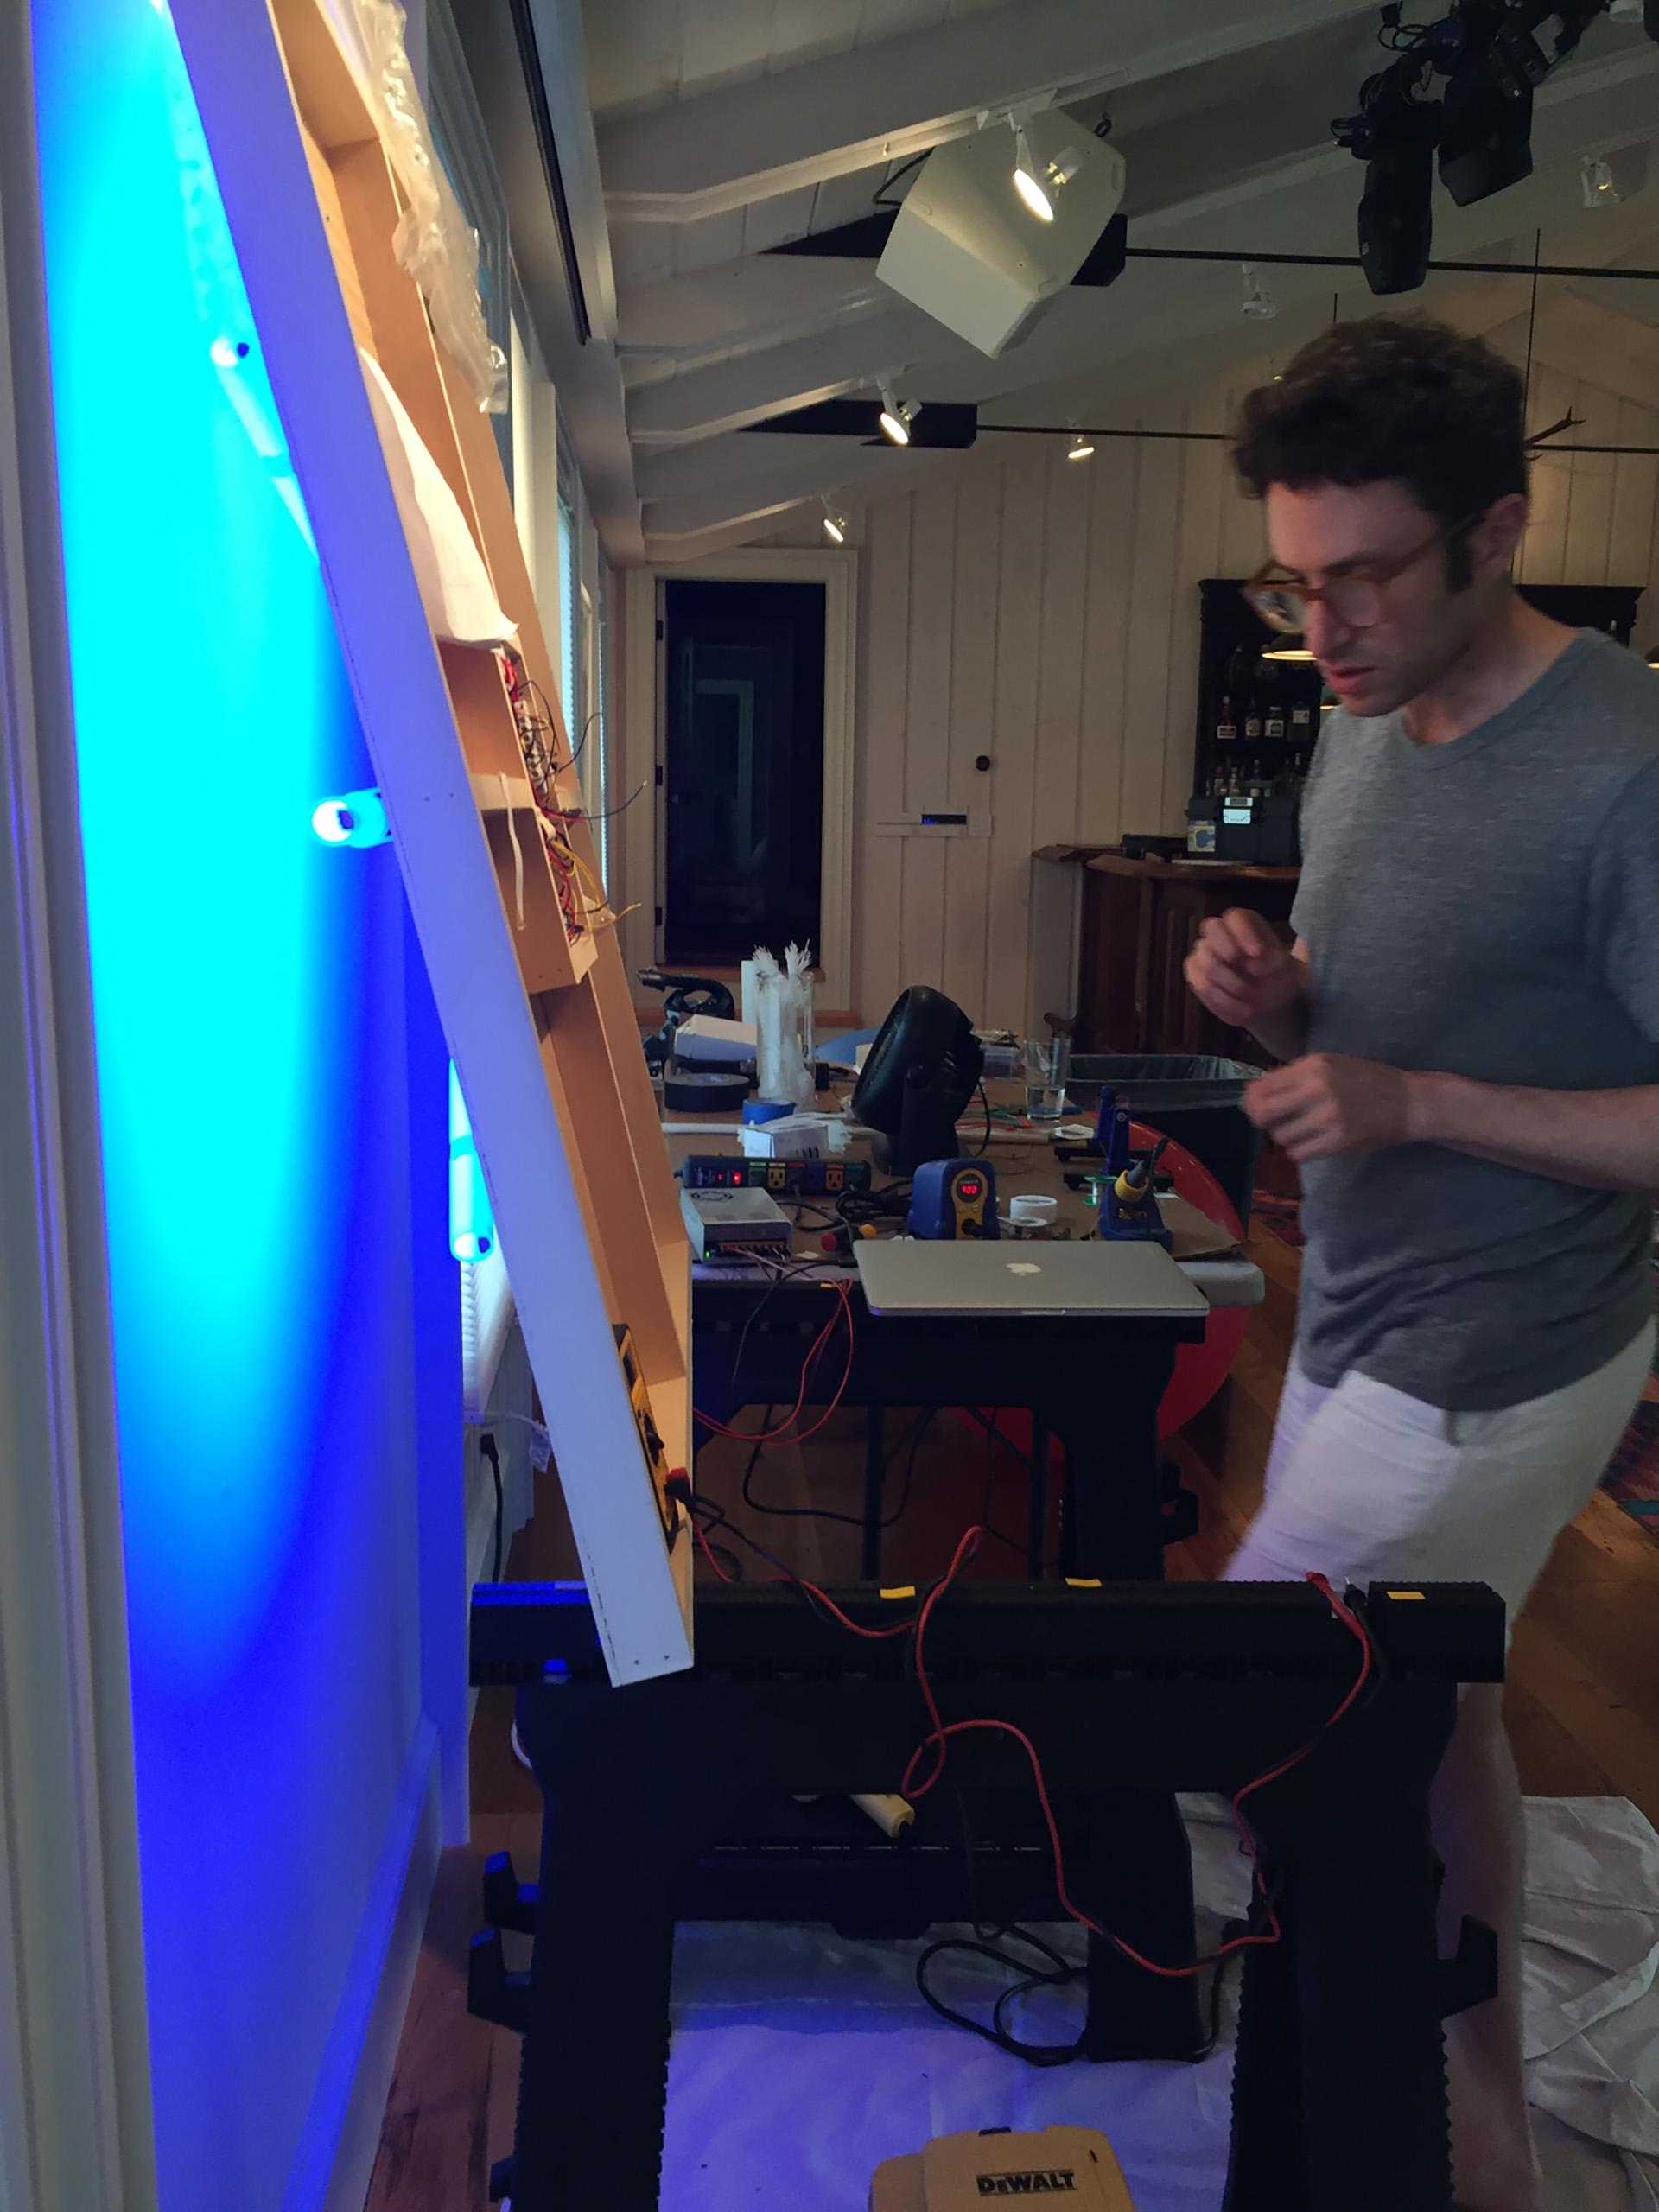
Fabrication
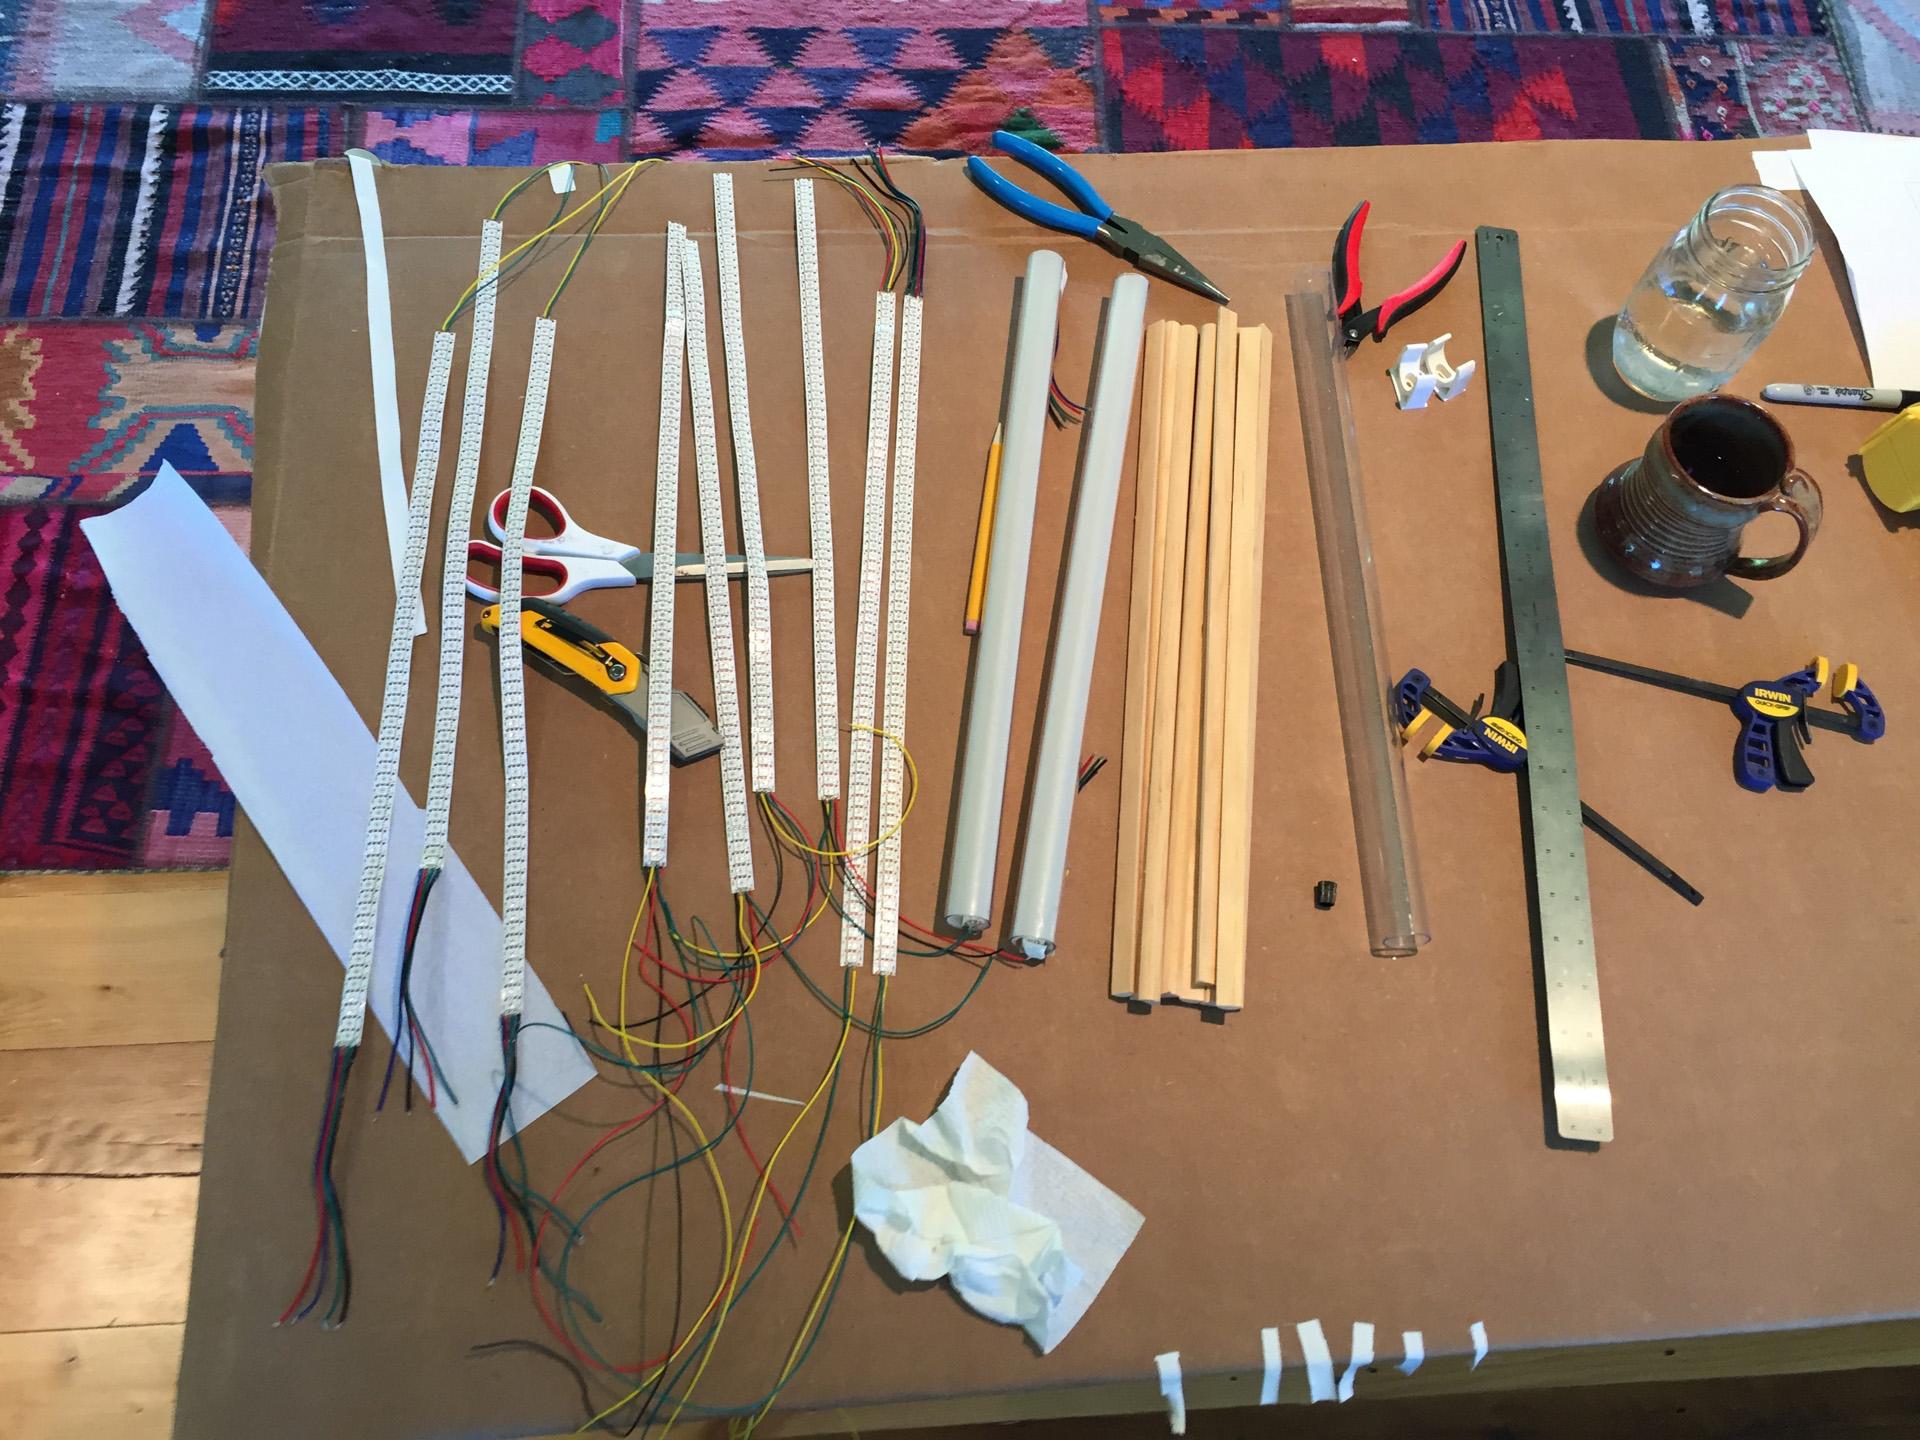
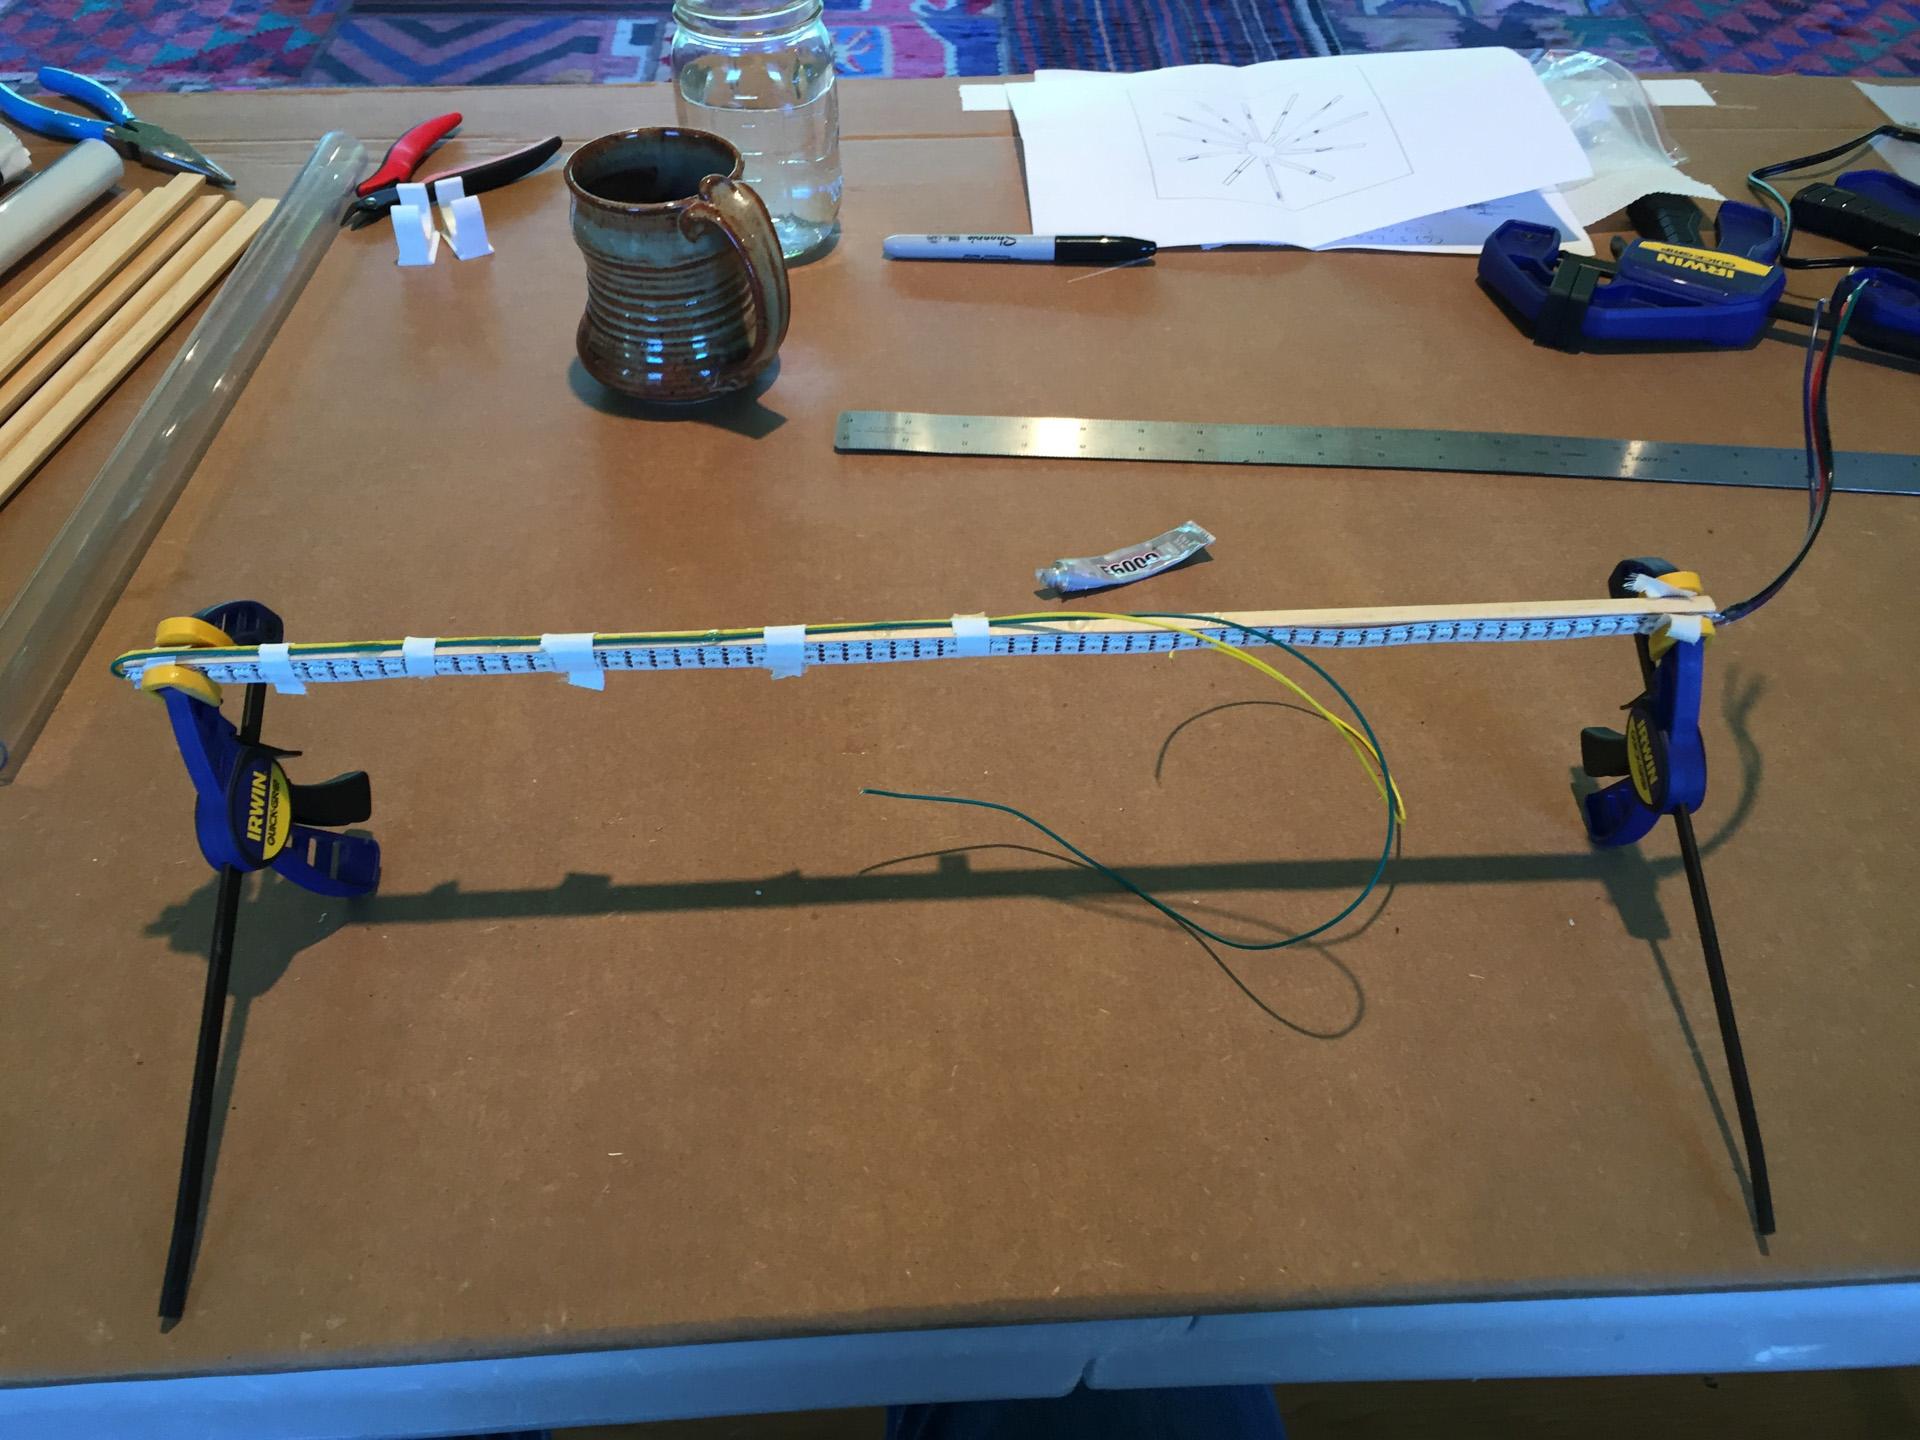
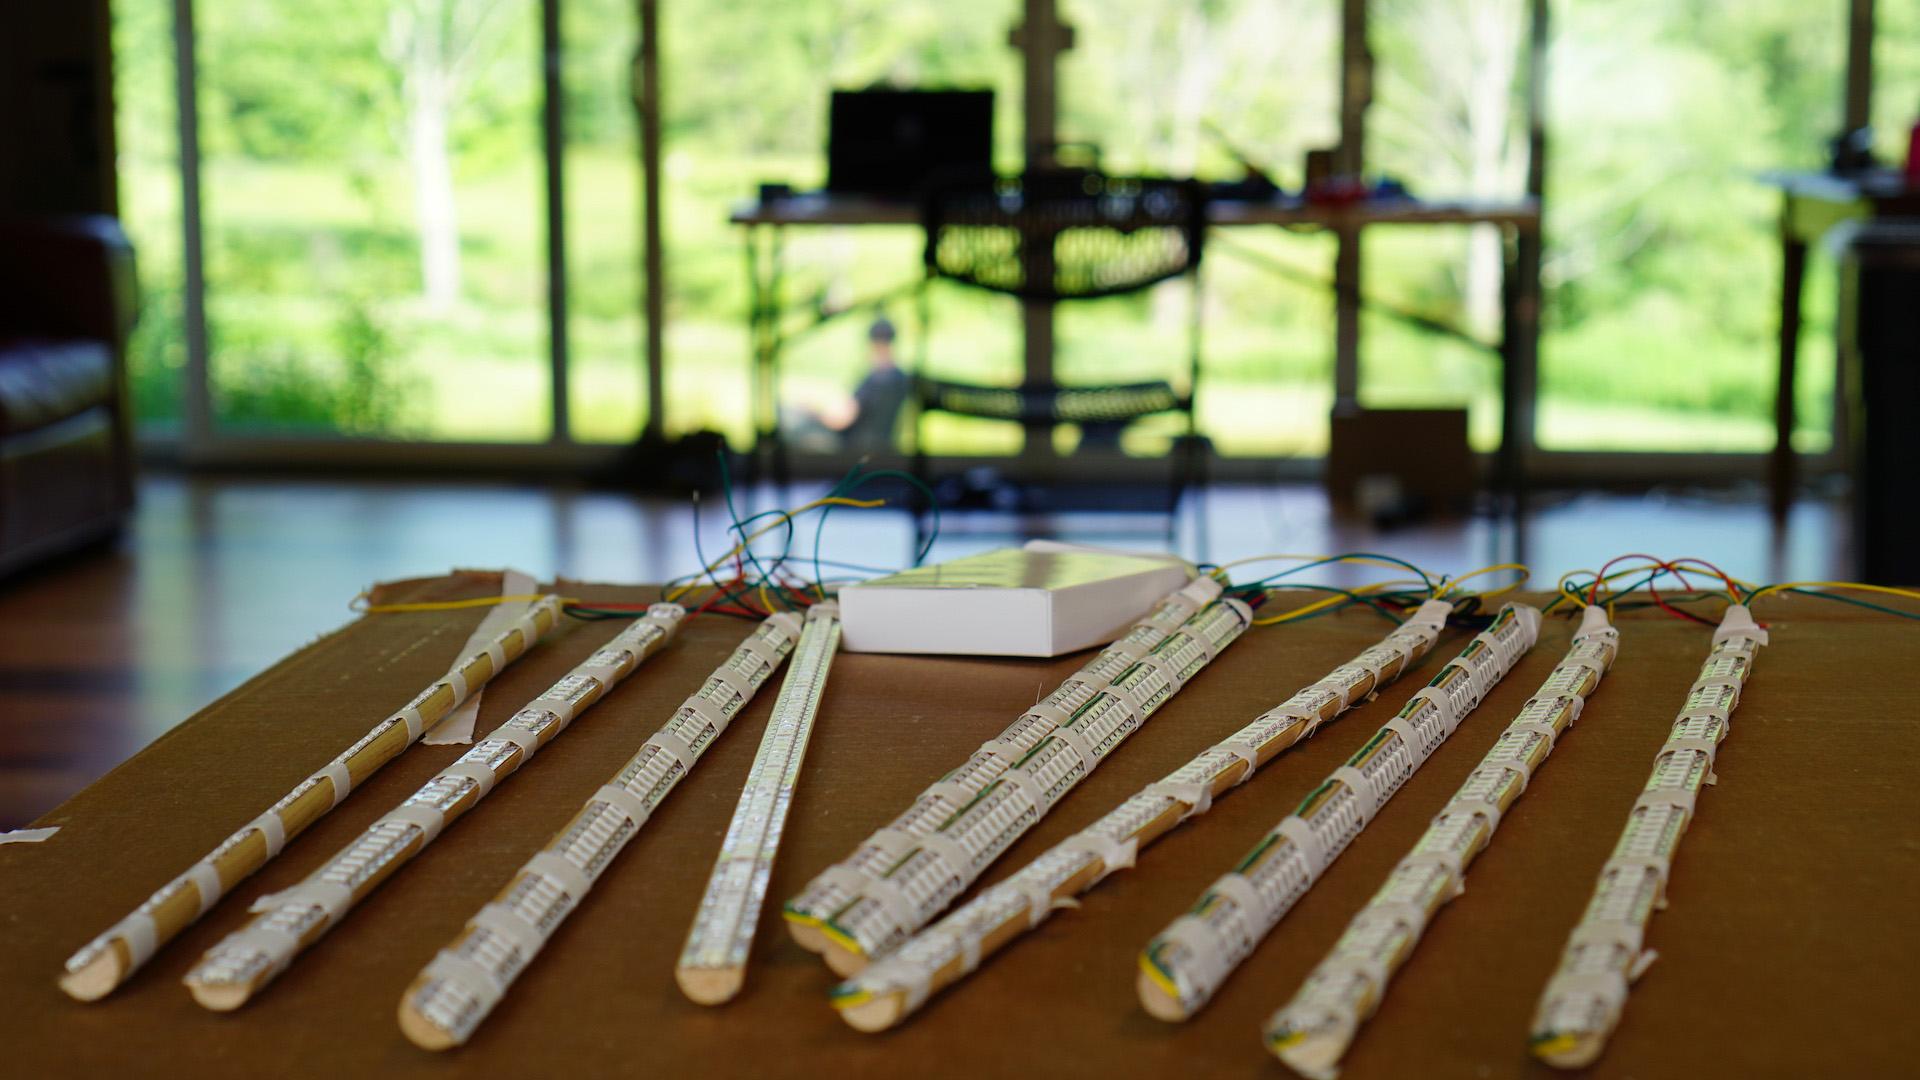
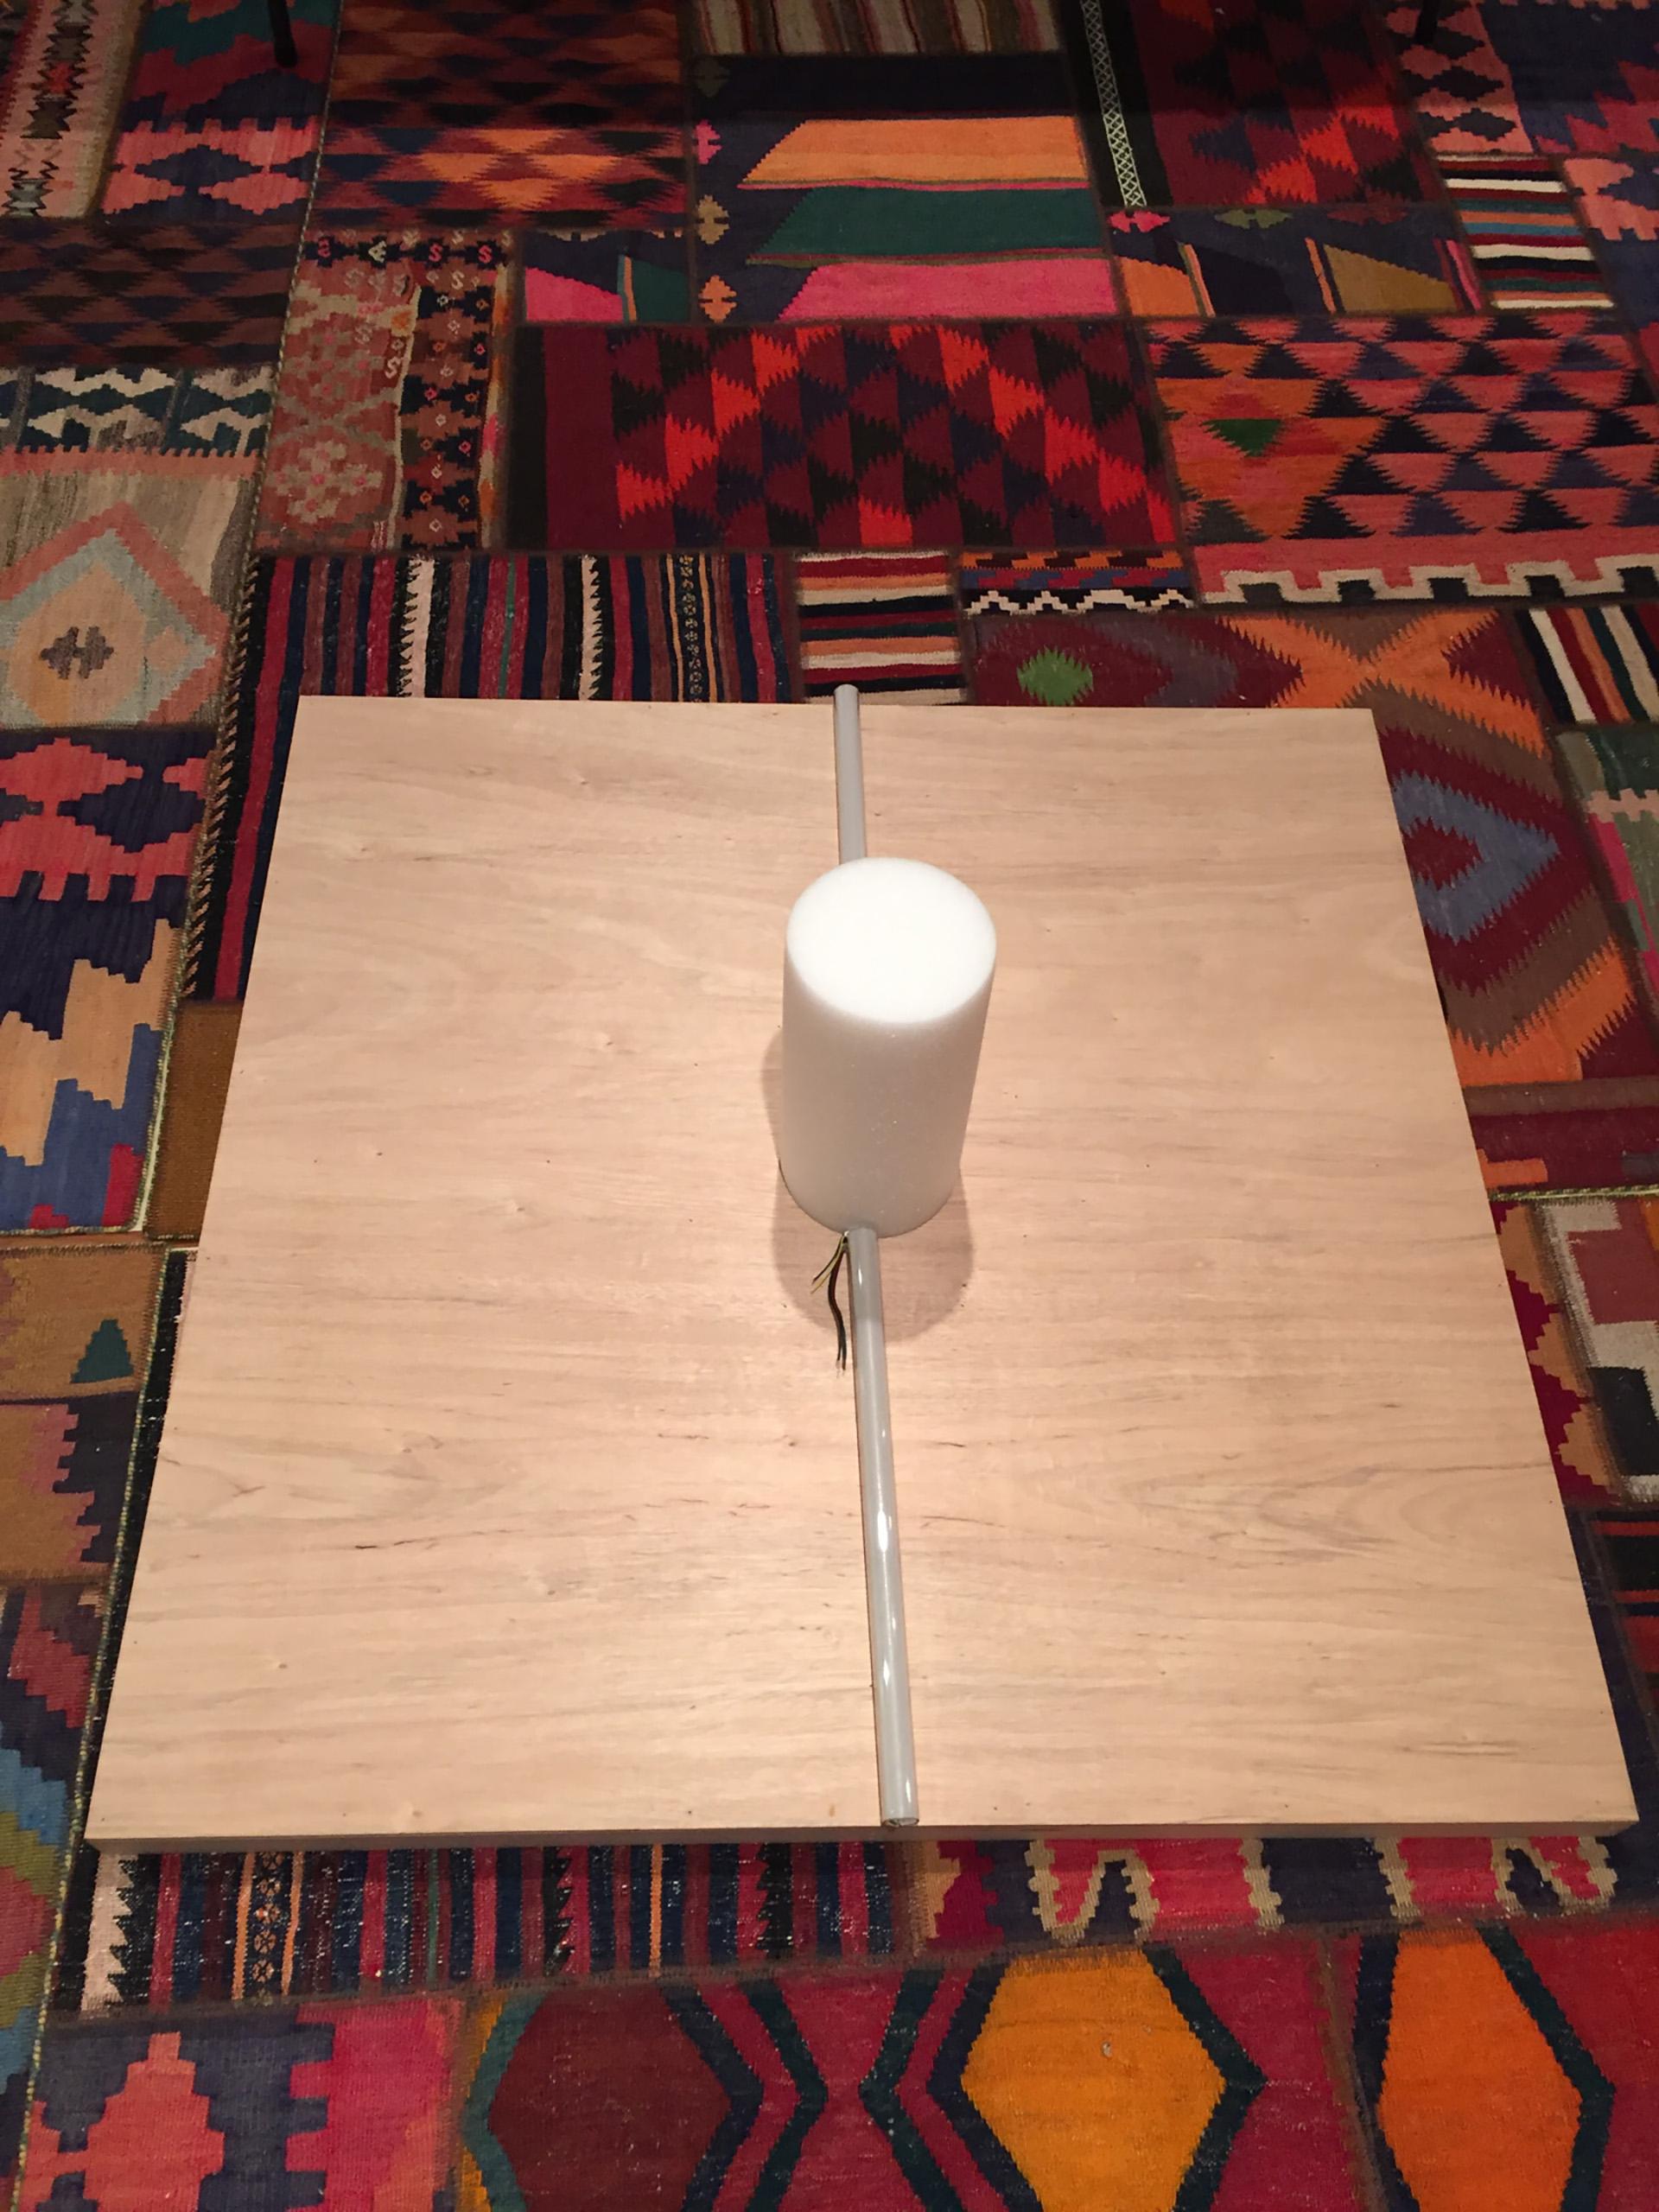
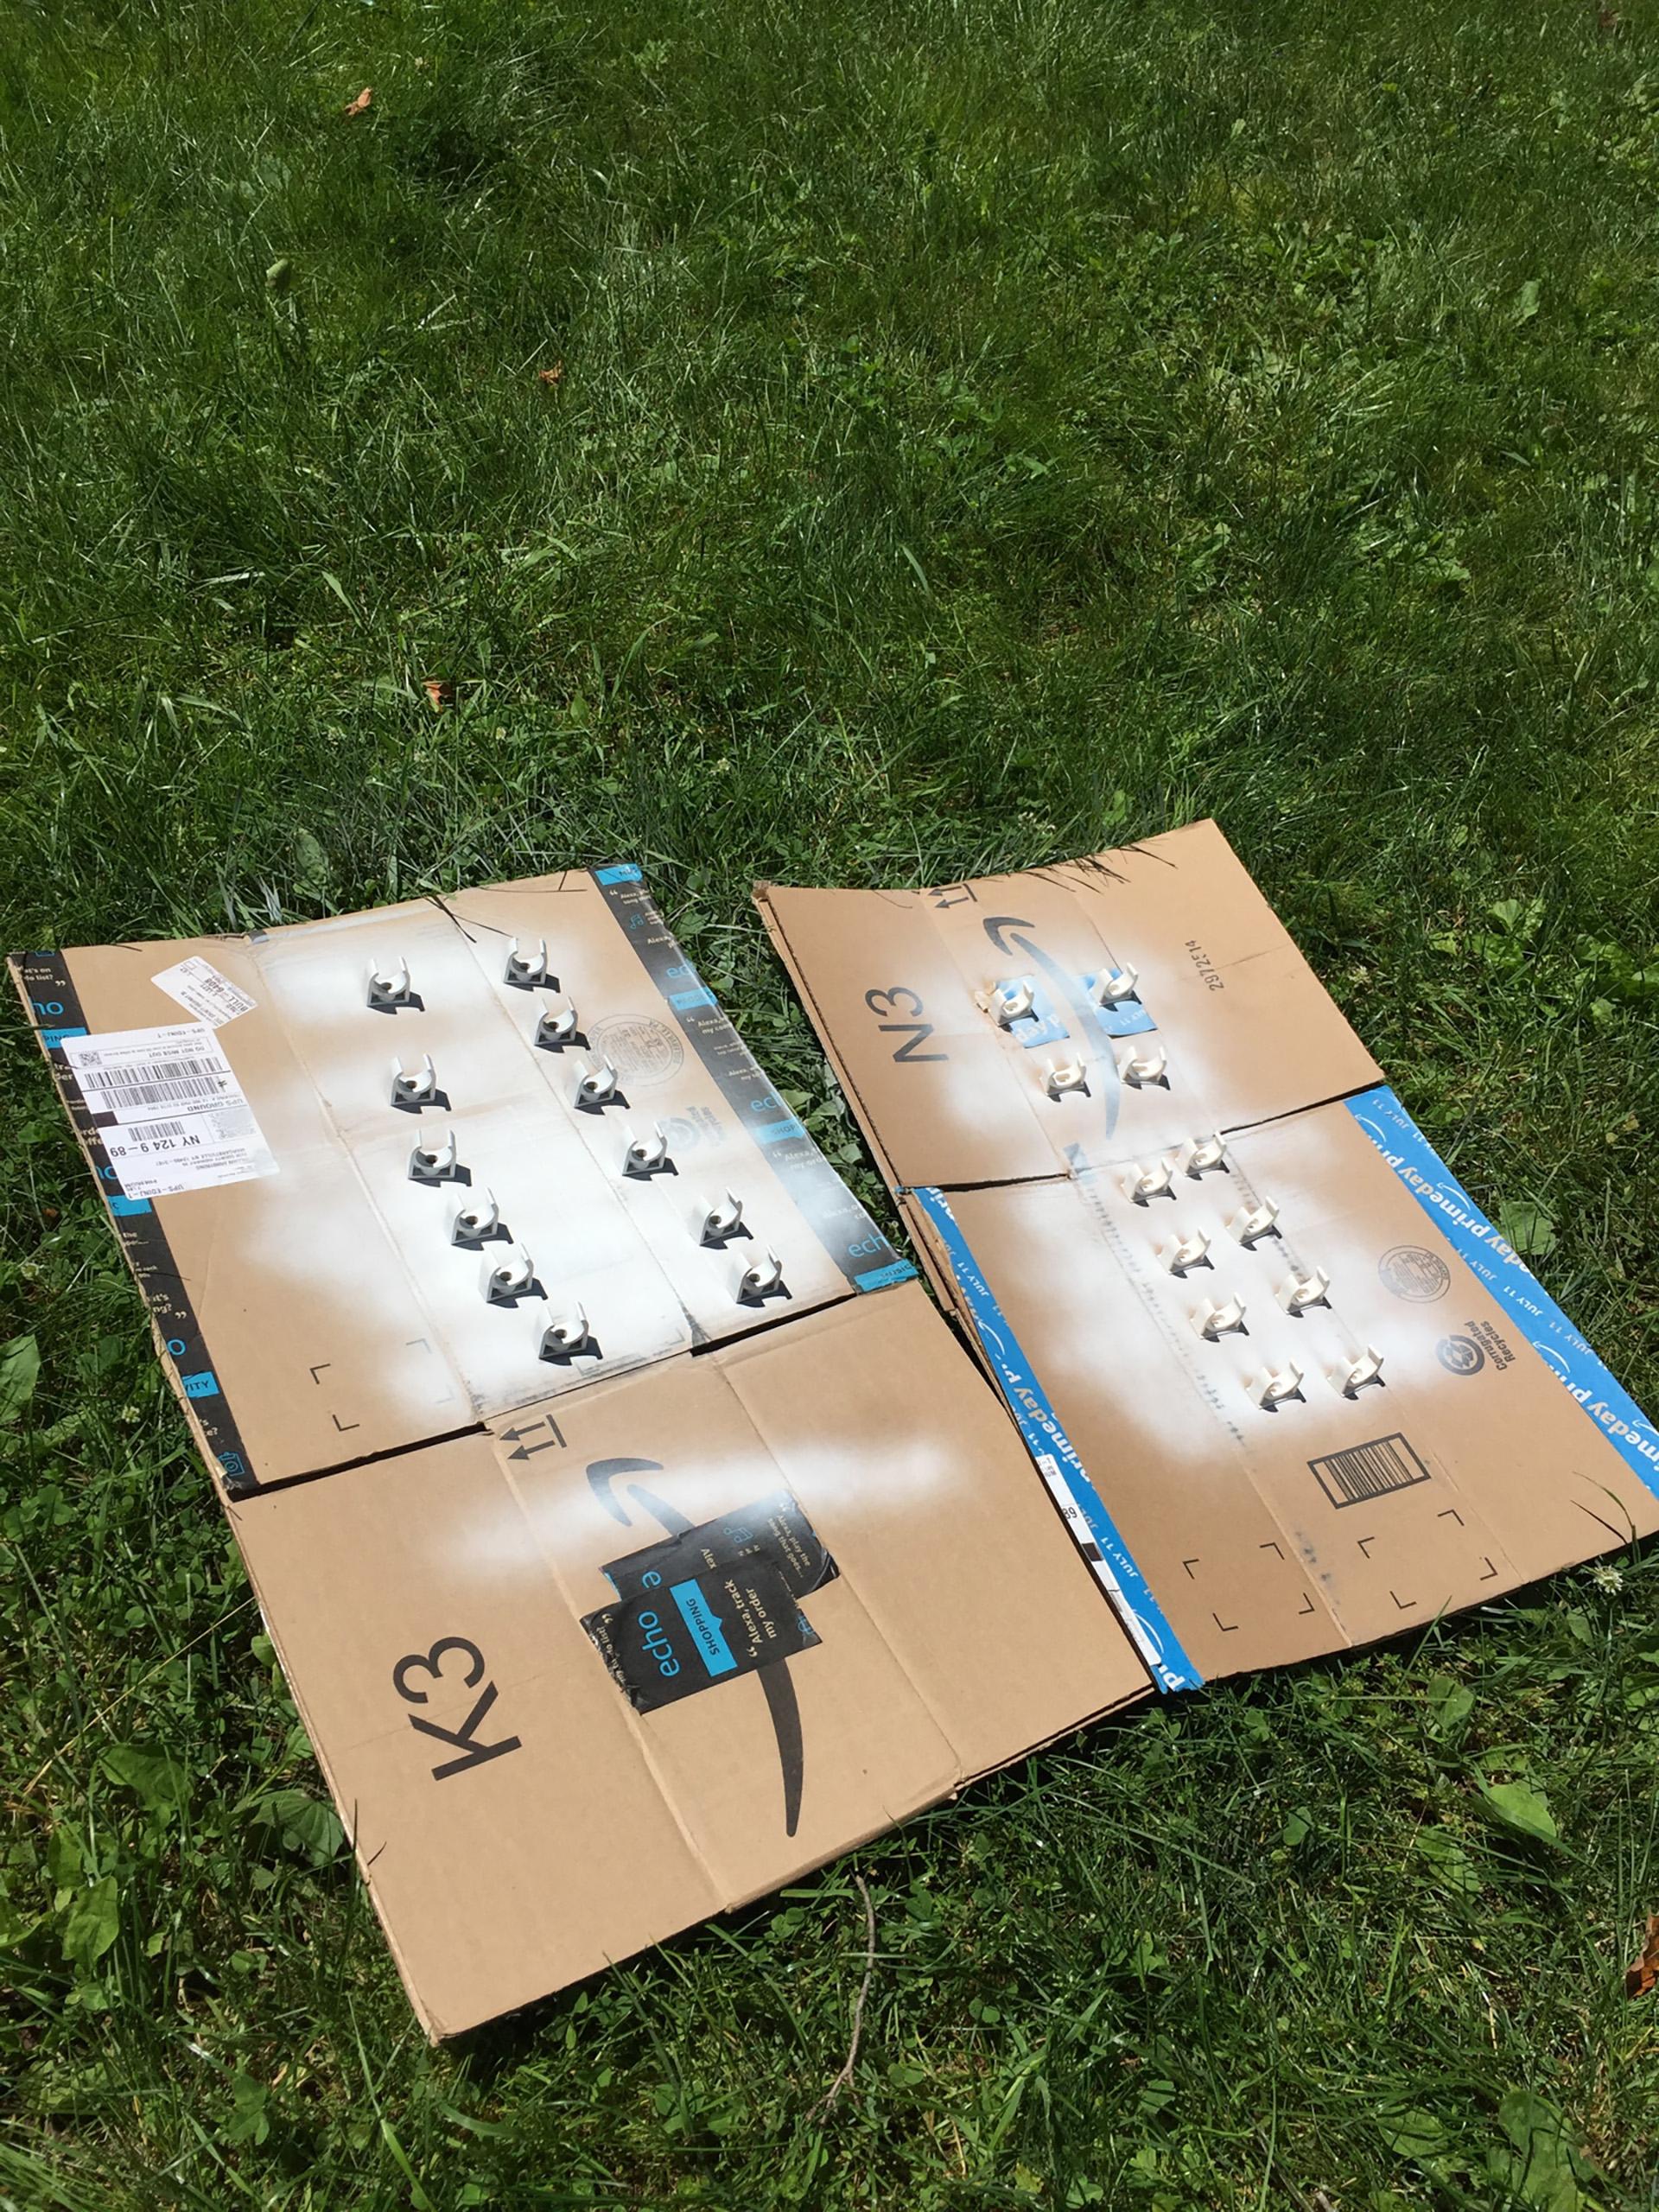
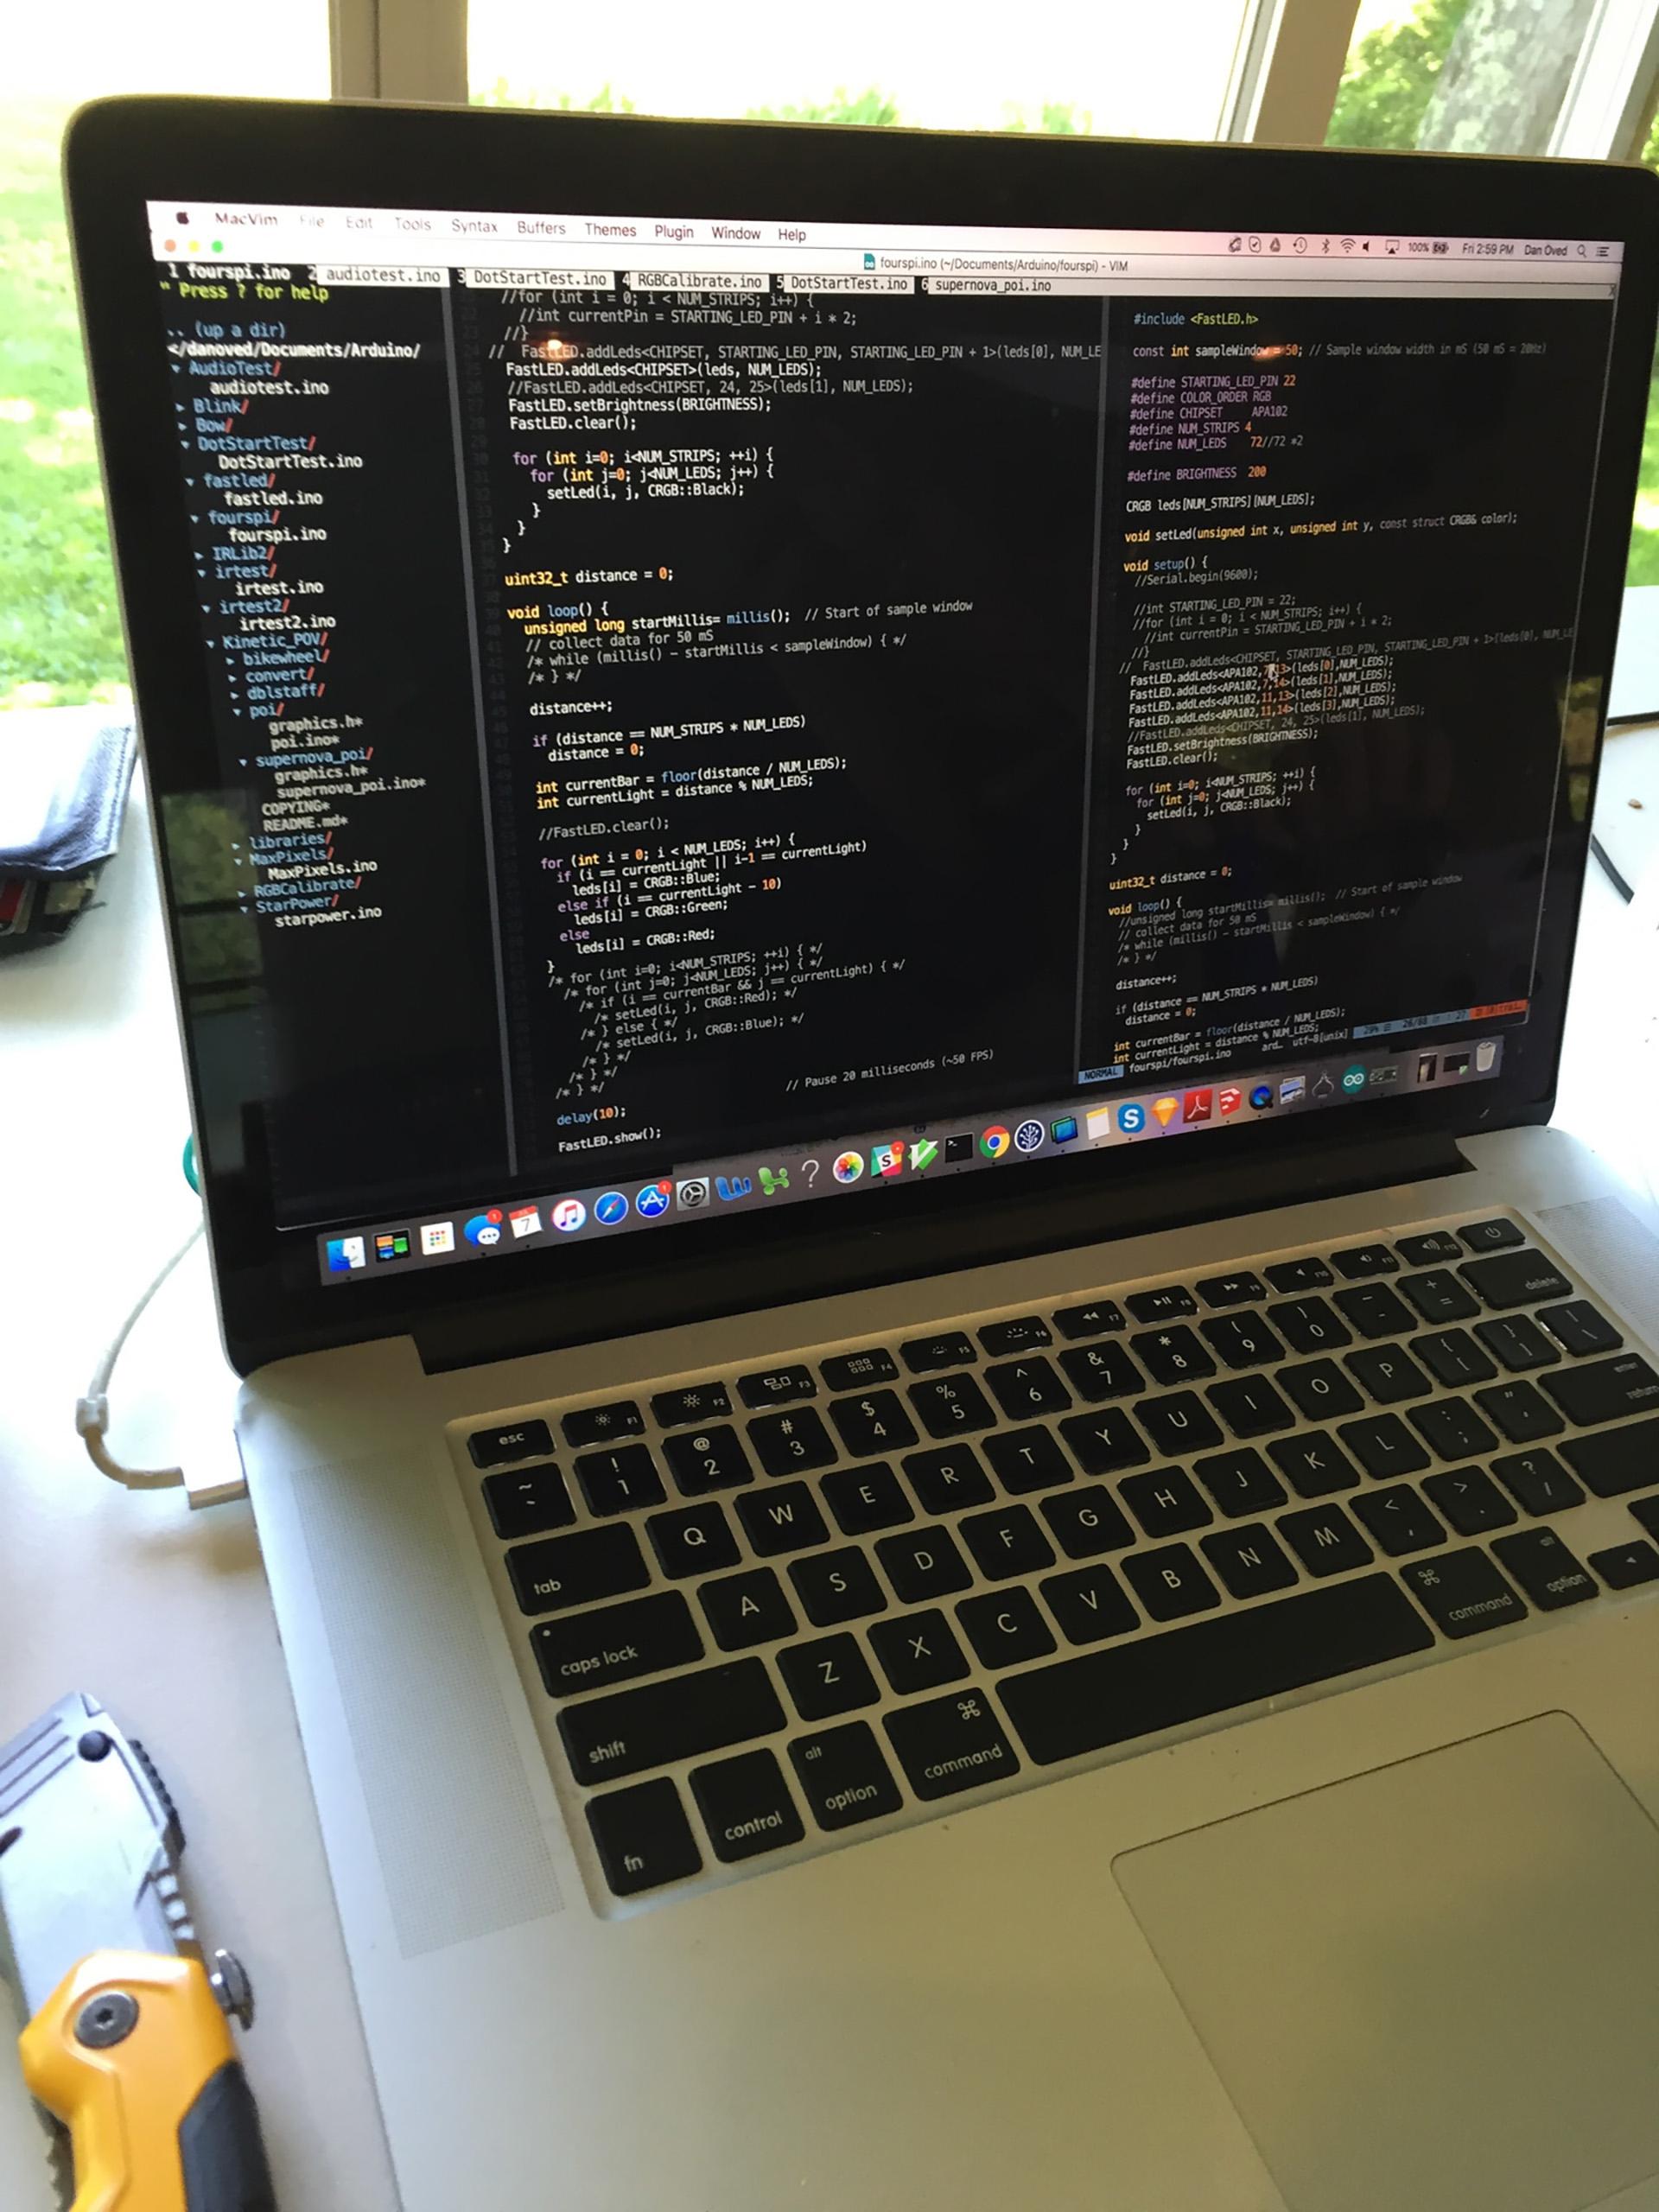
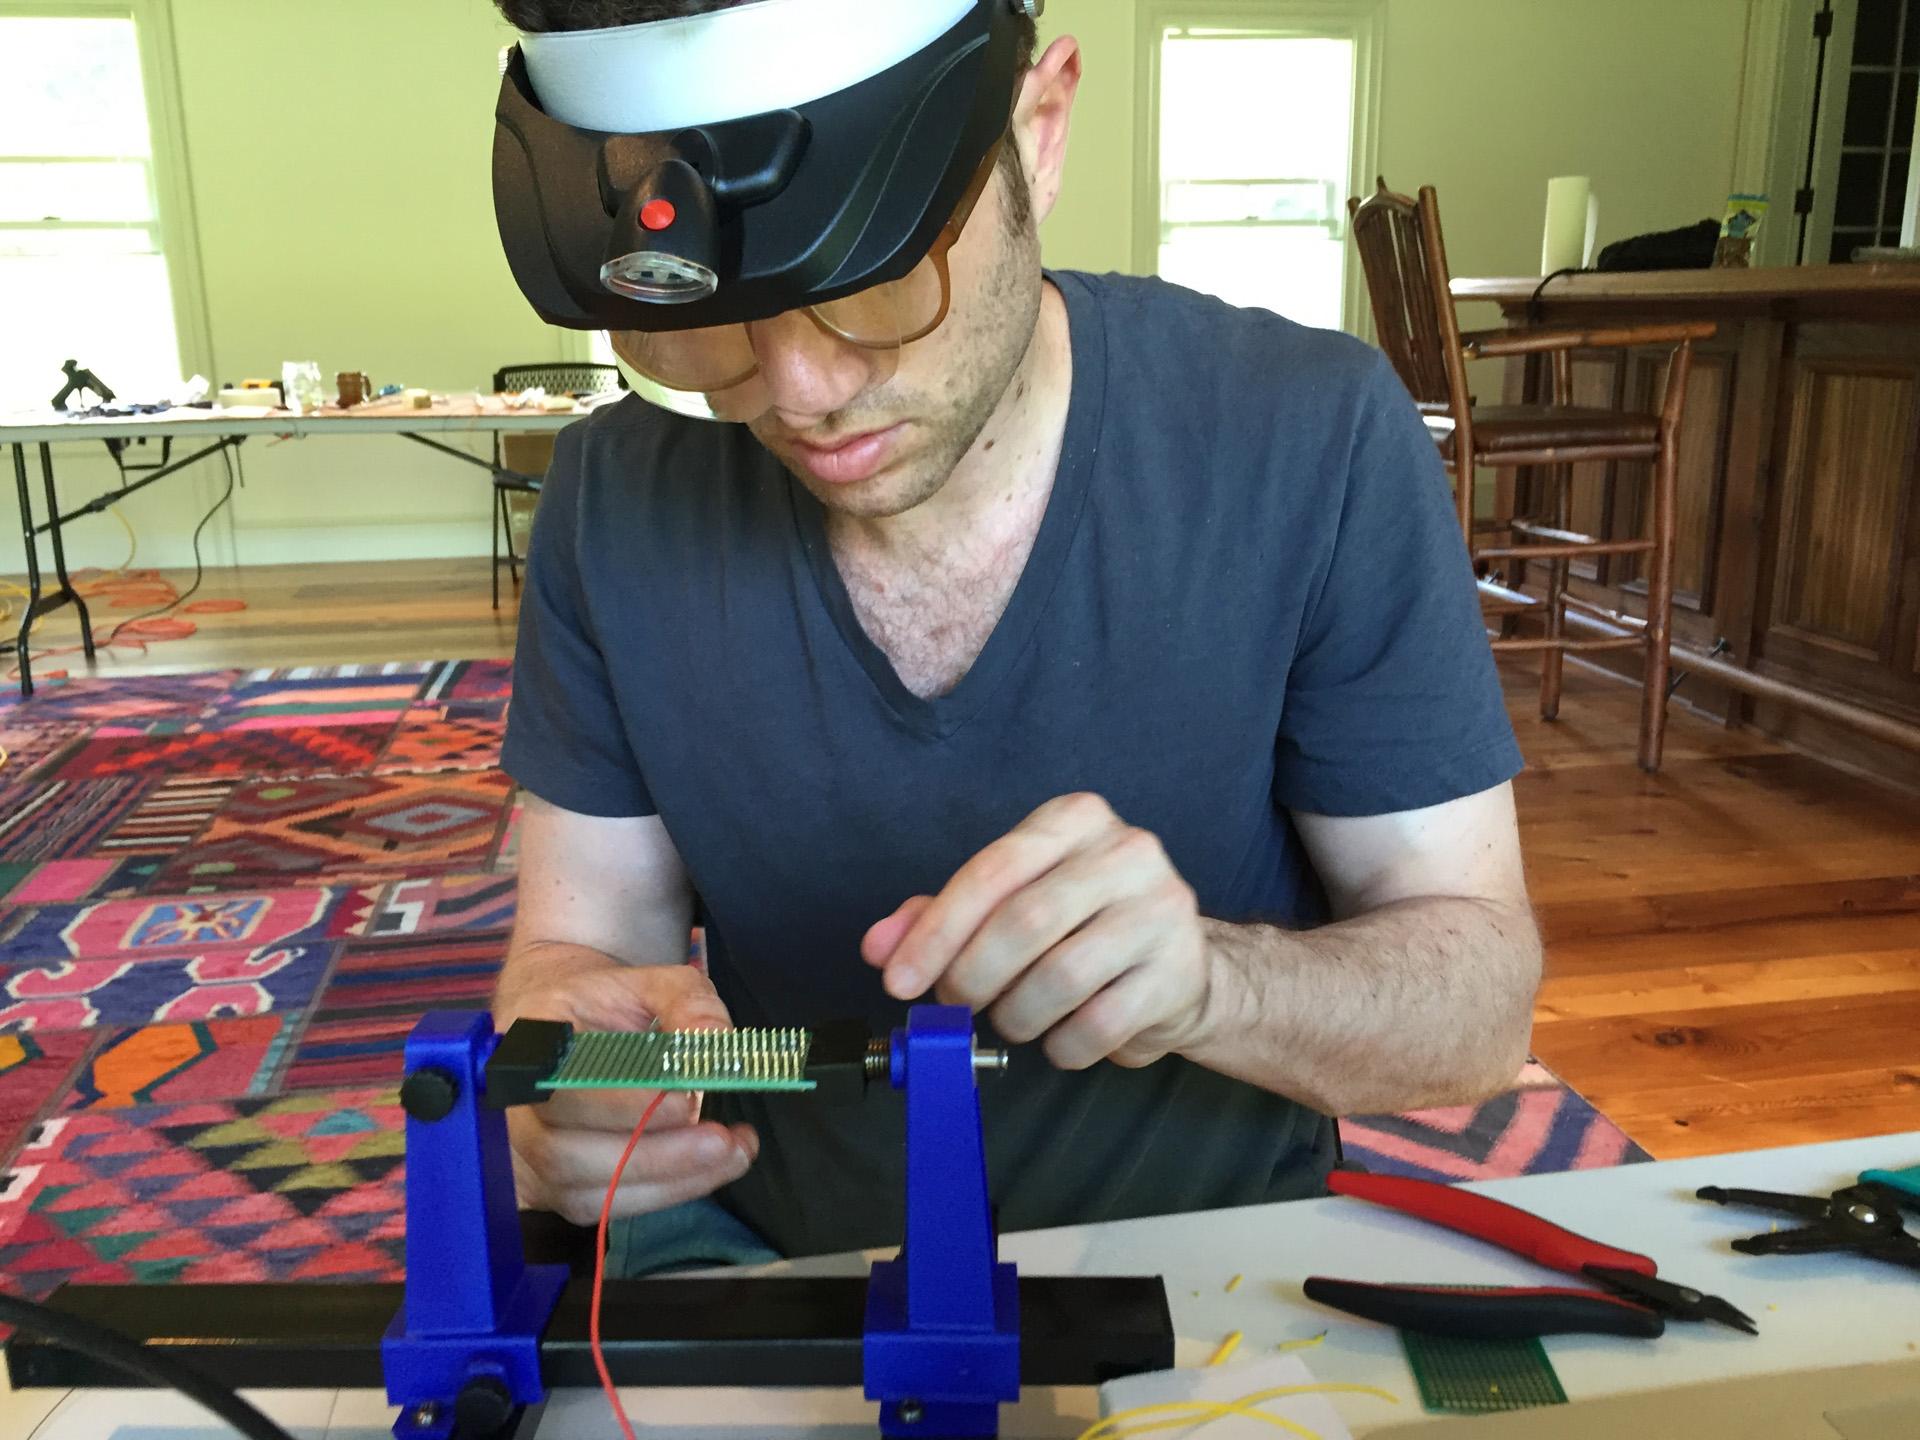
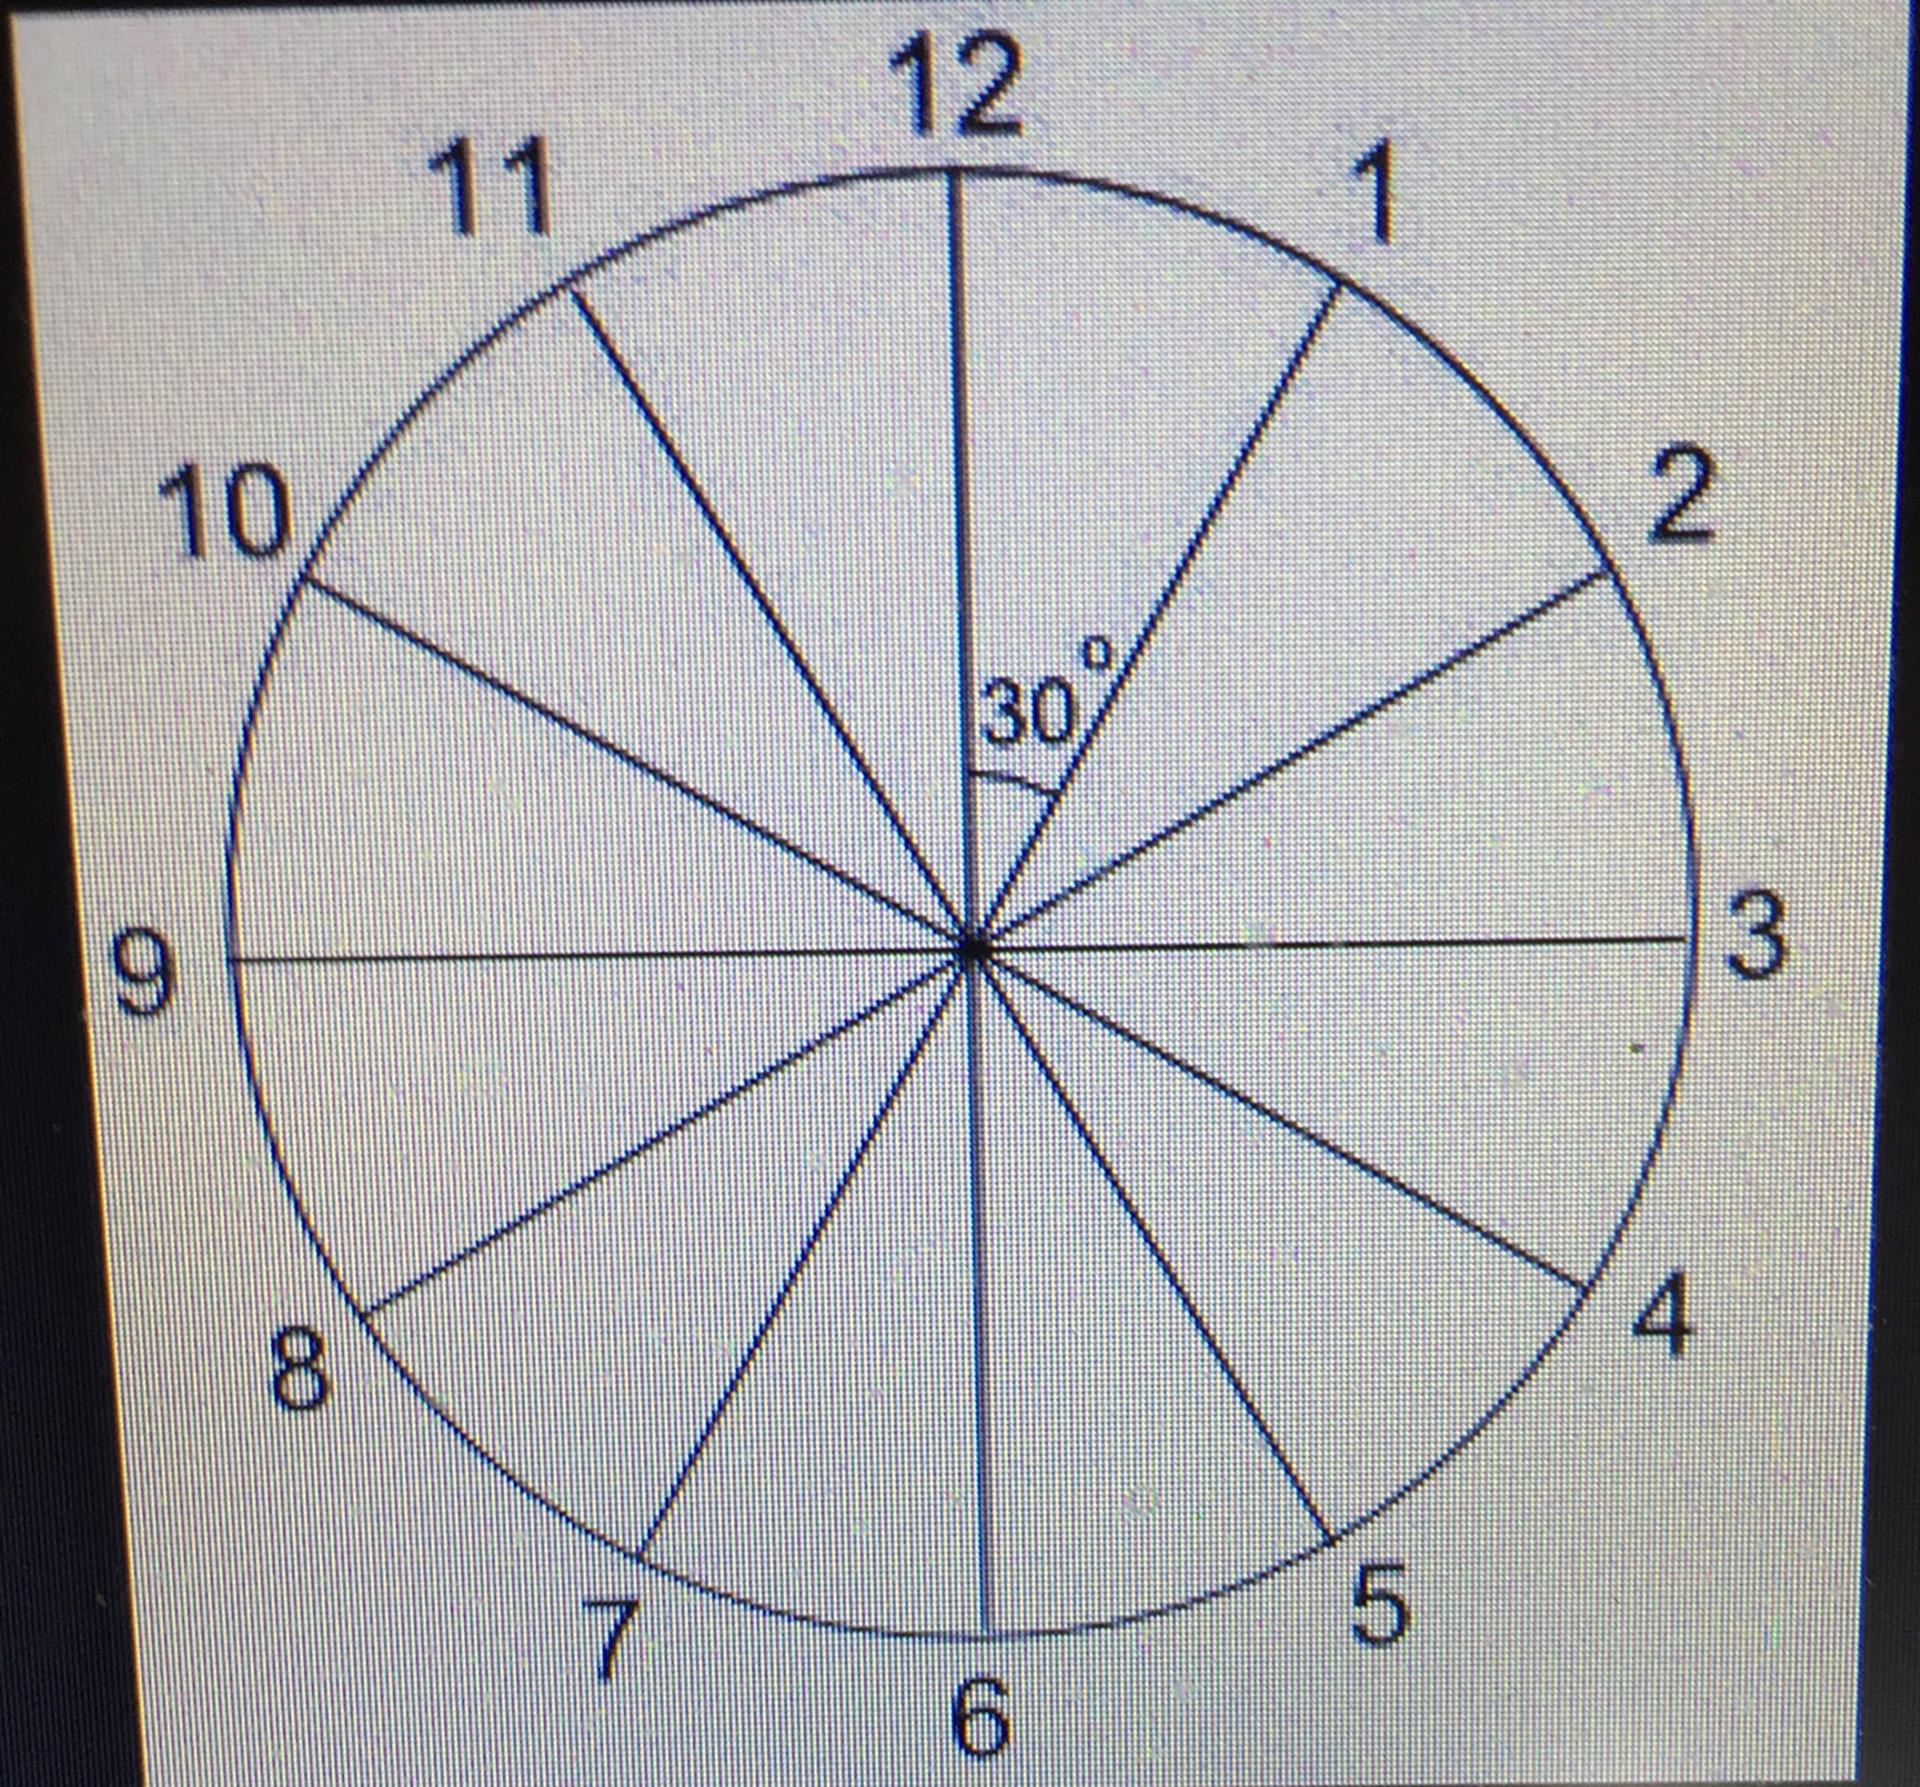
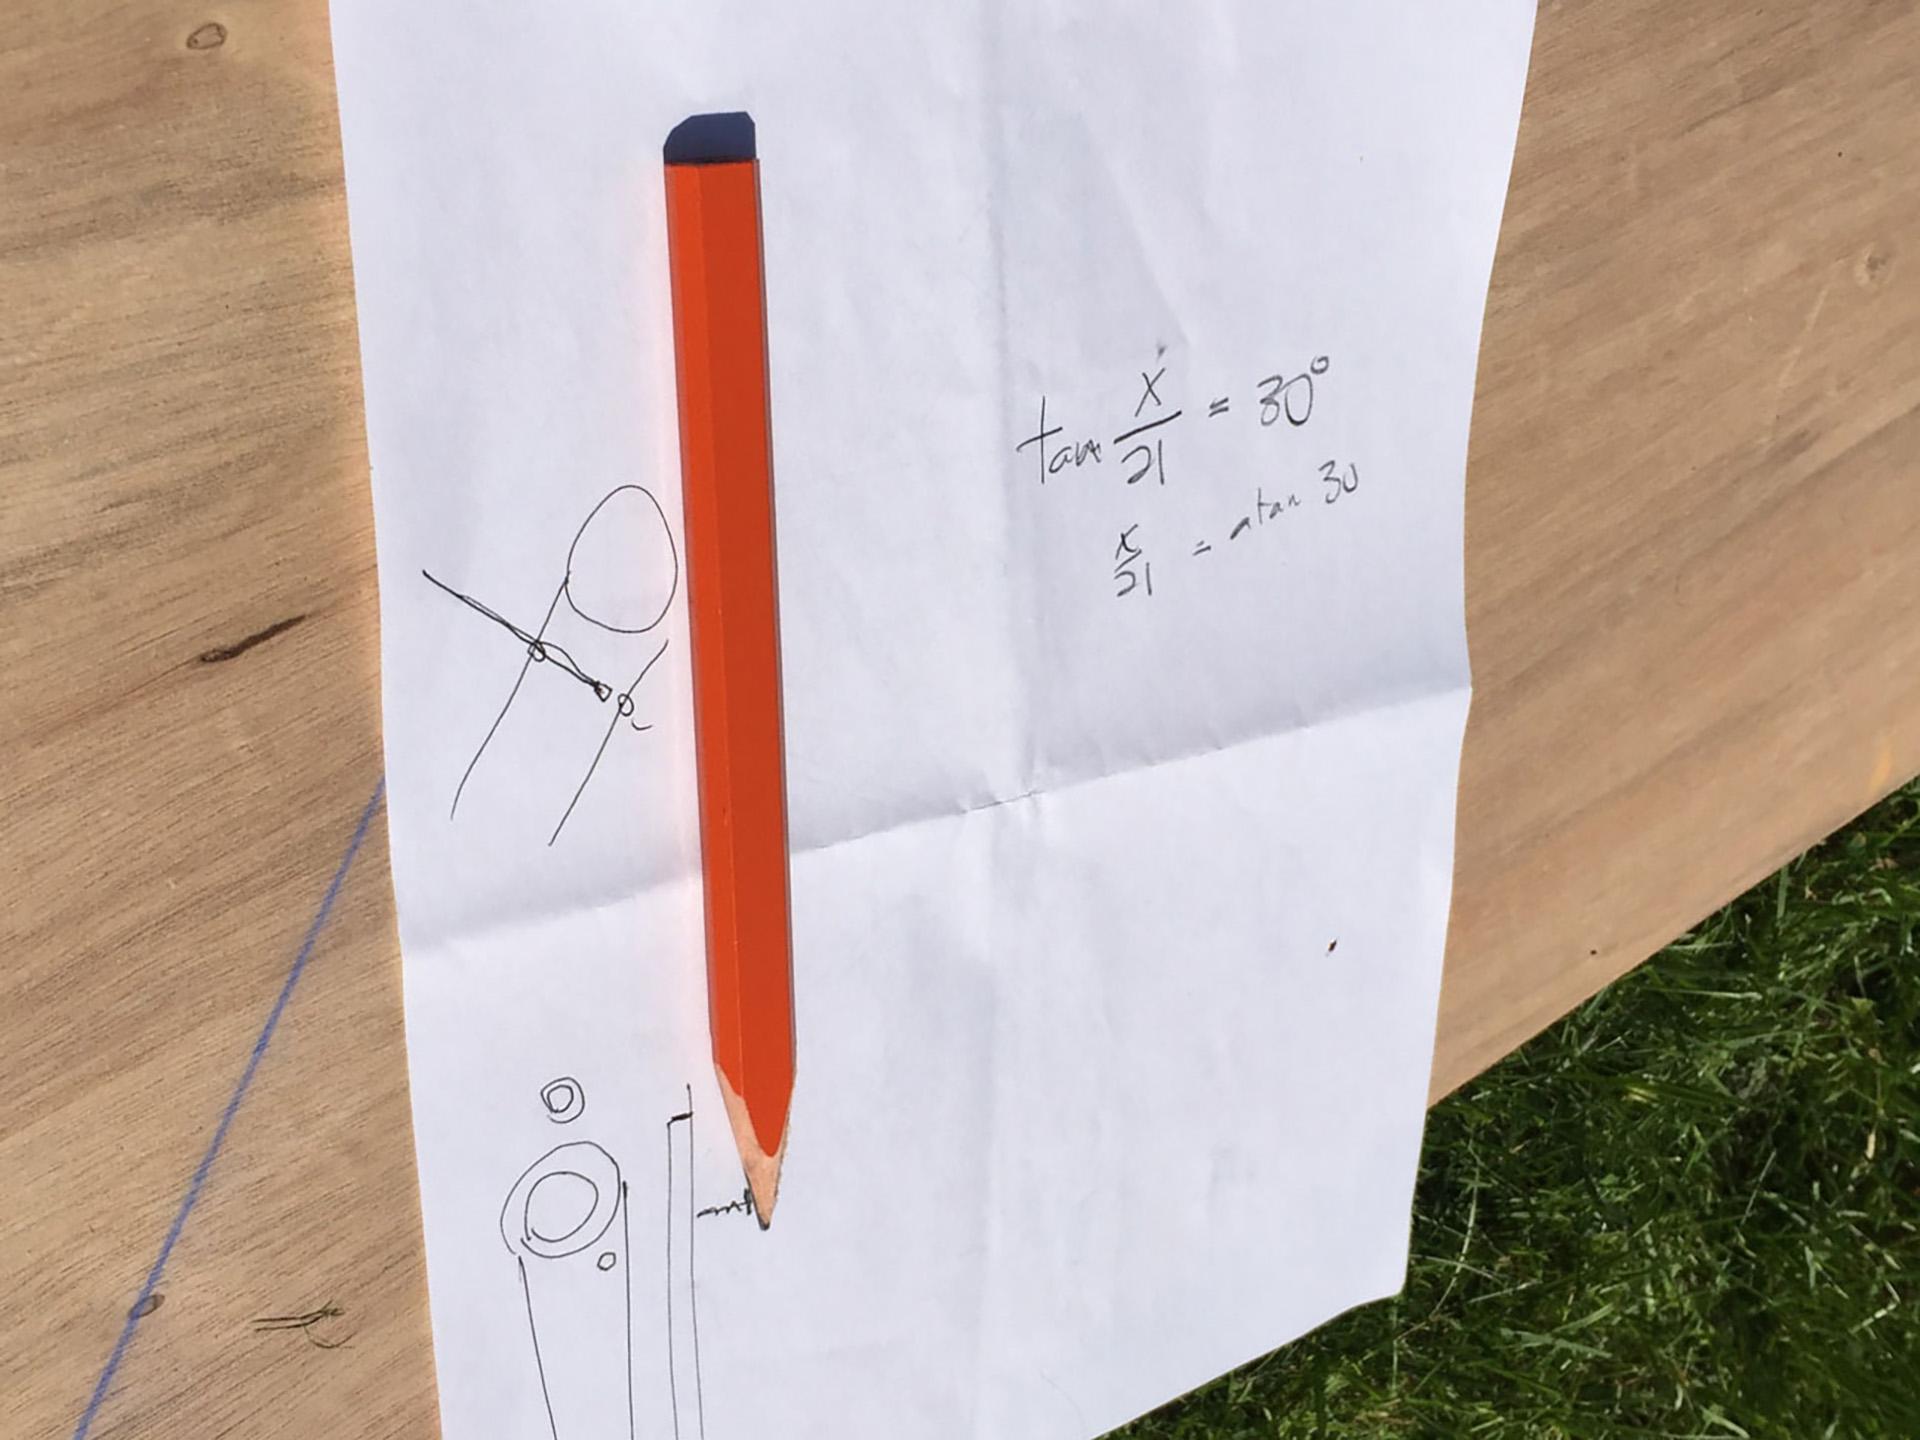
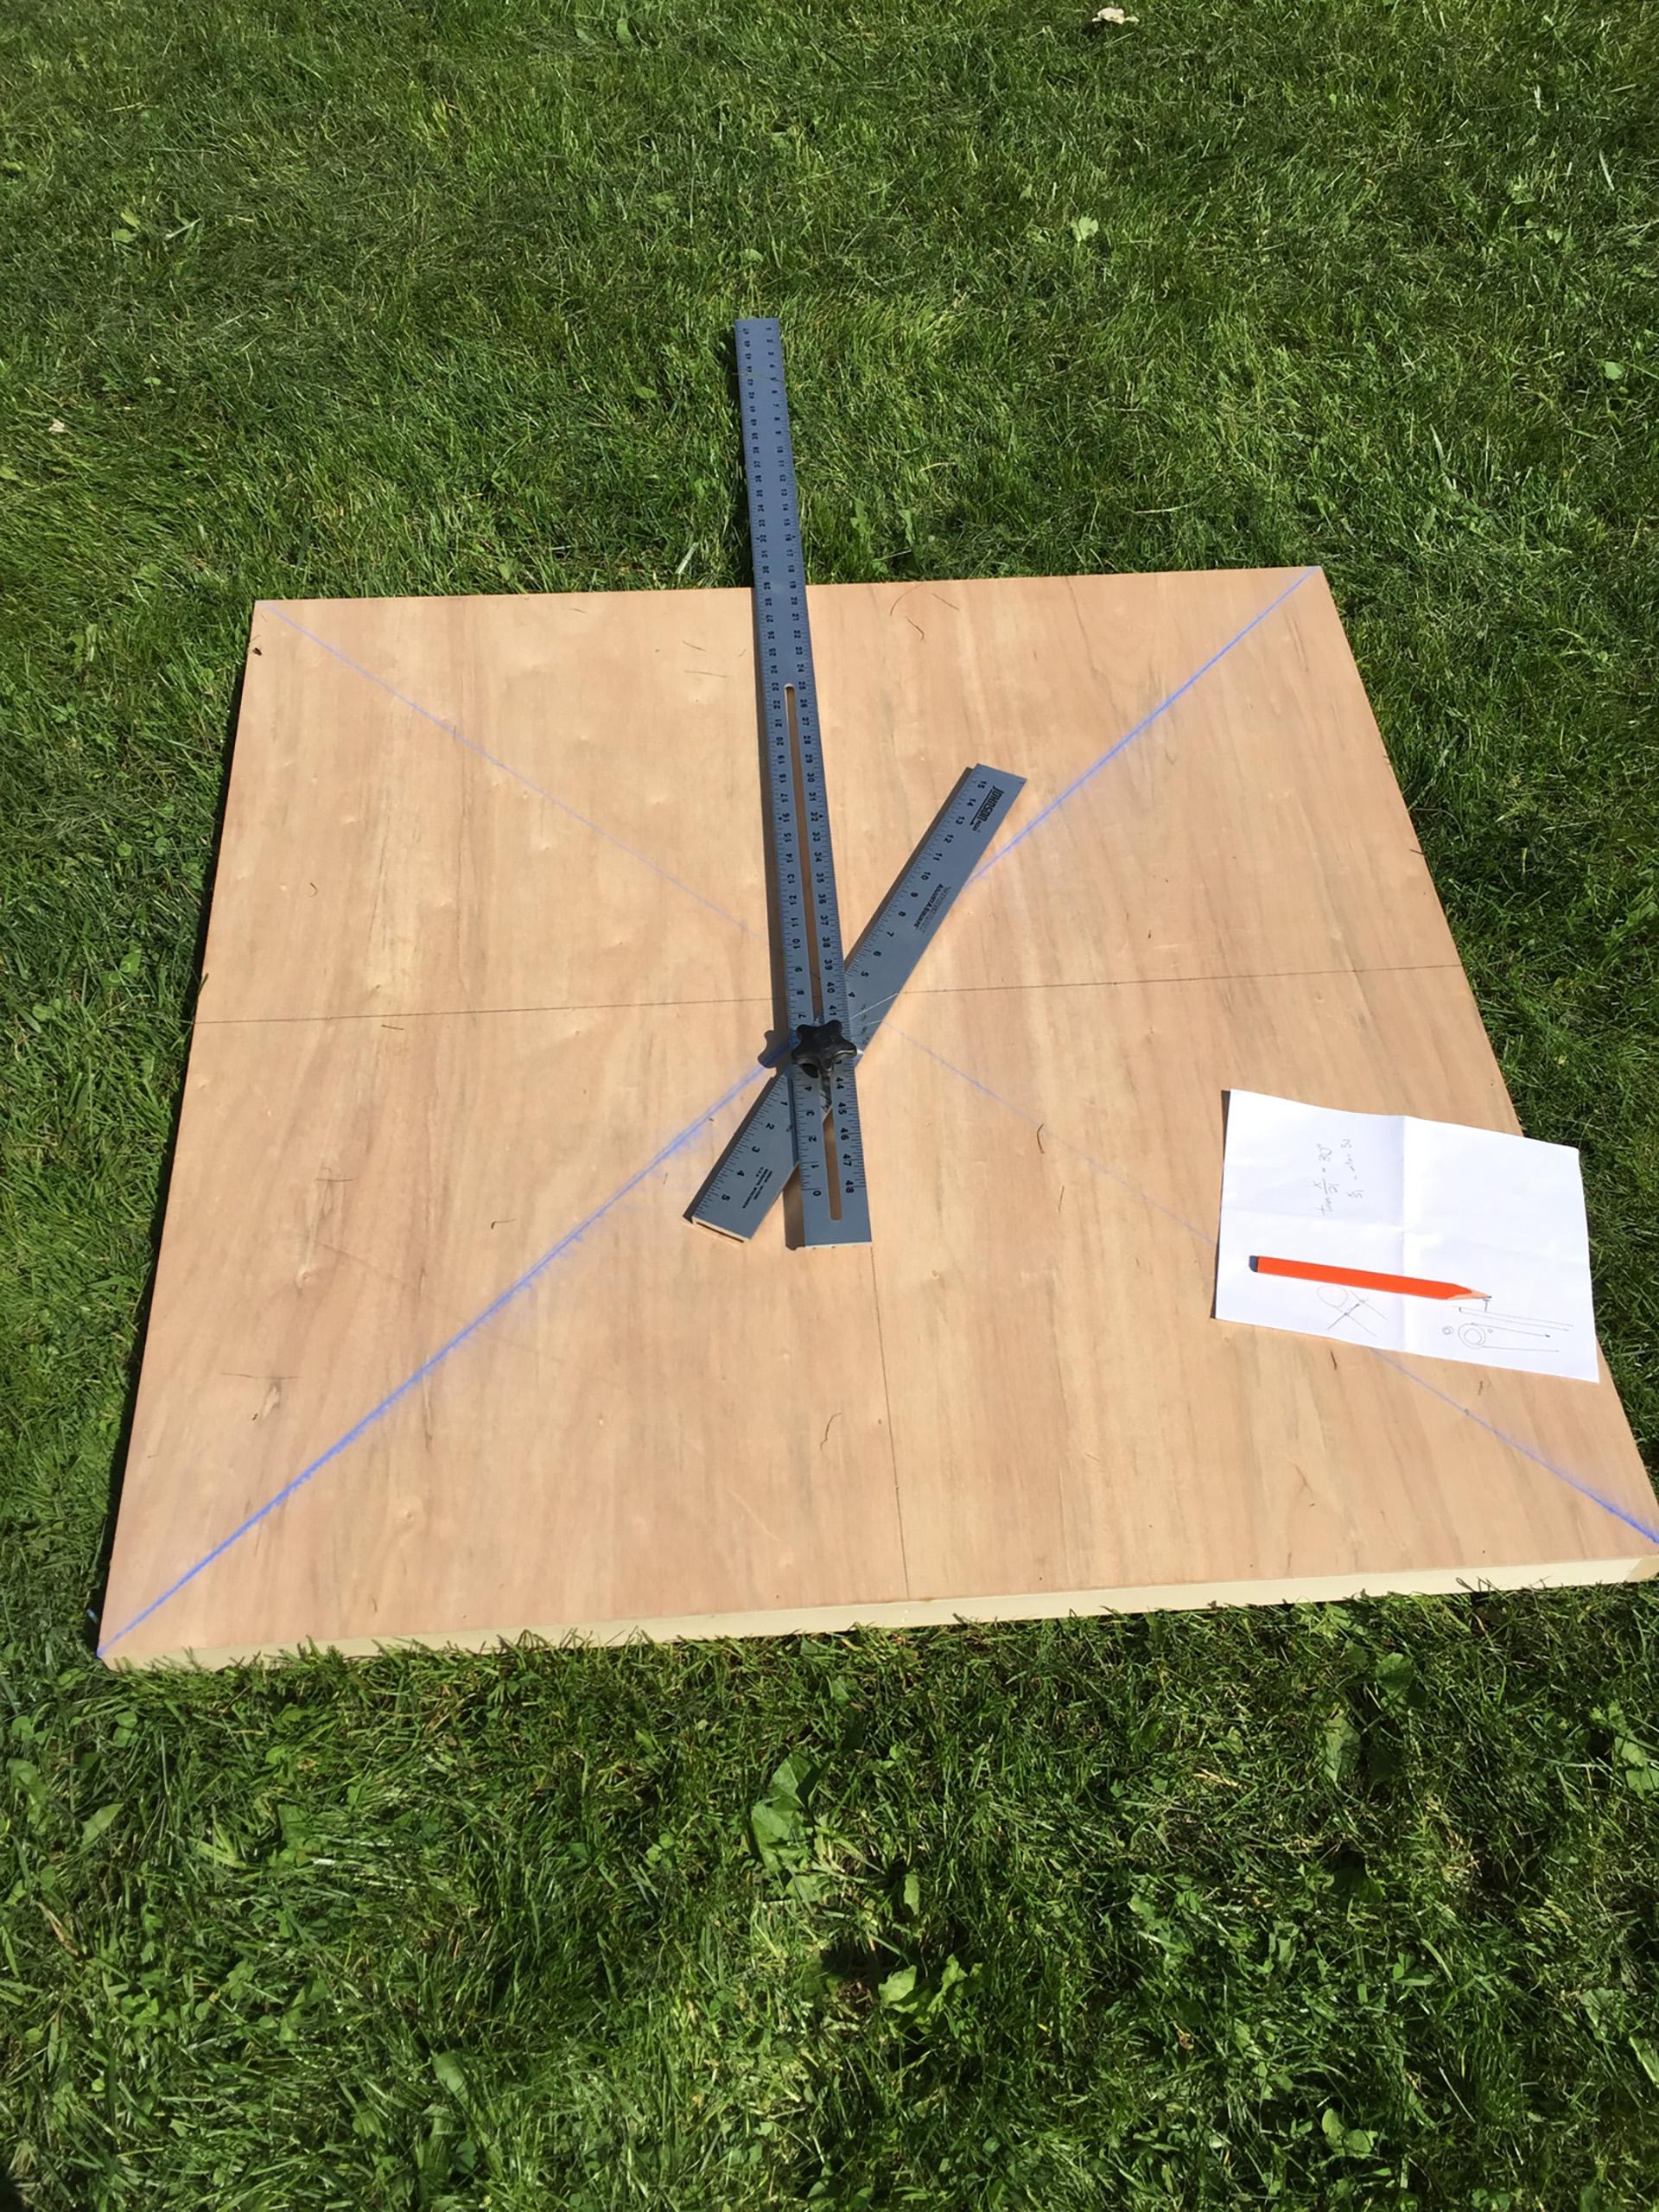
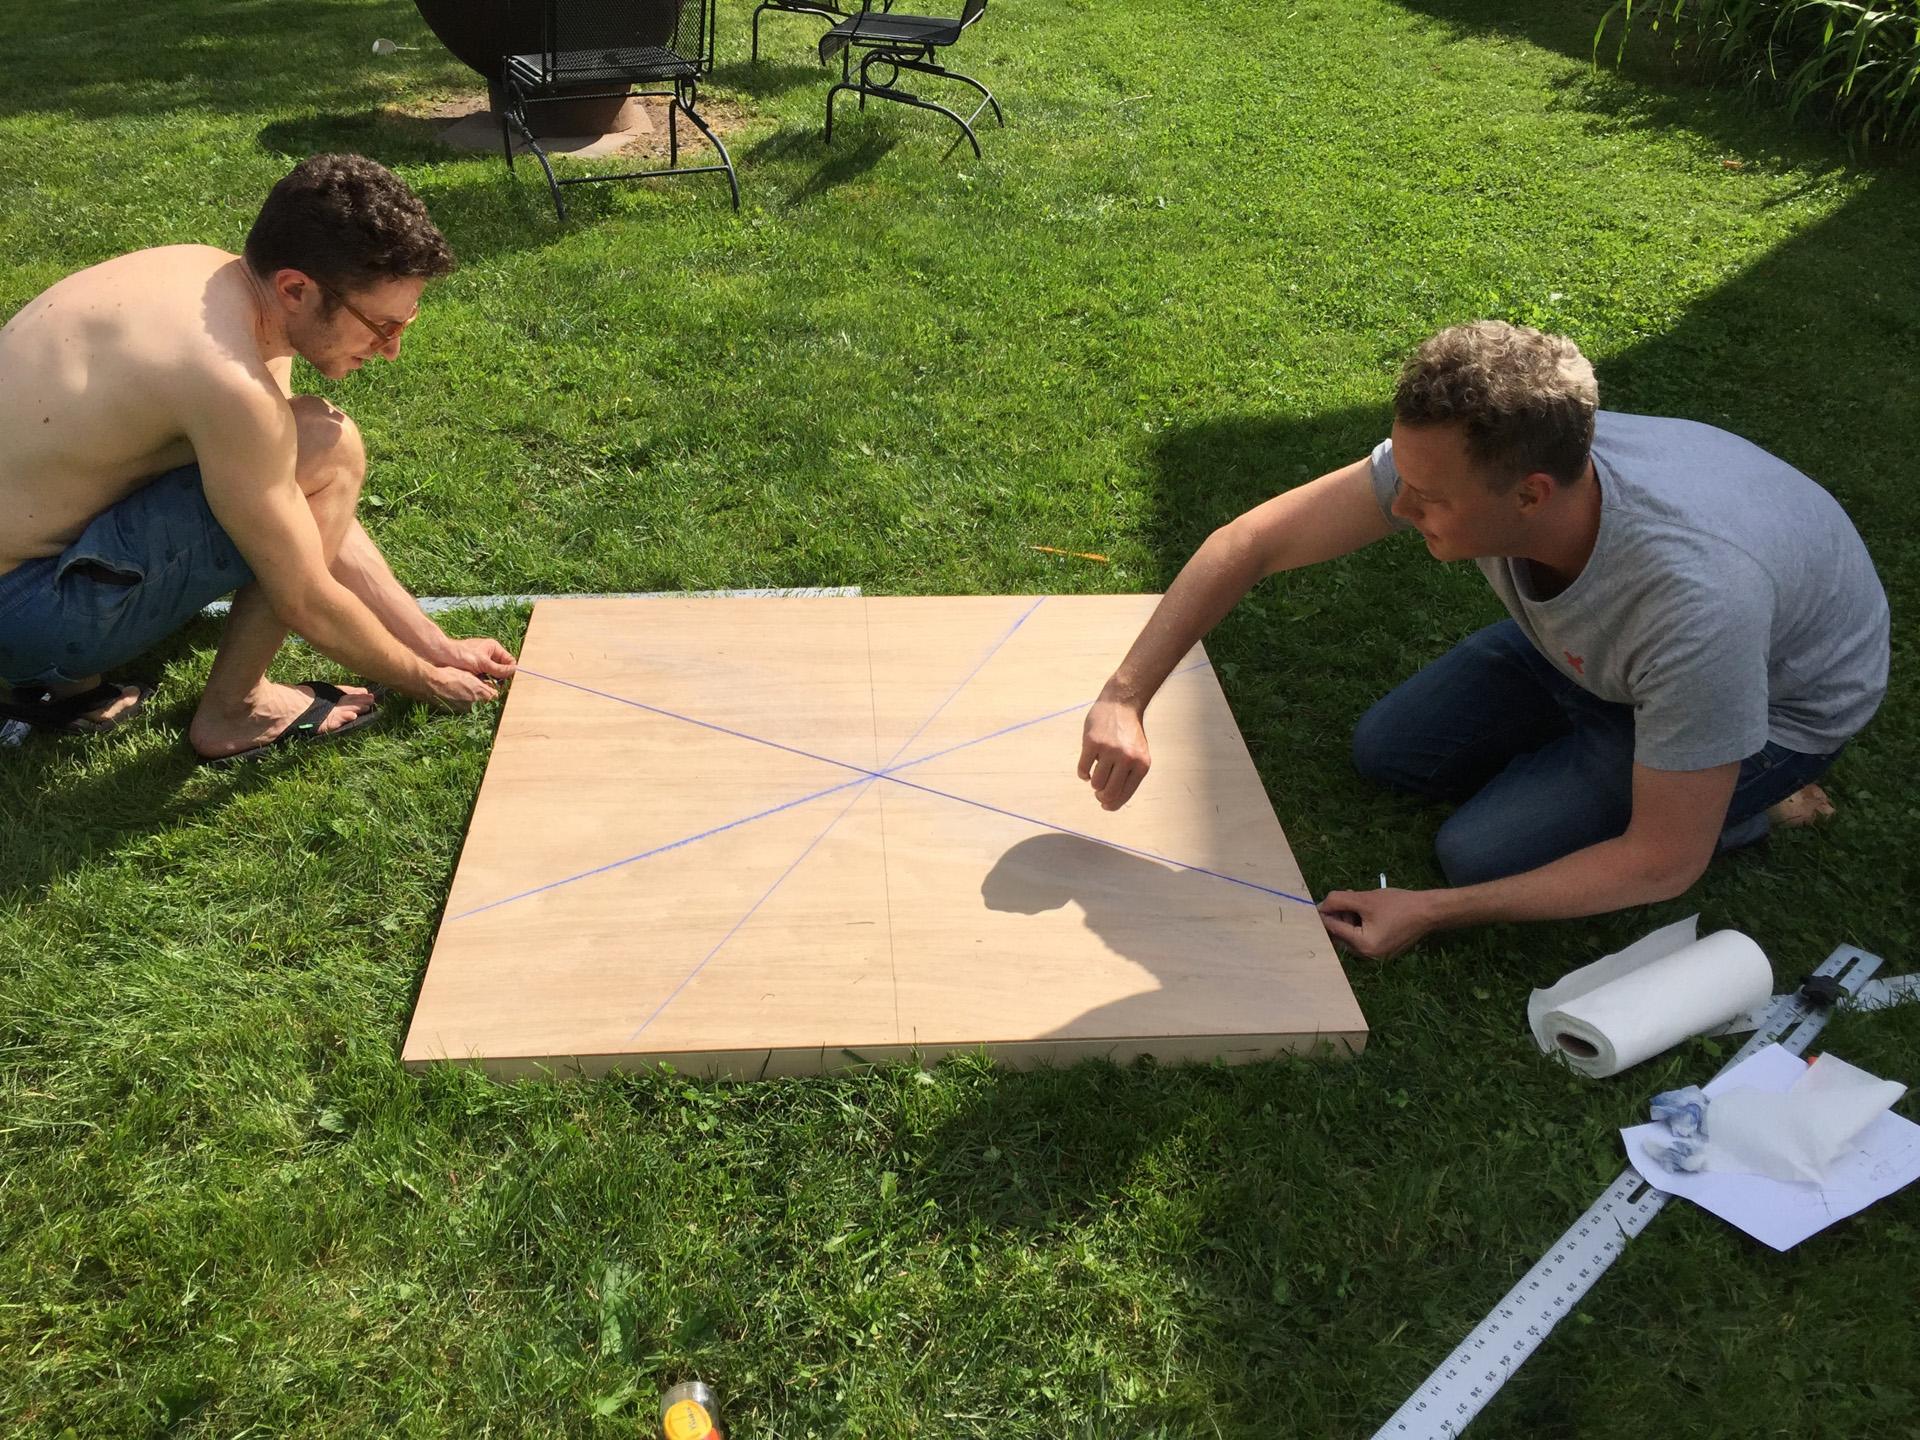
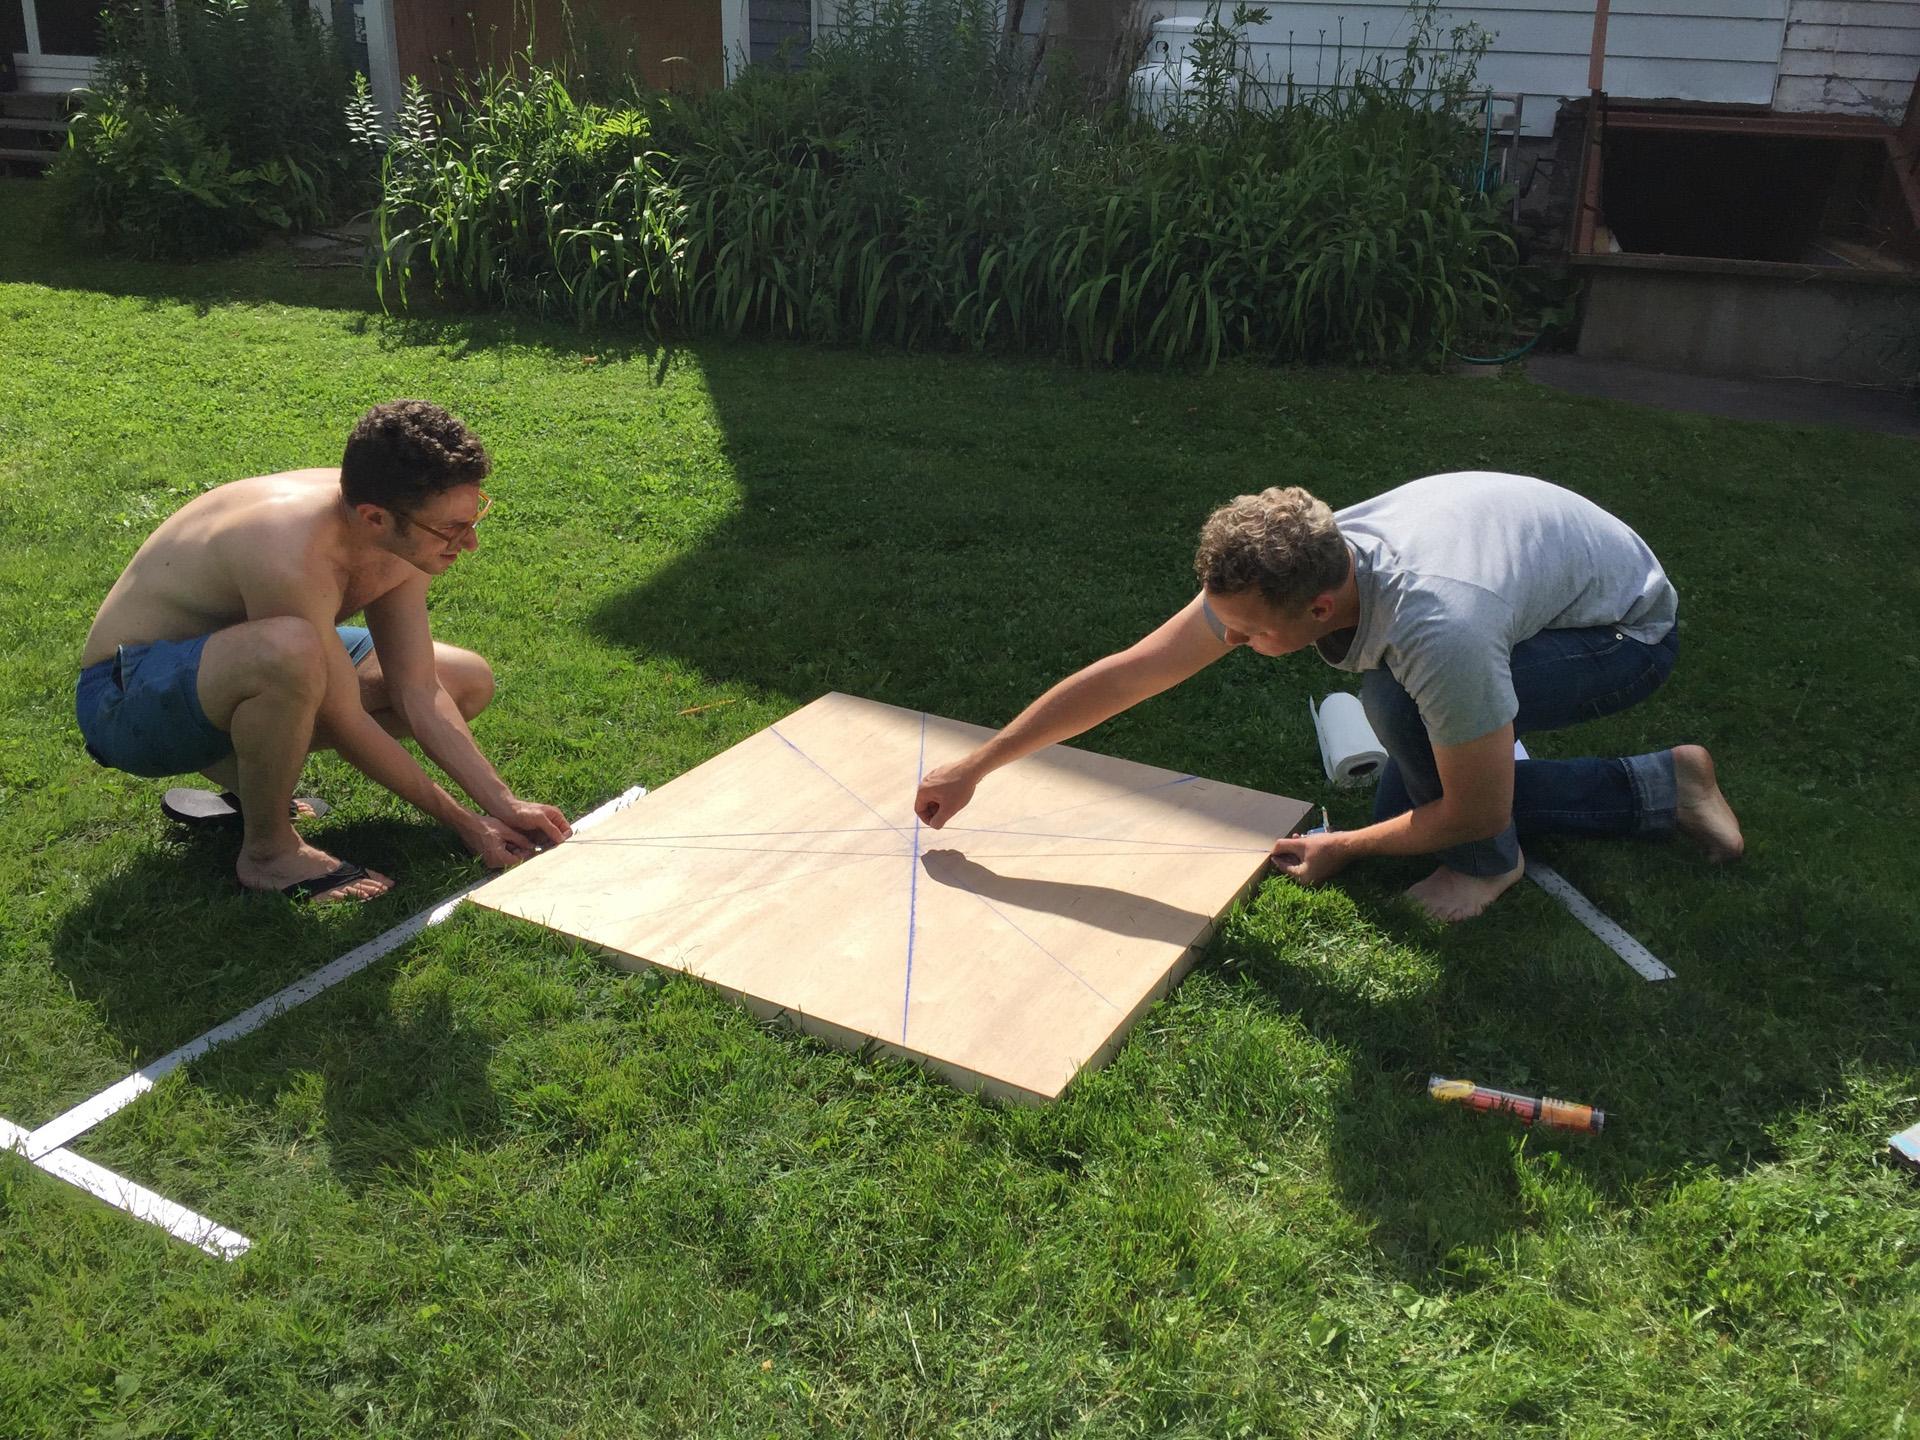
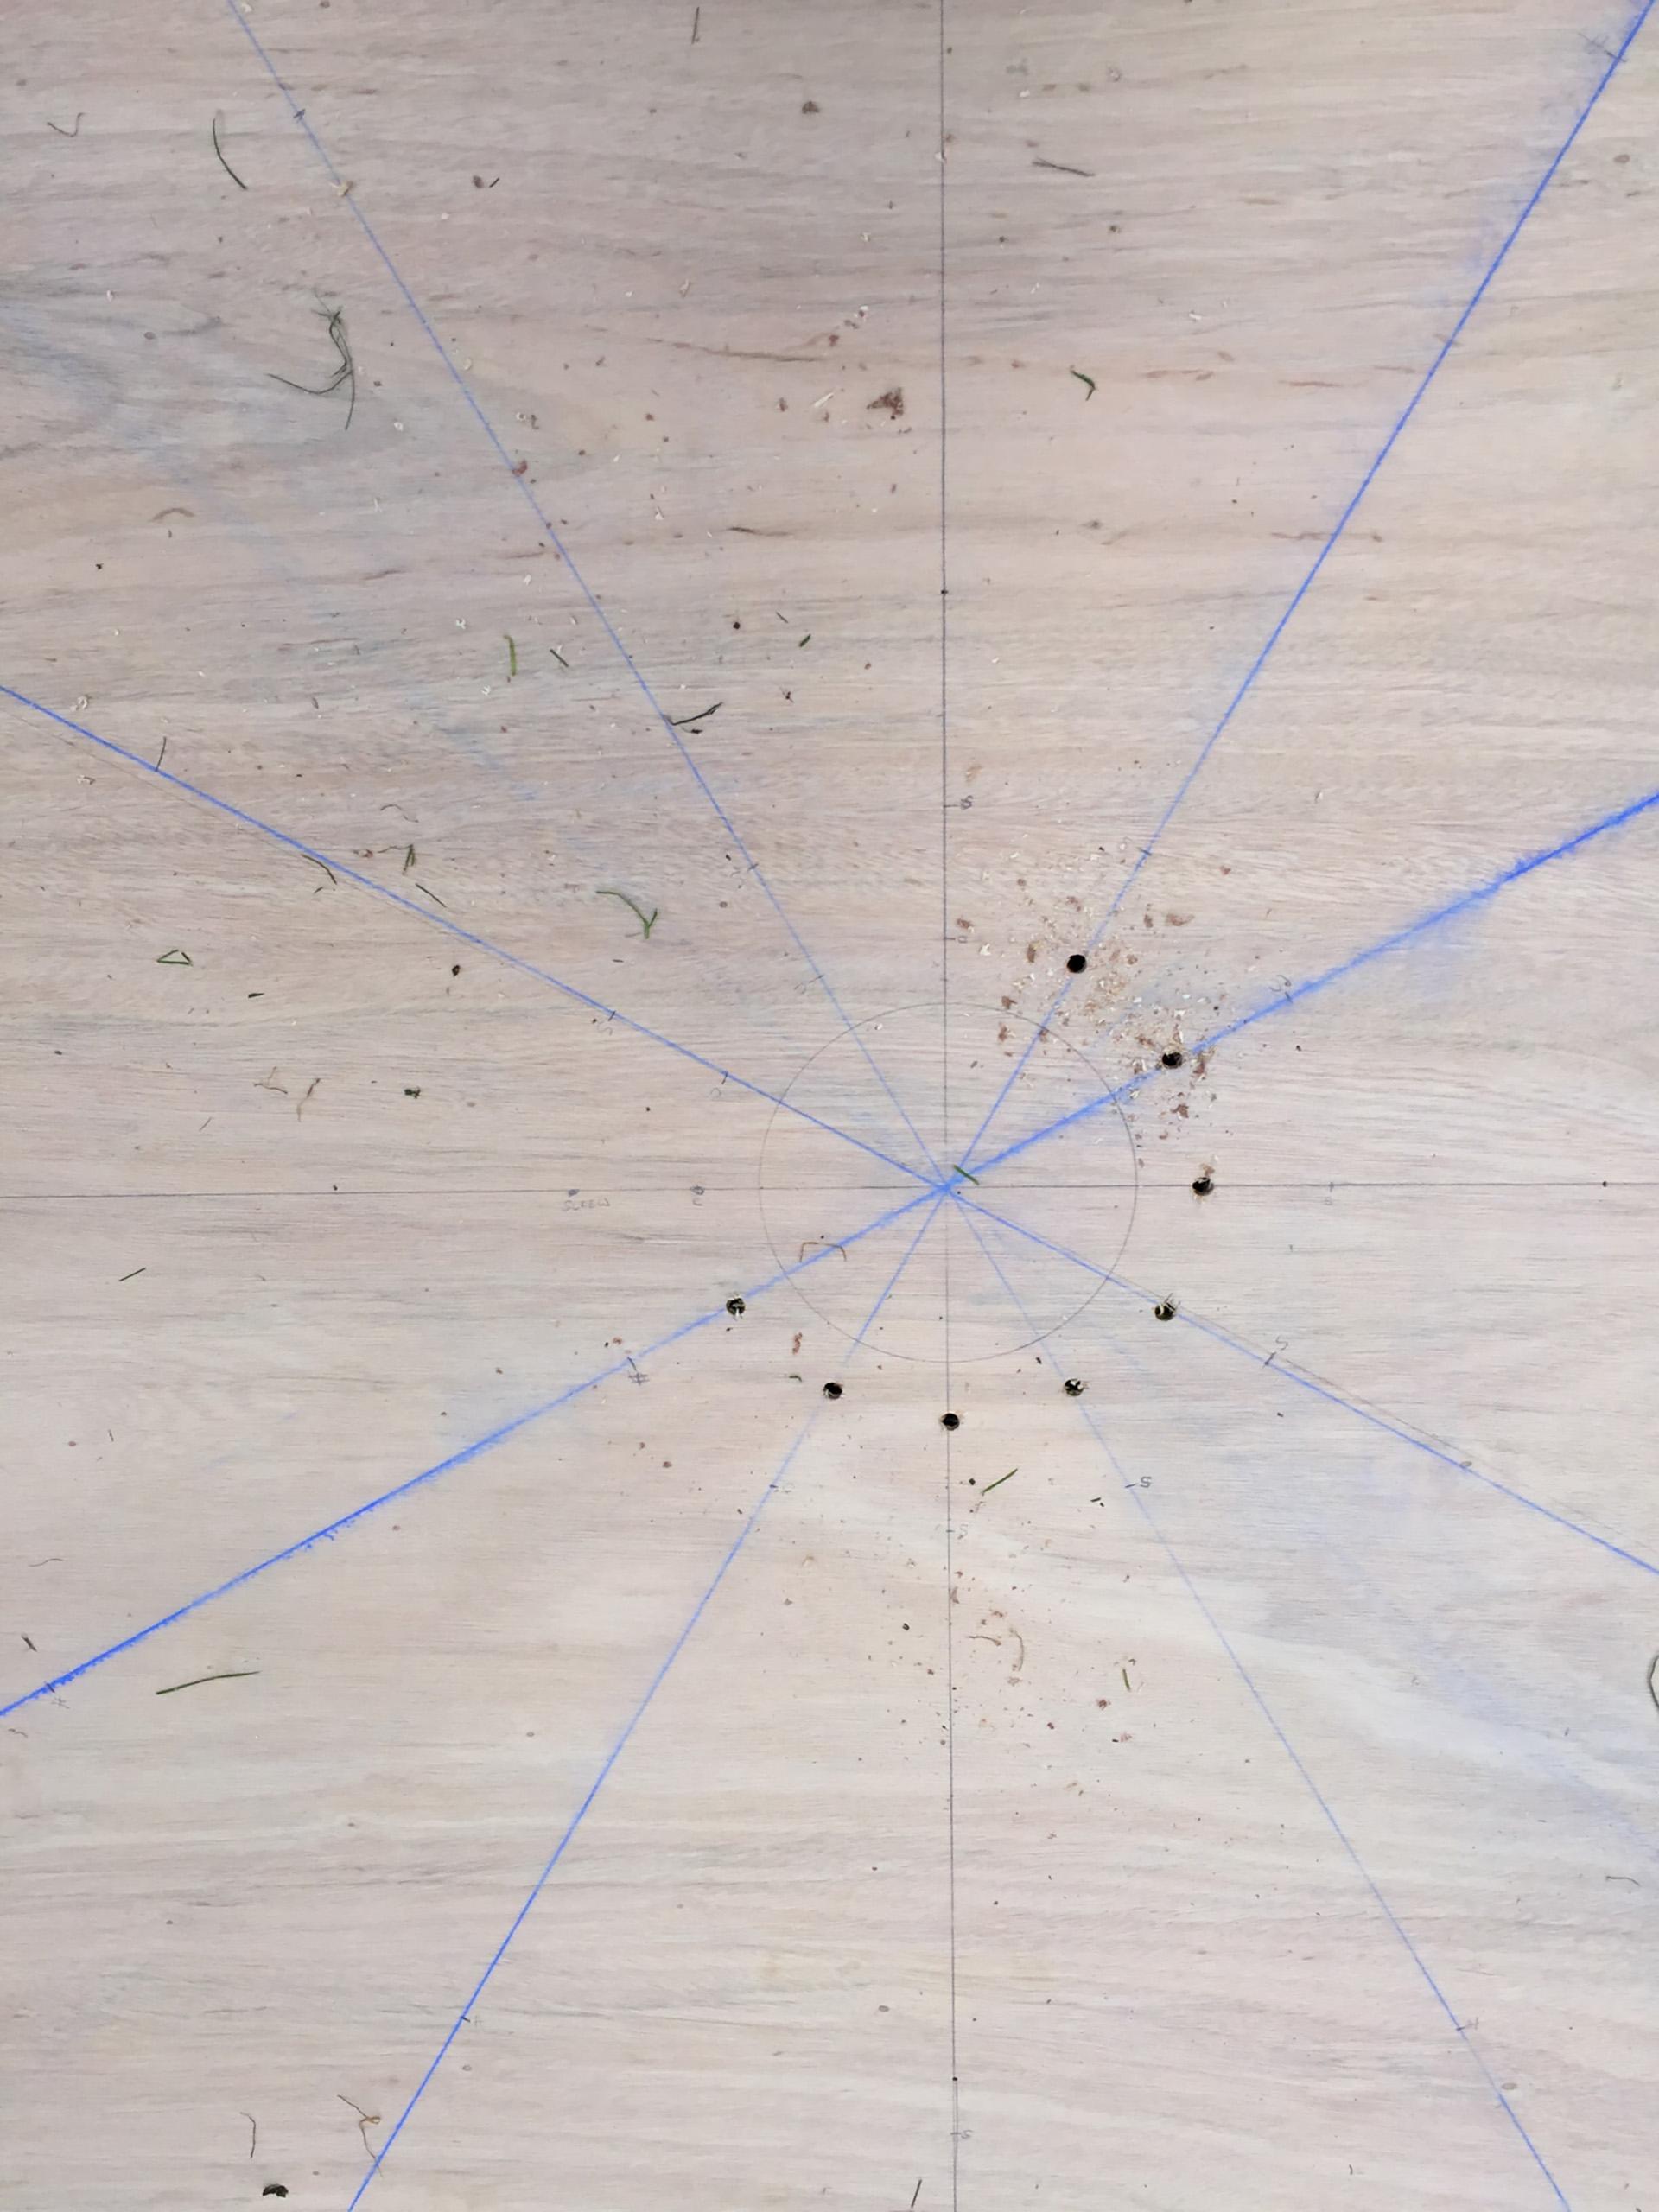
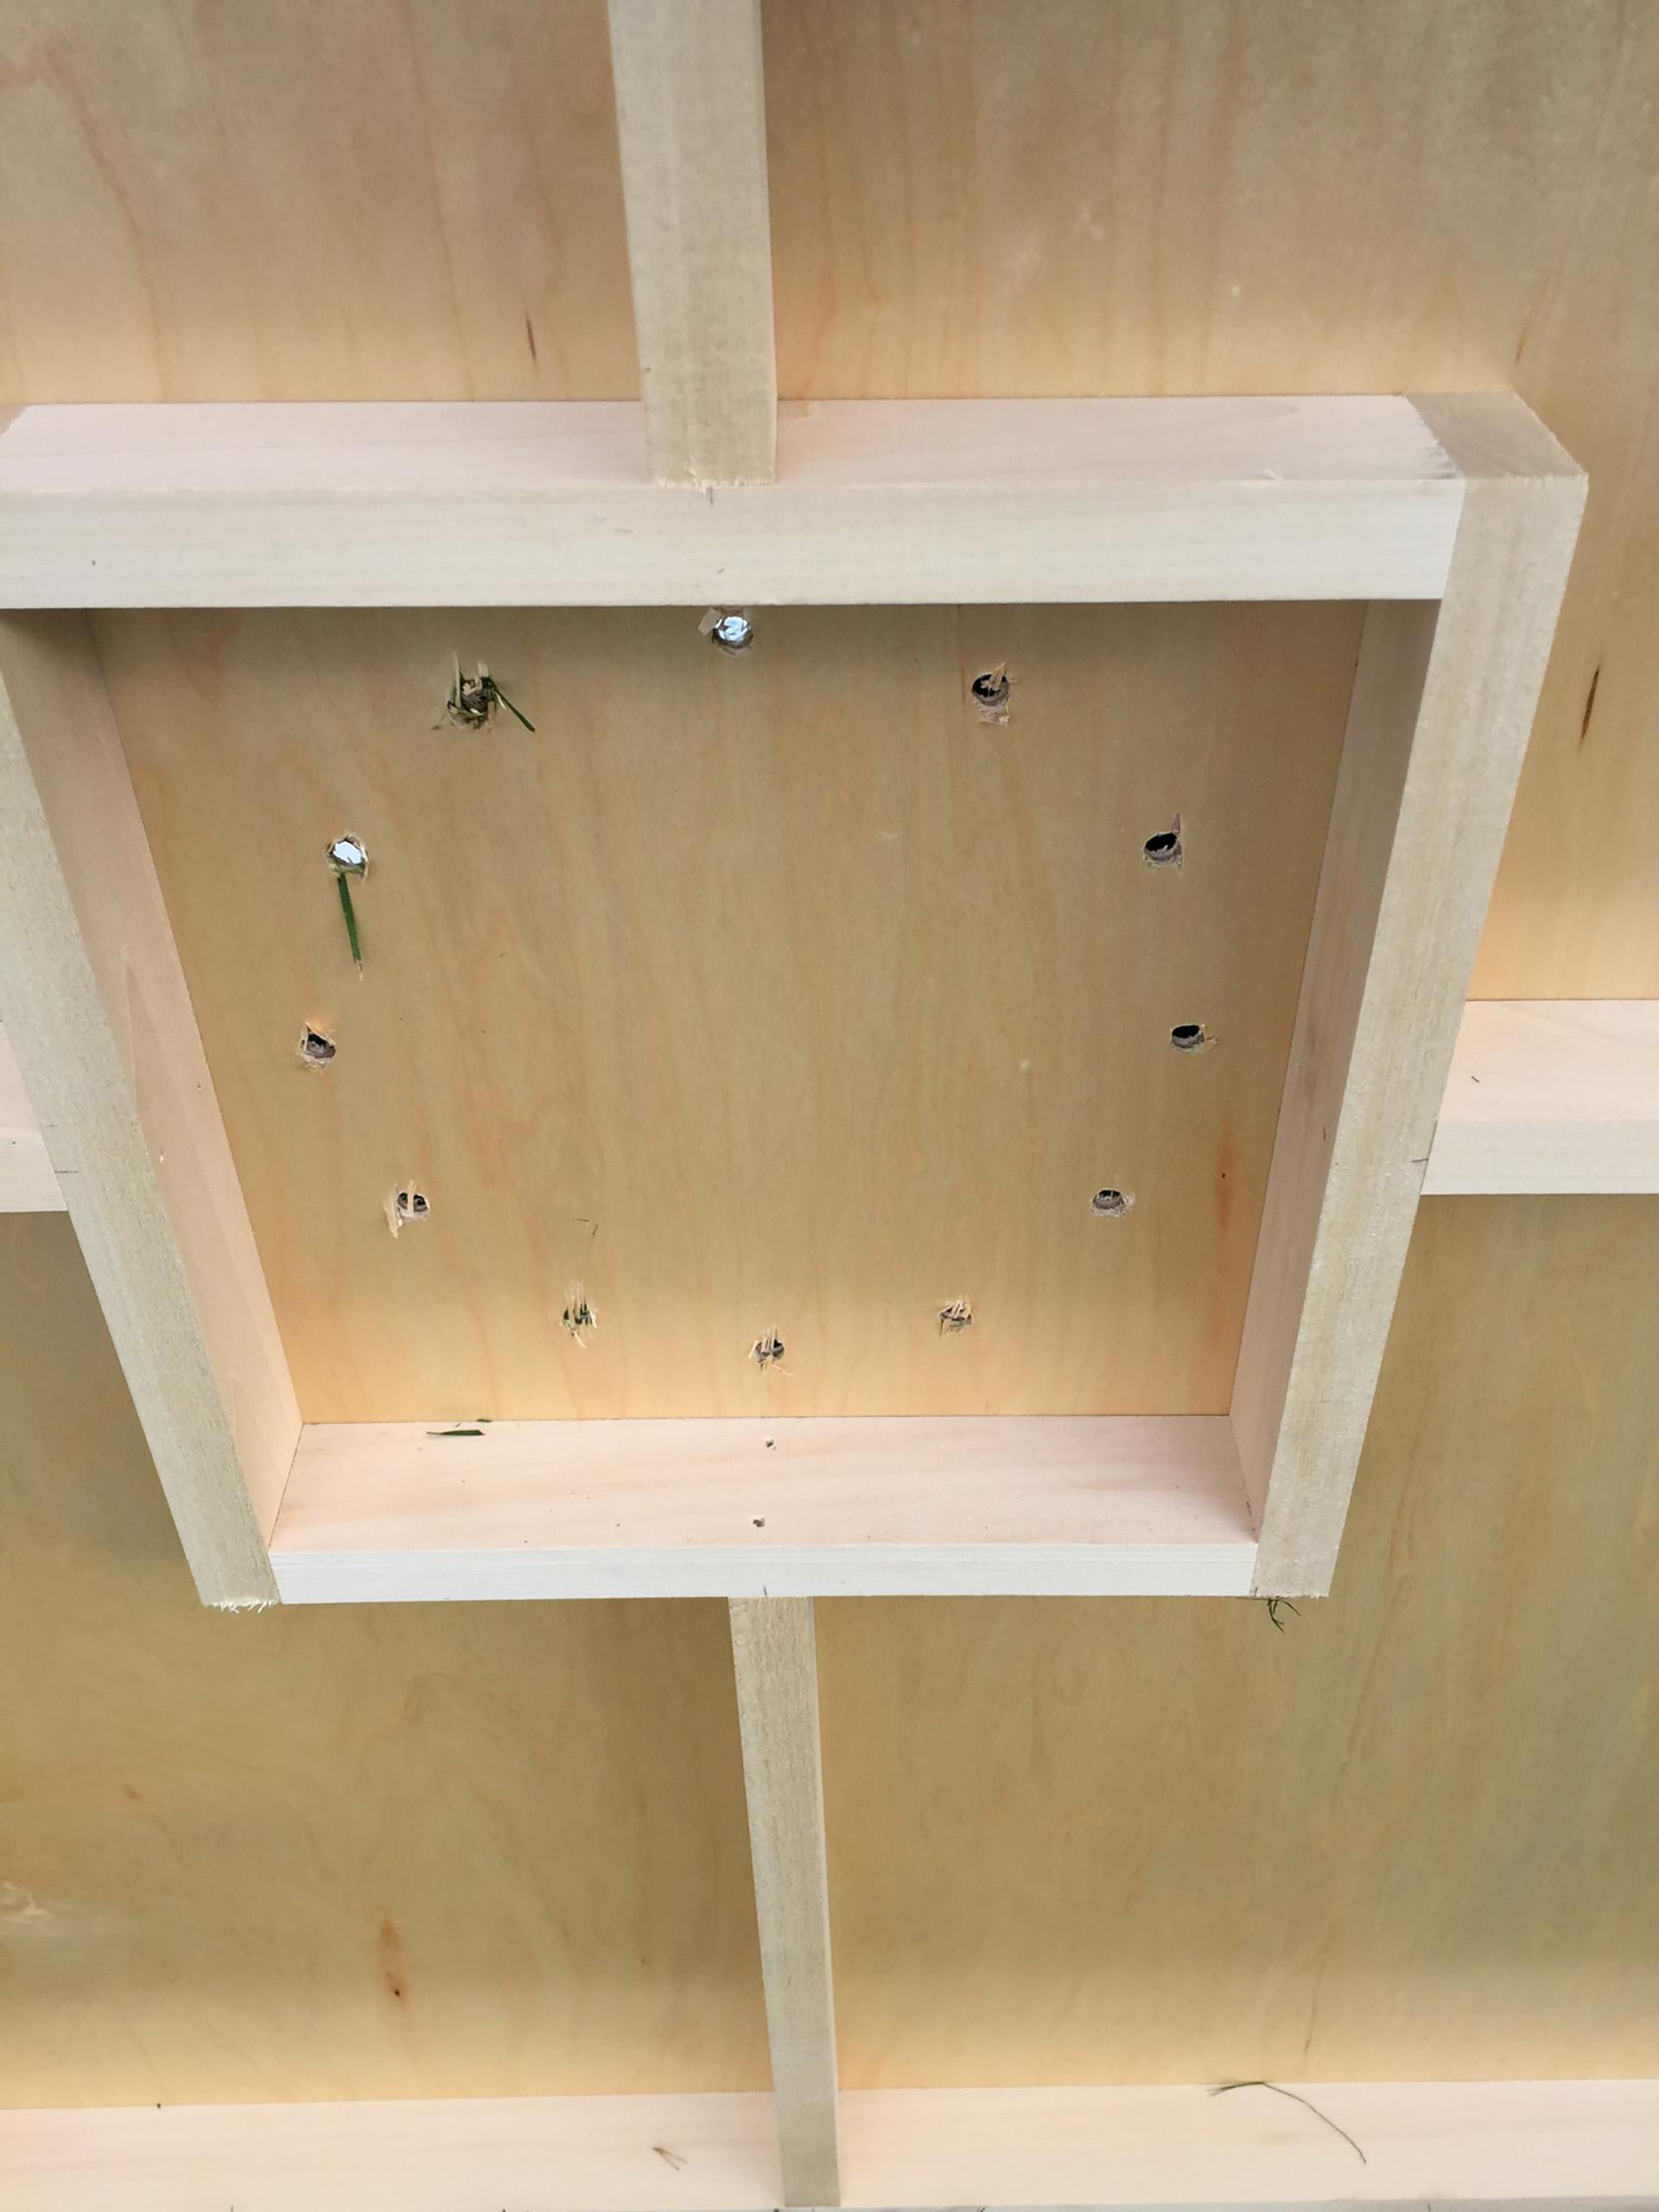
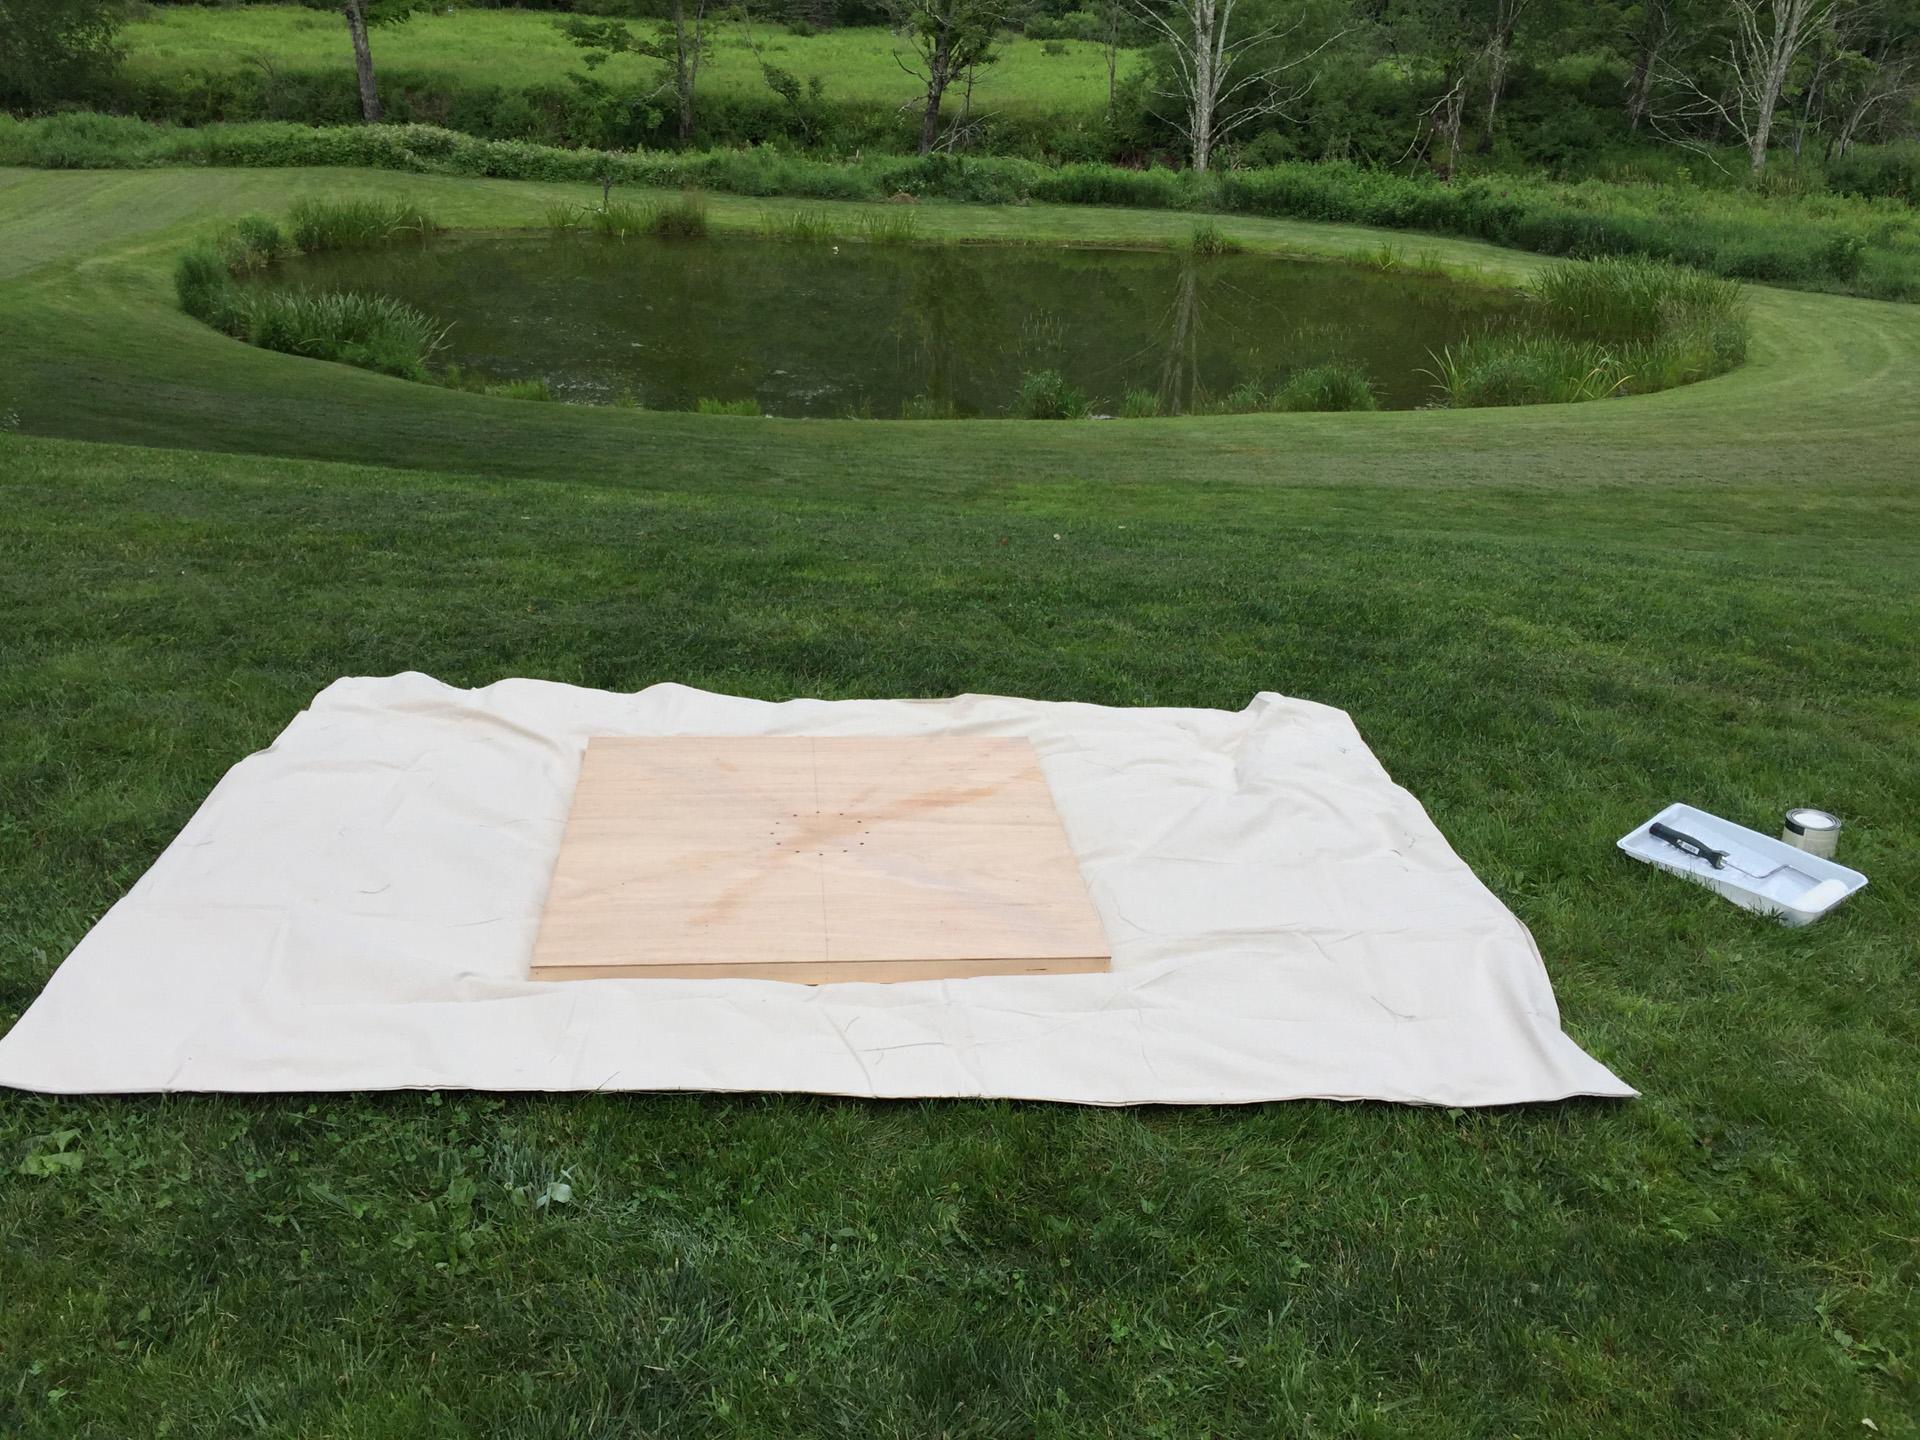
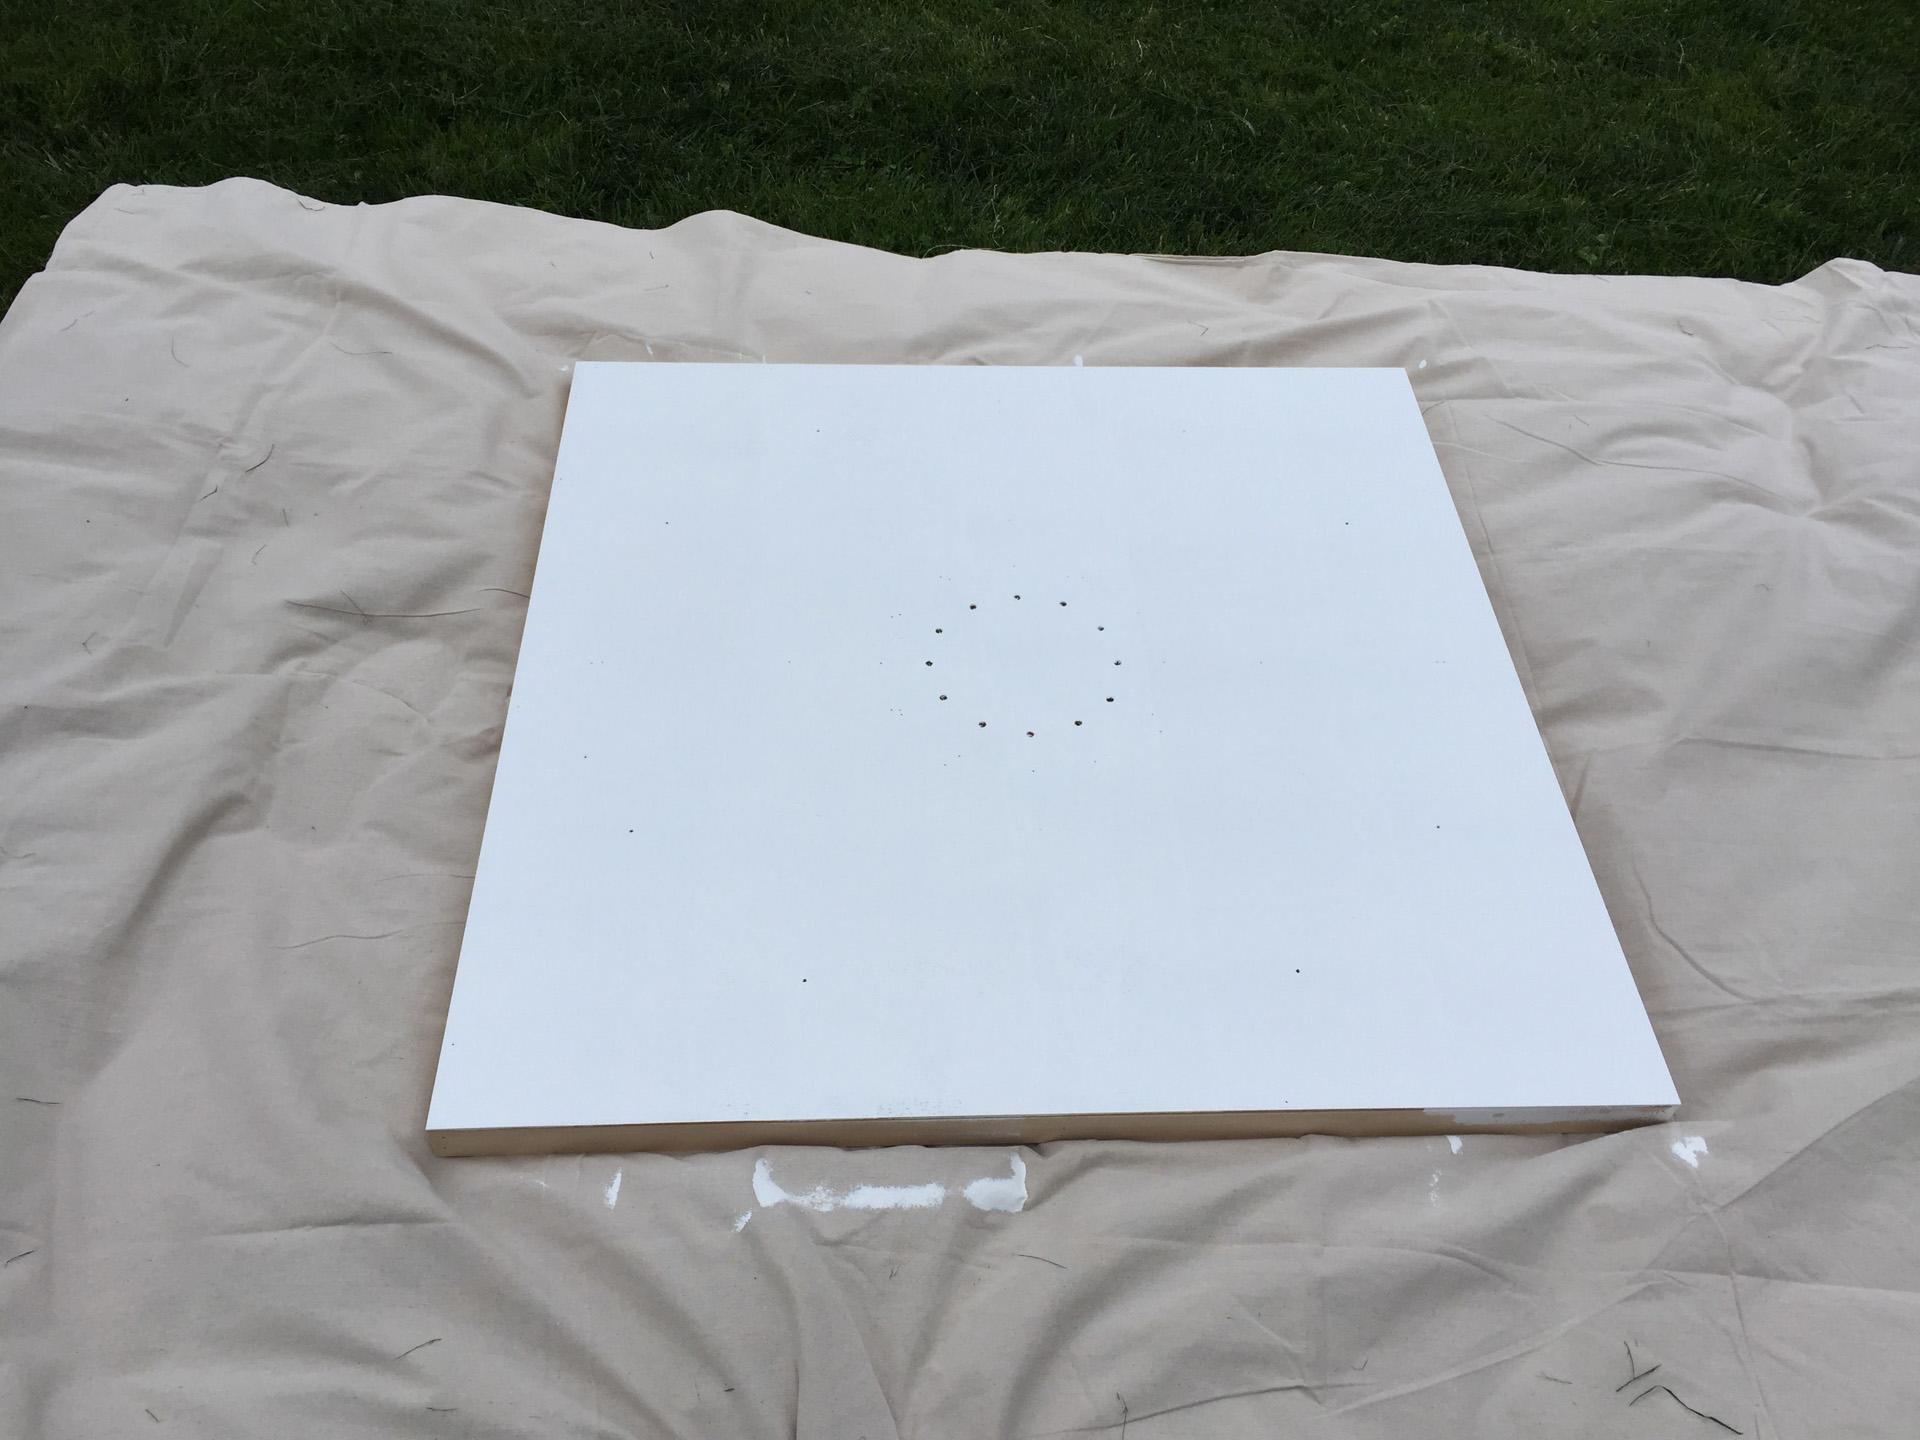
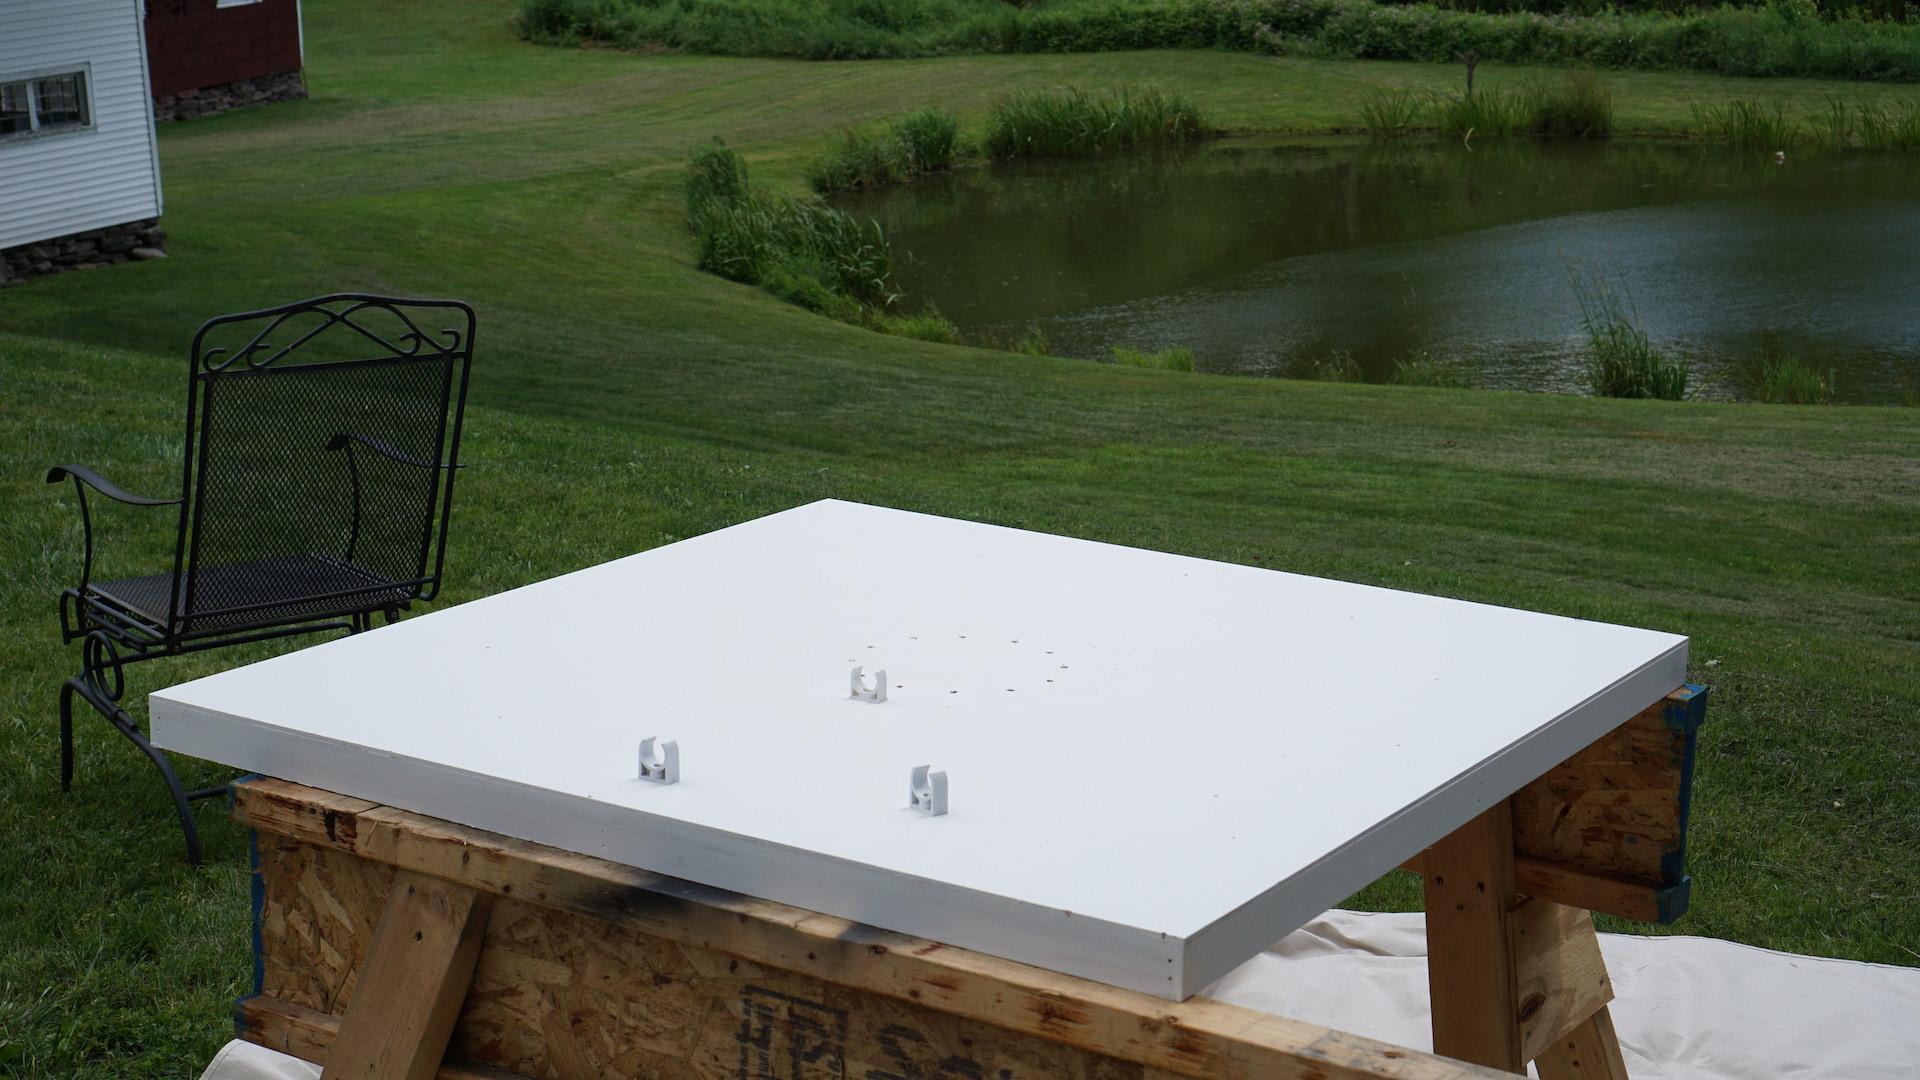
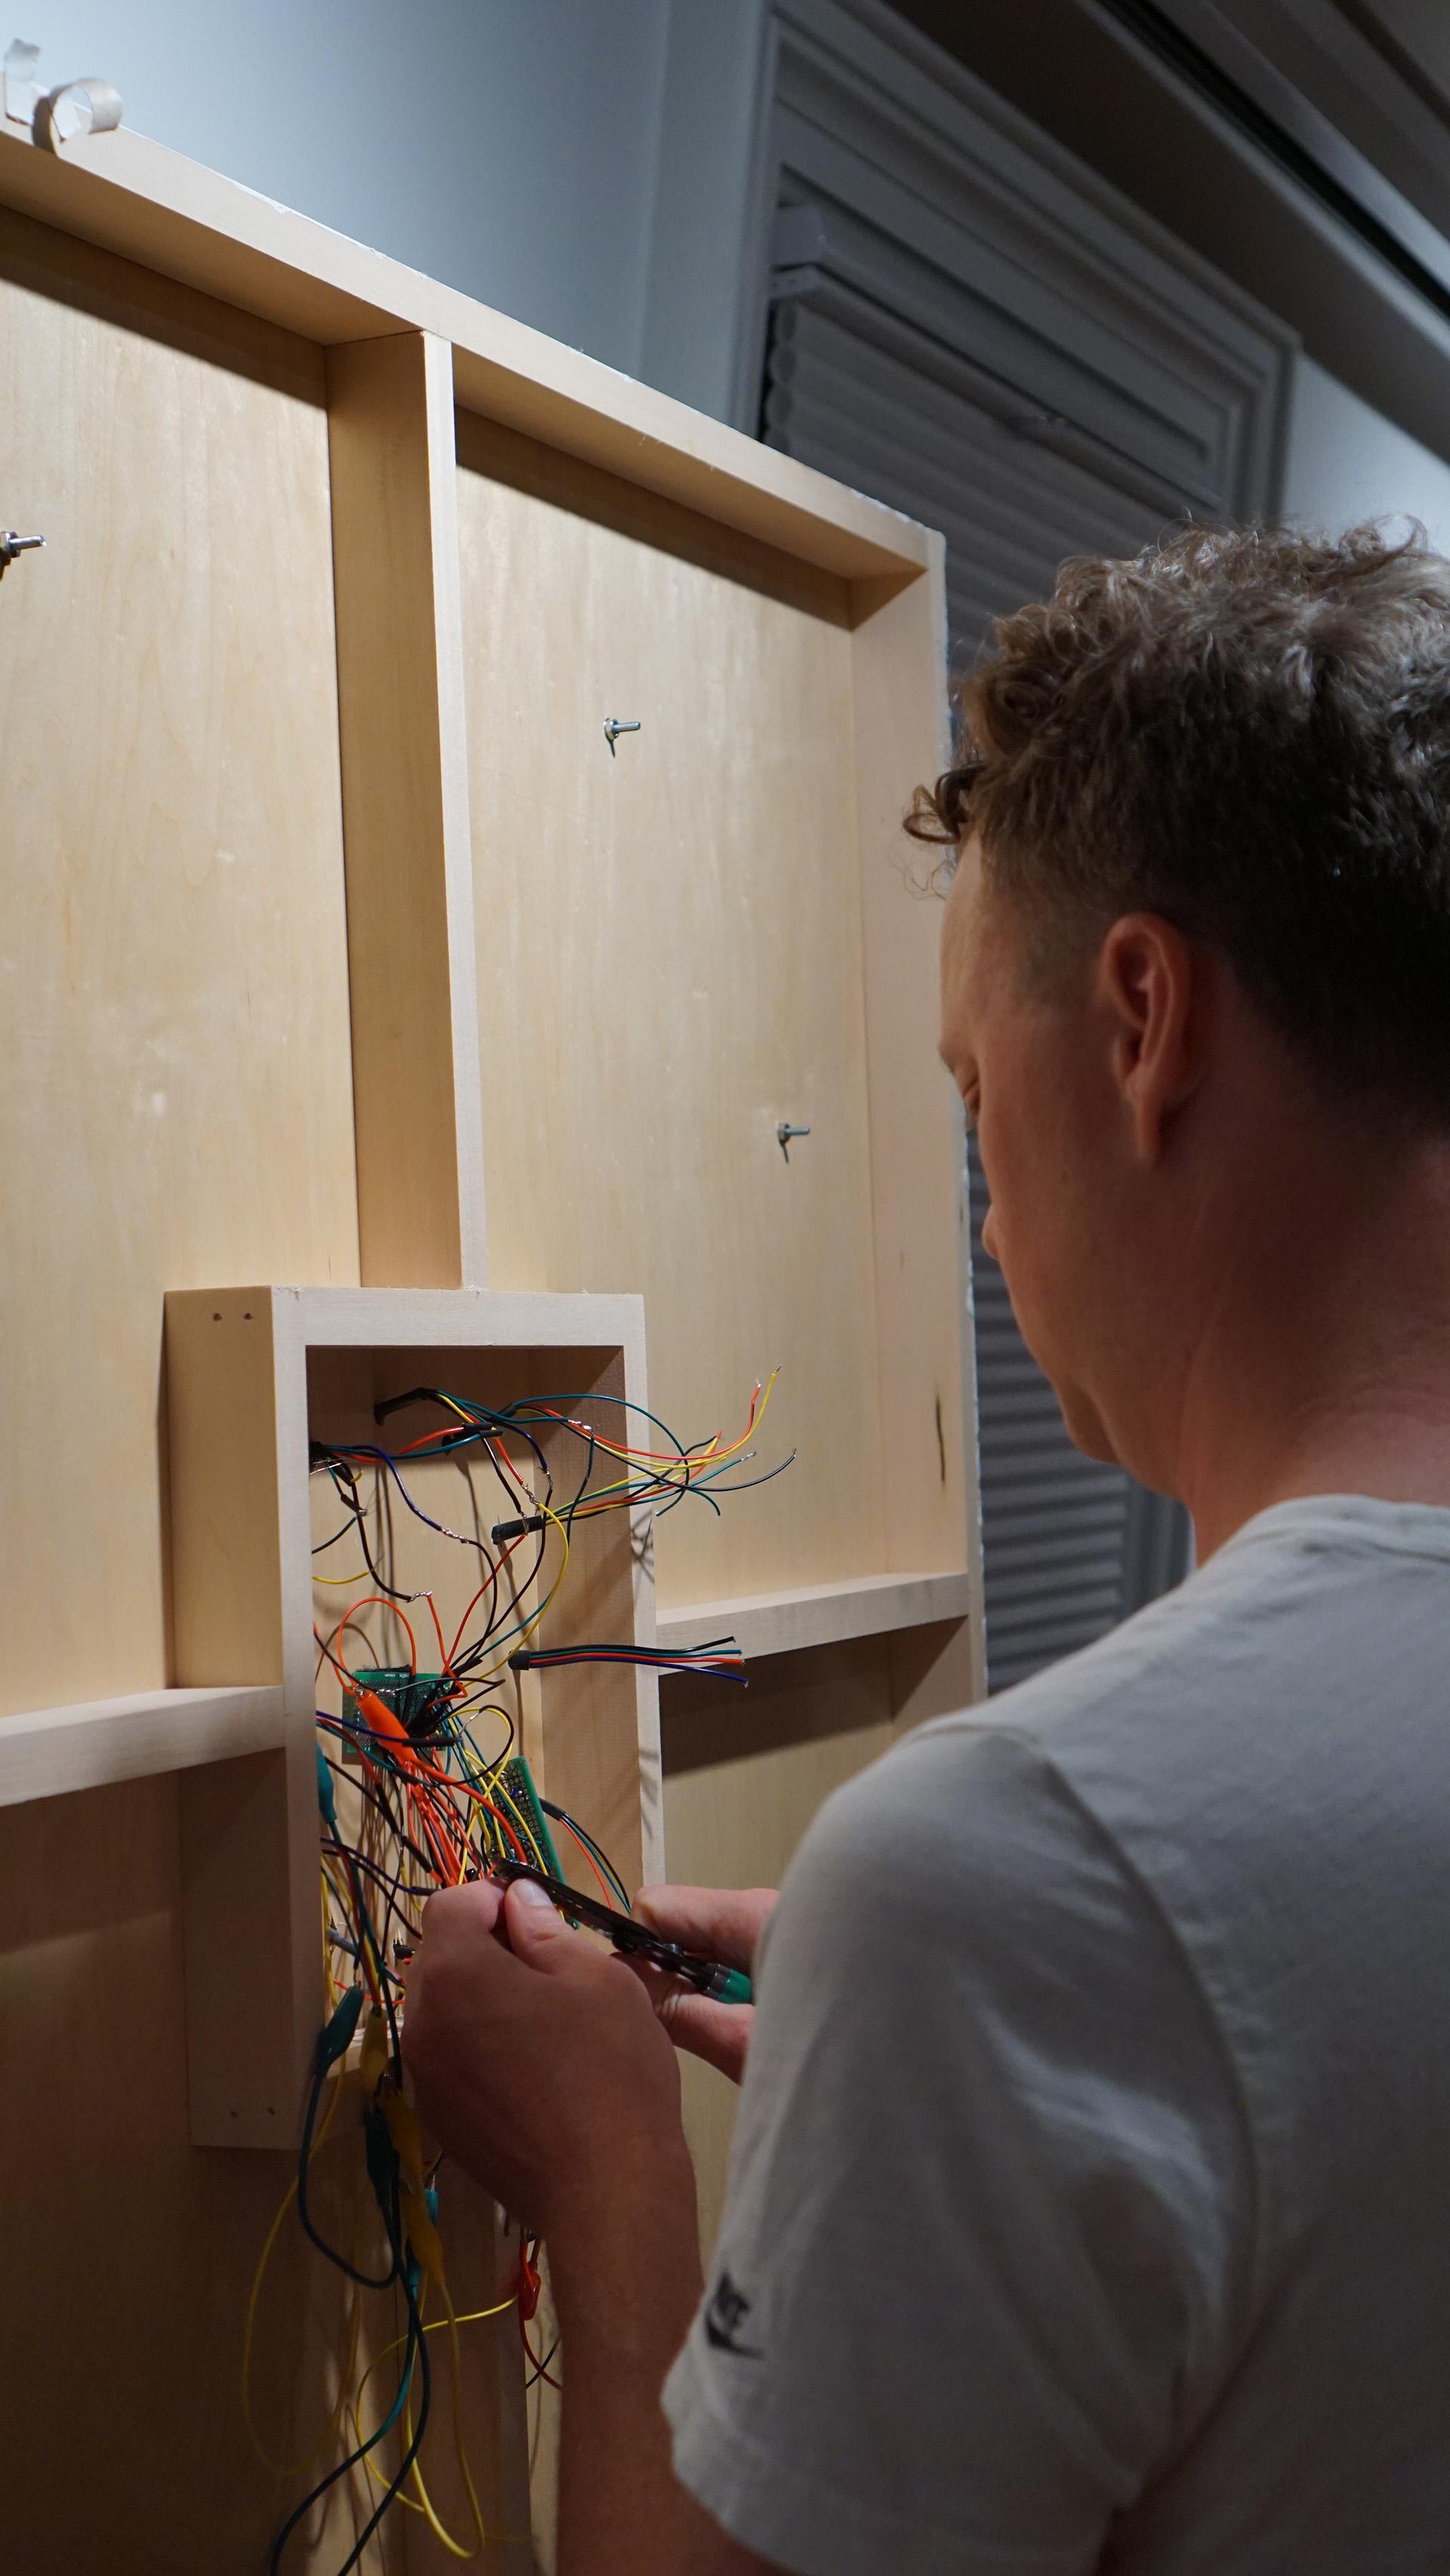
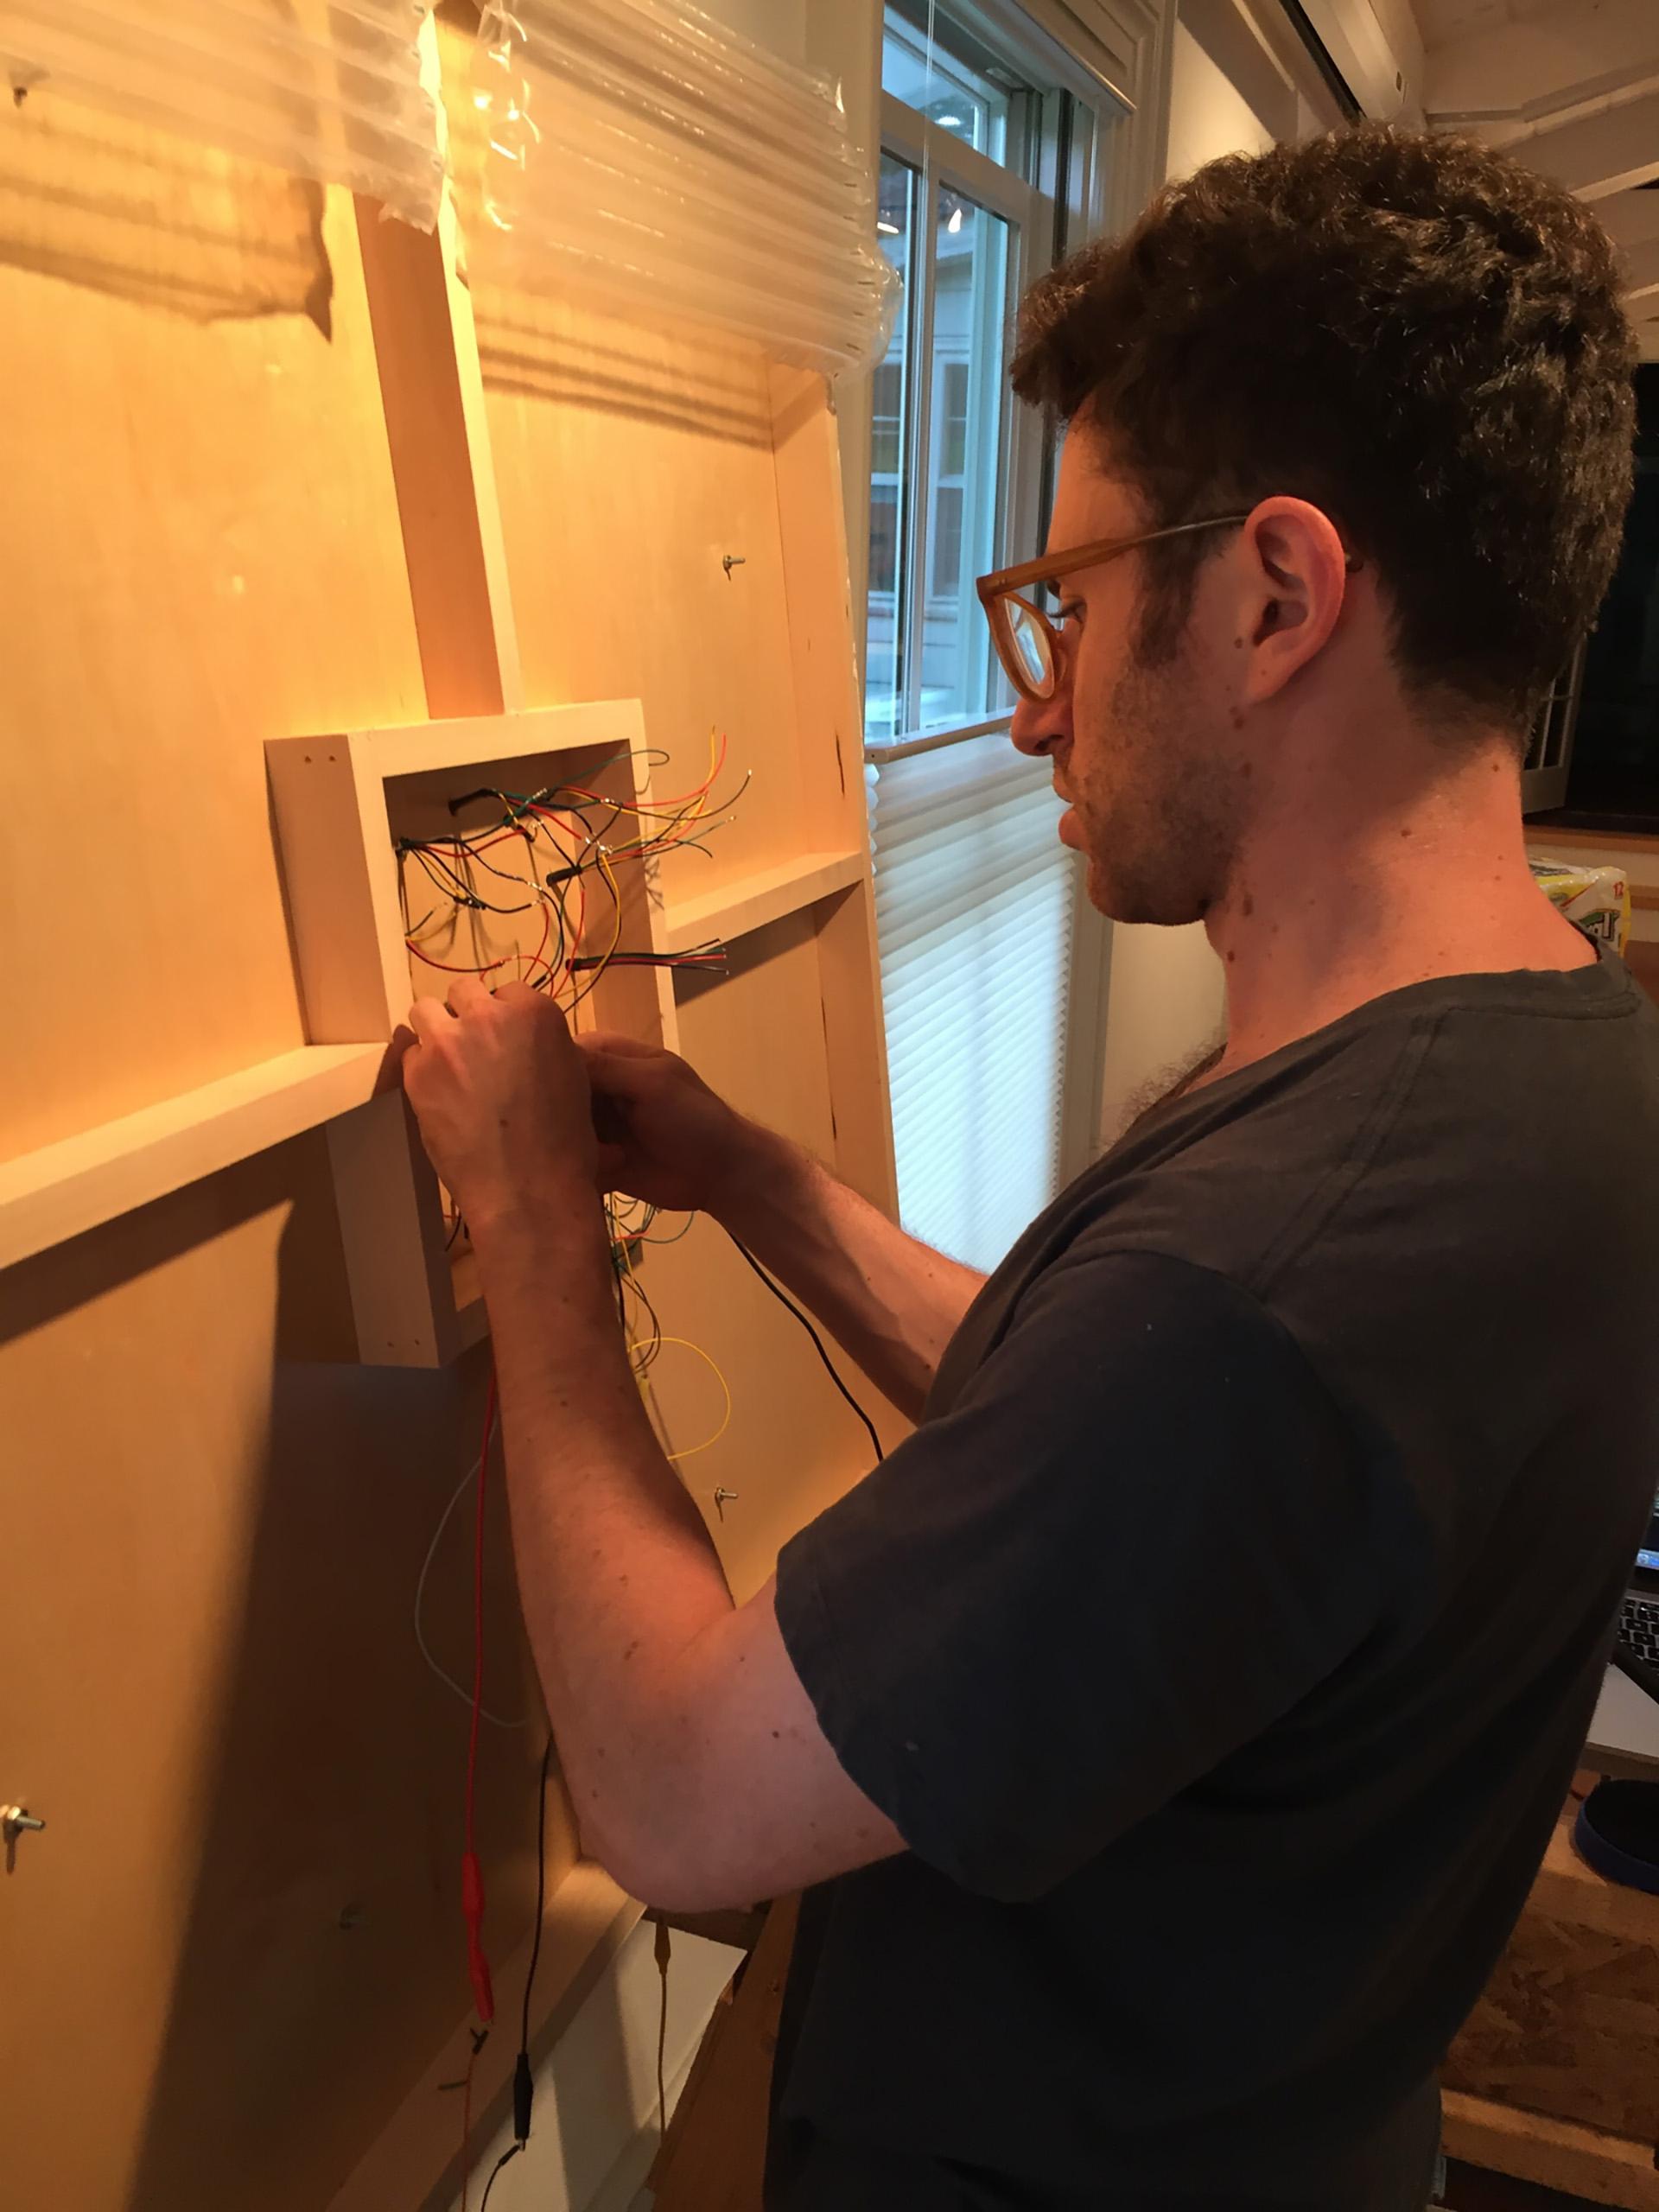
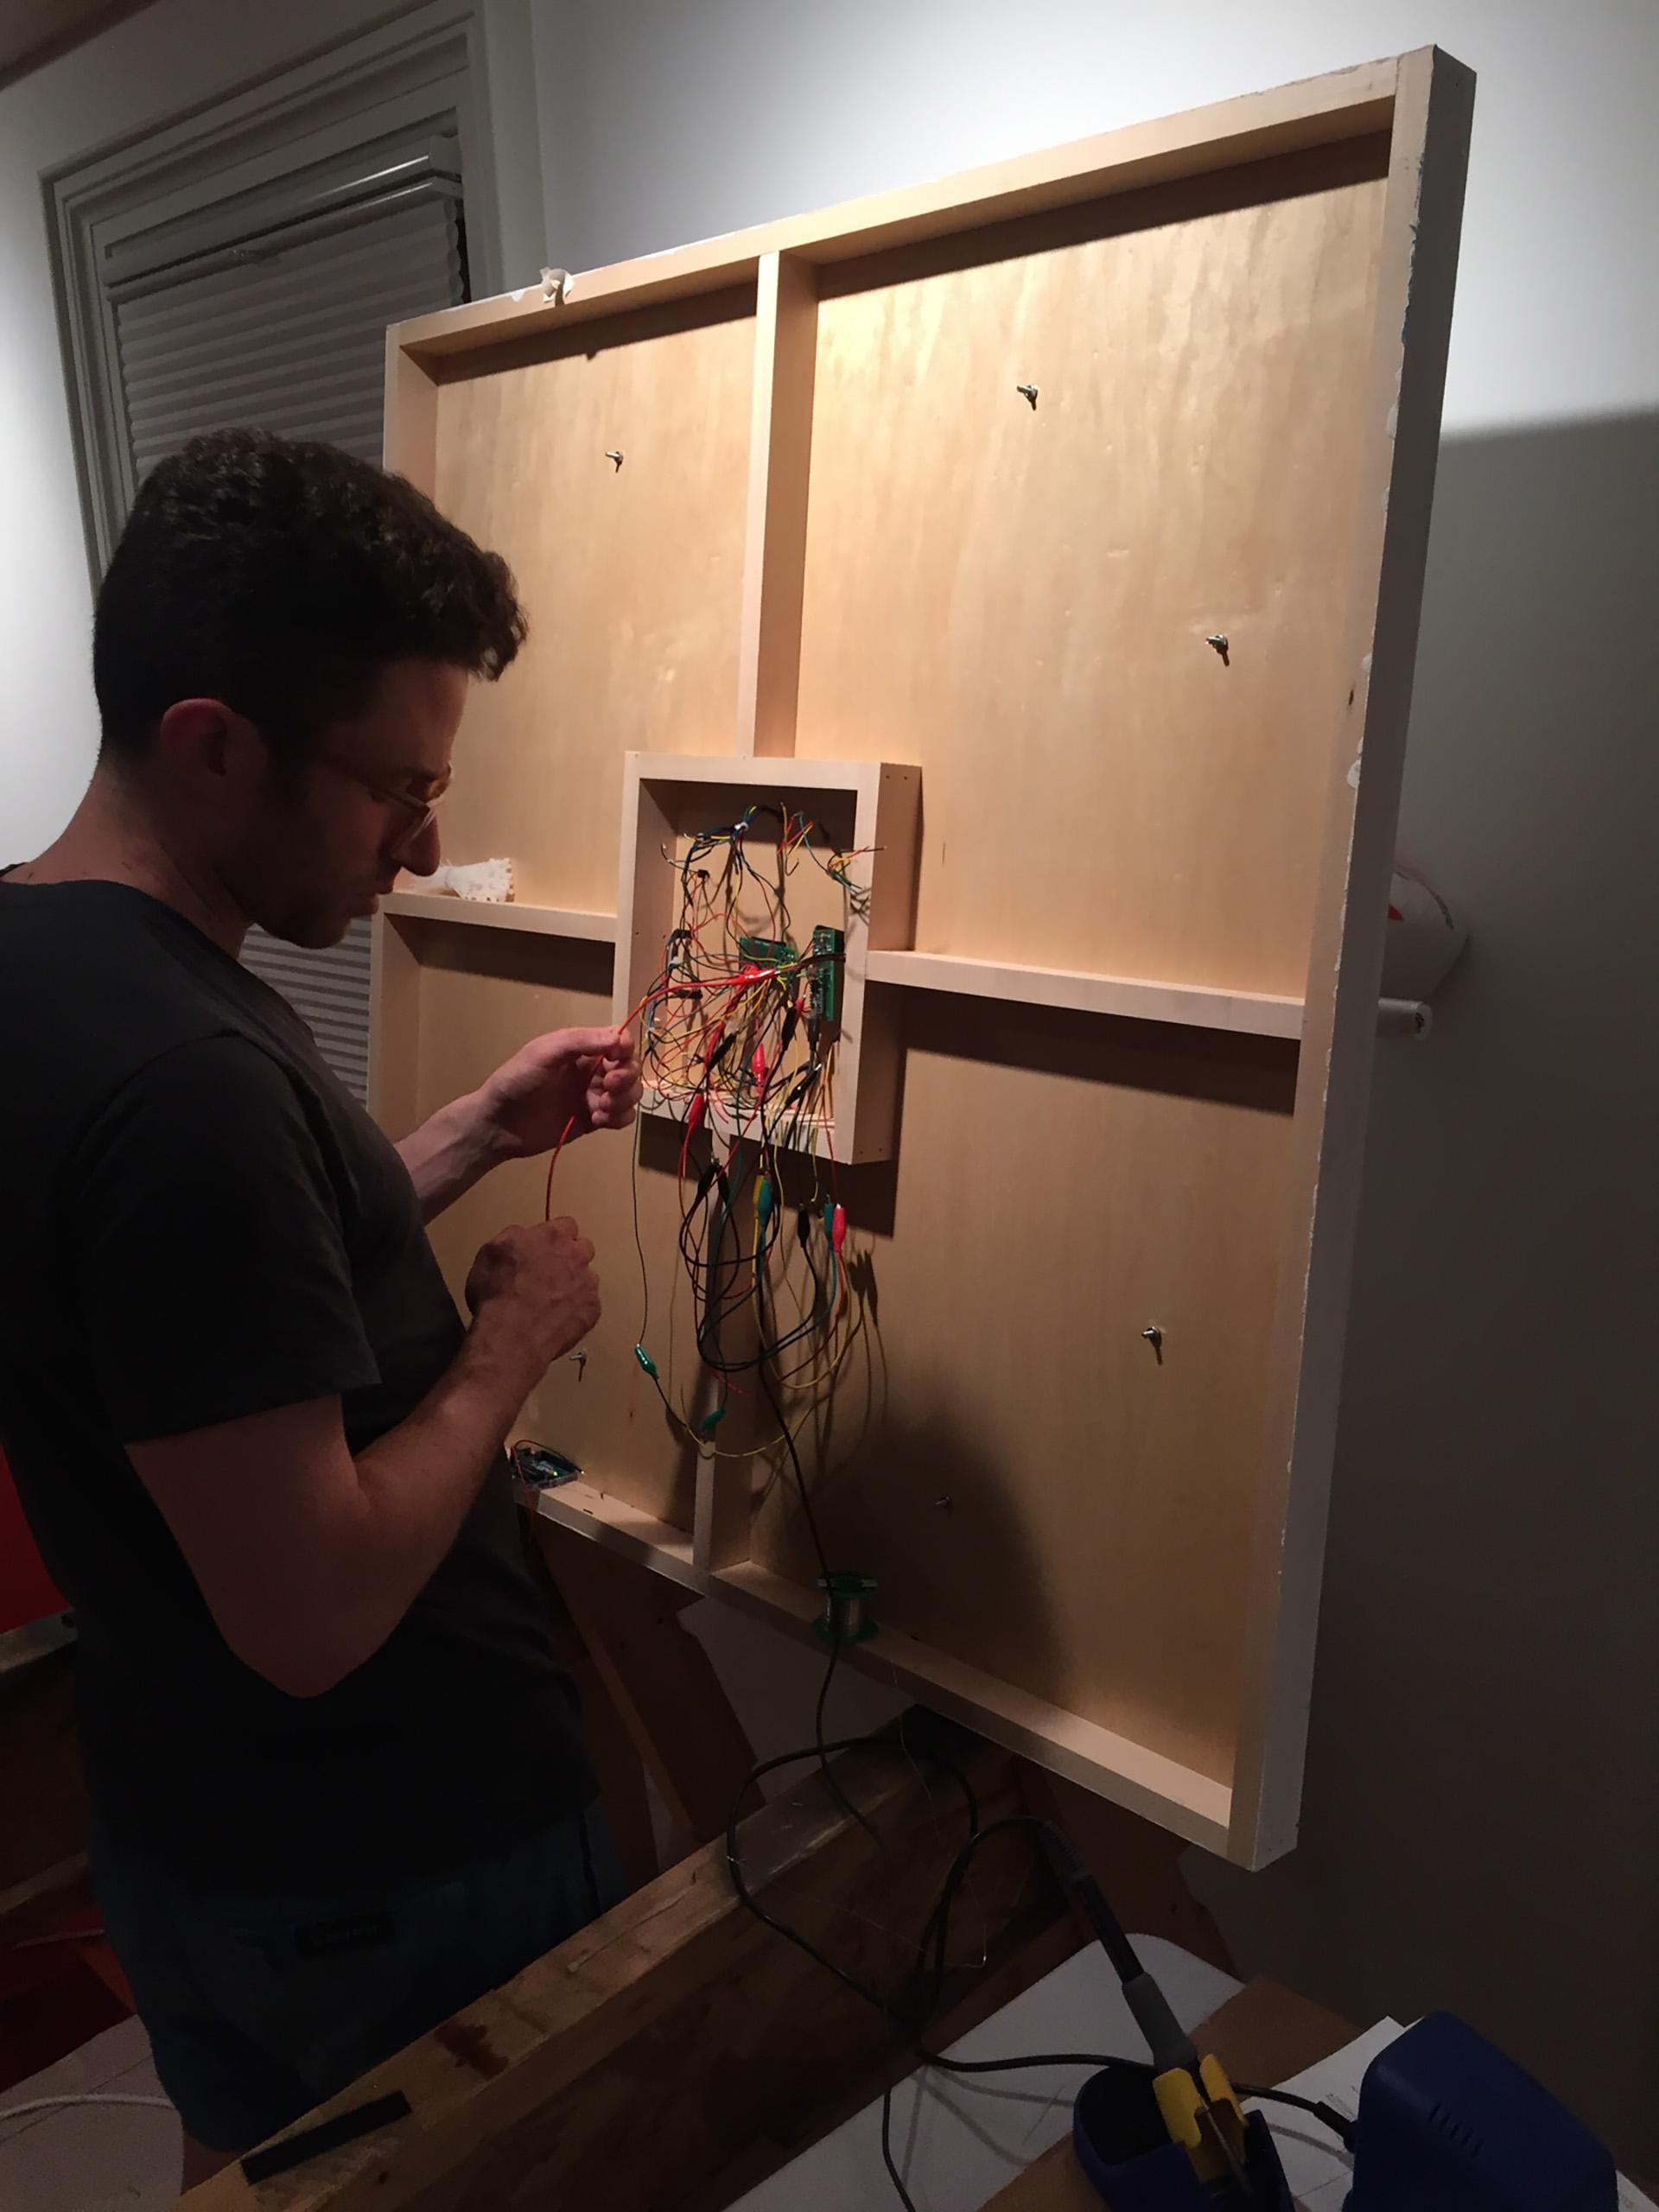
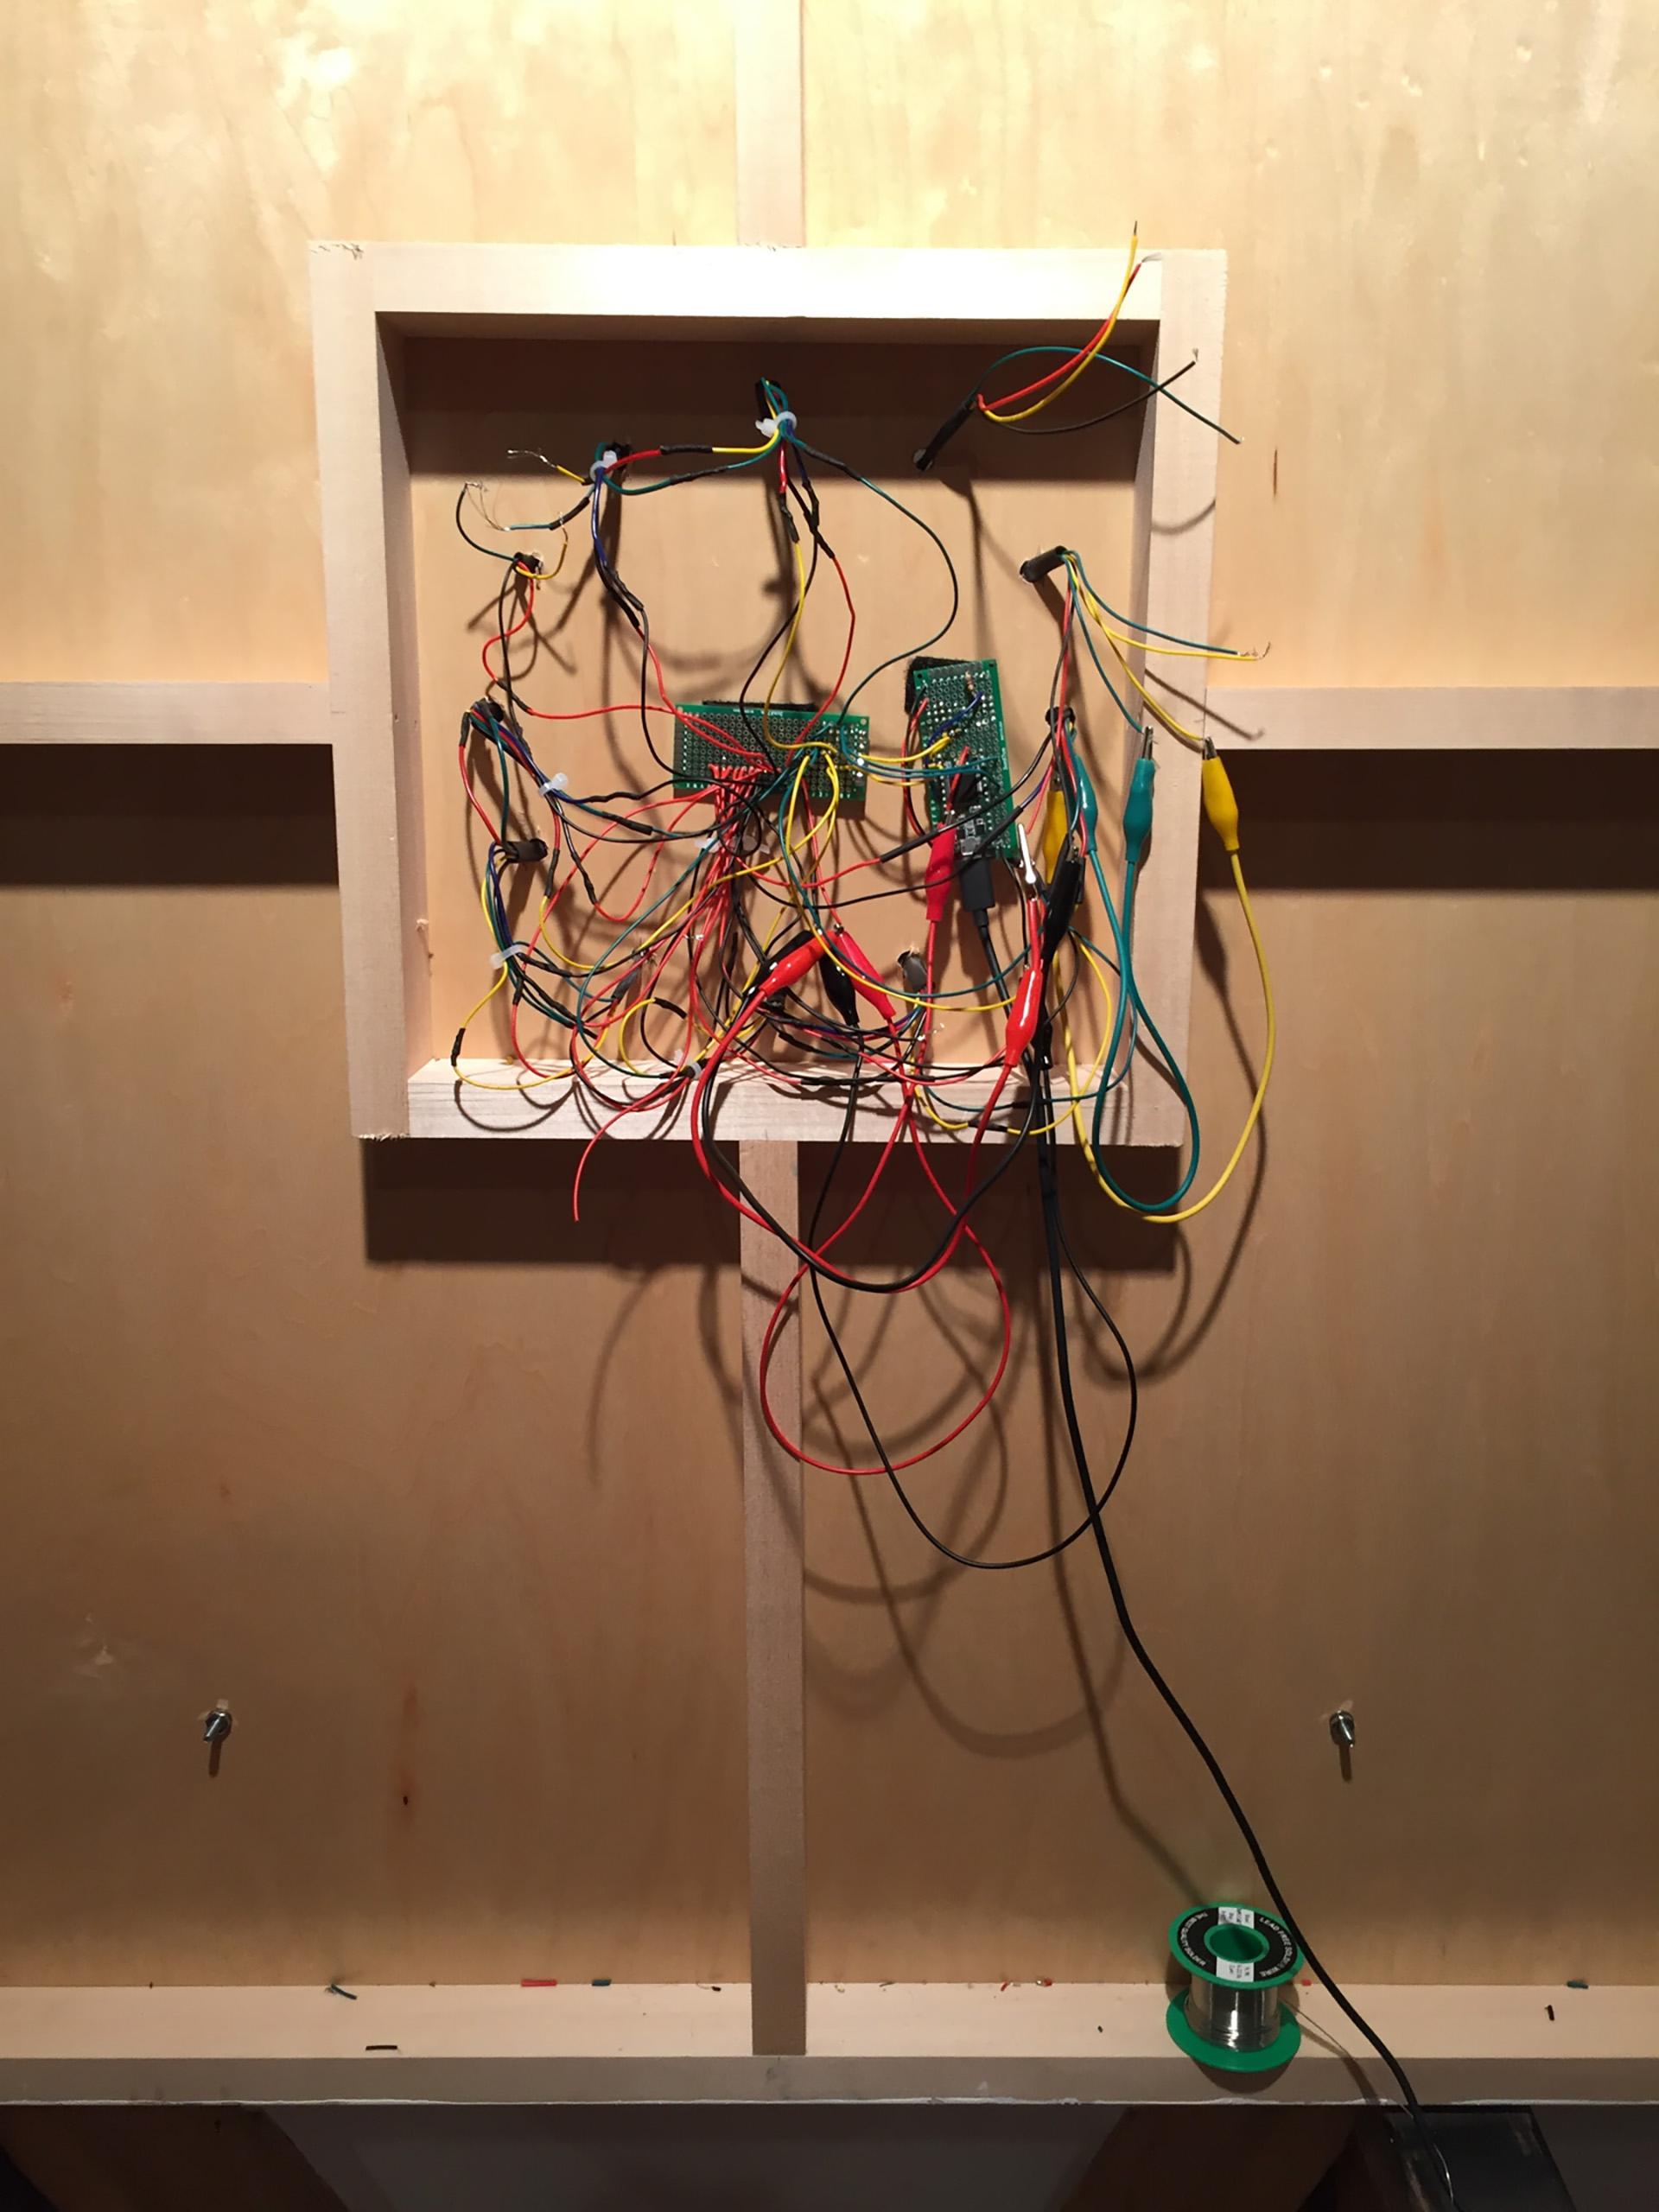
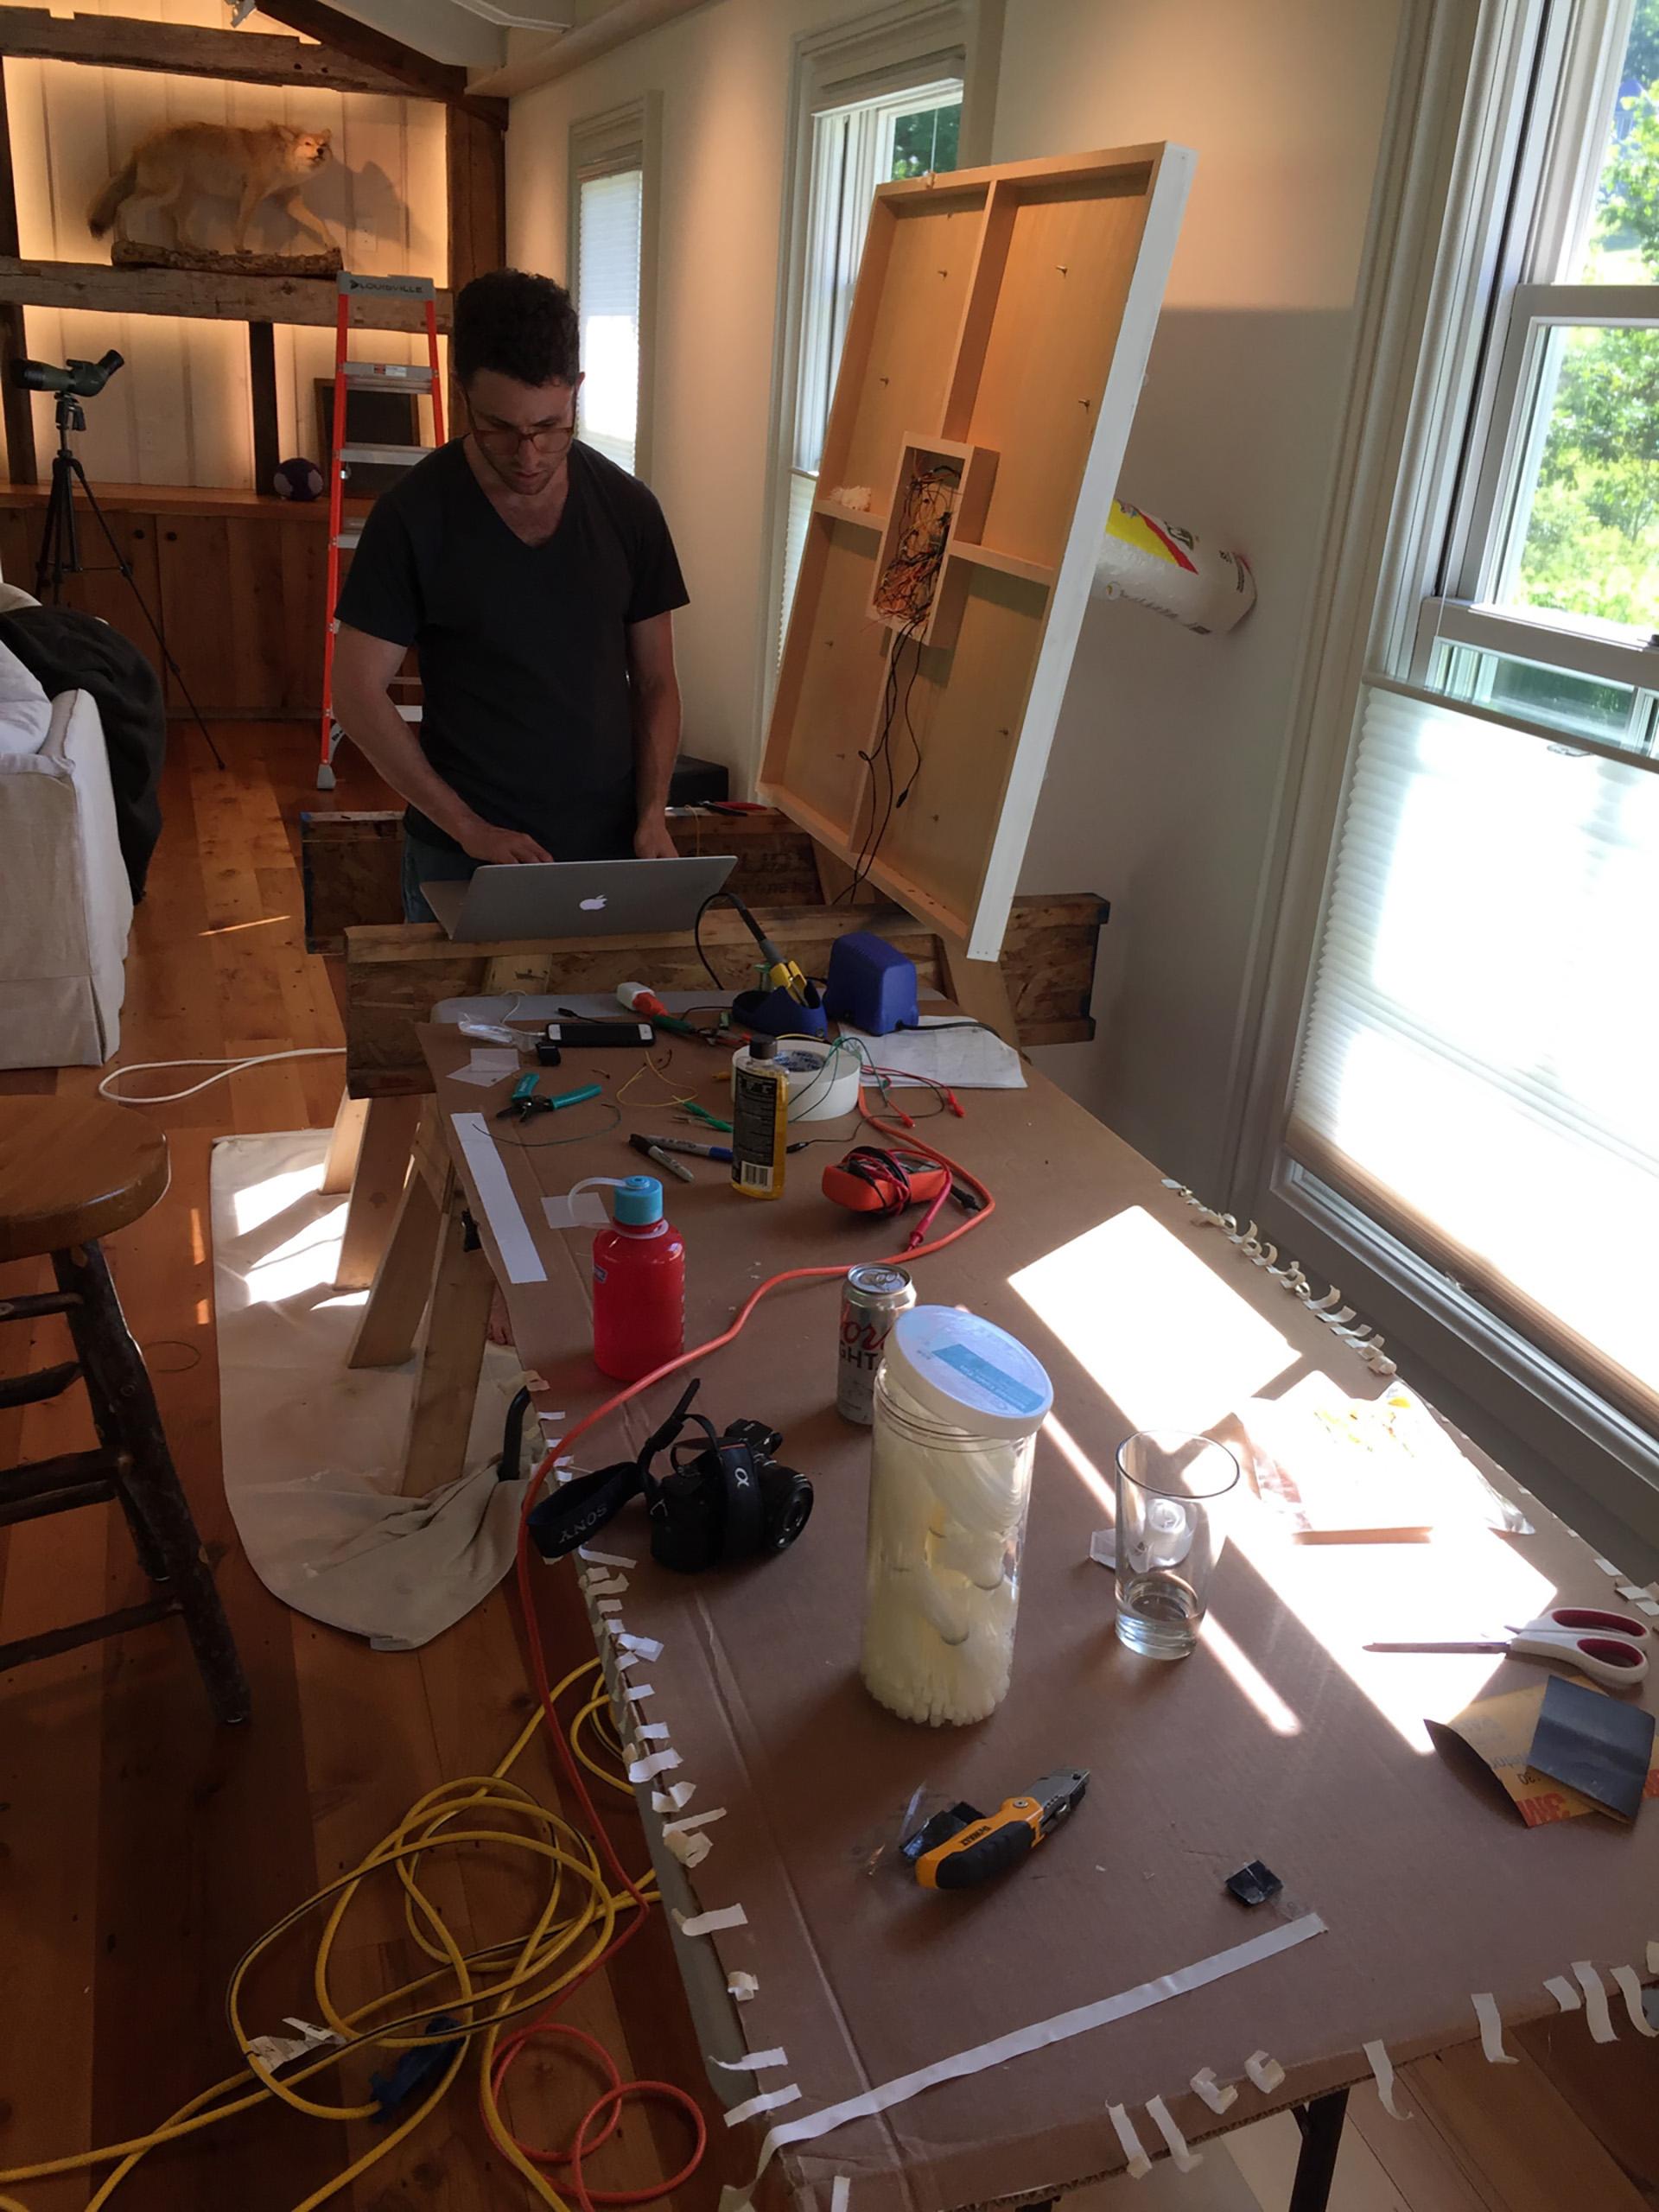
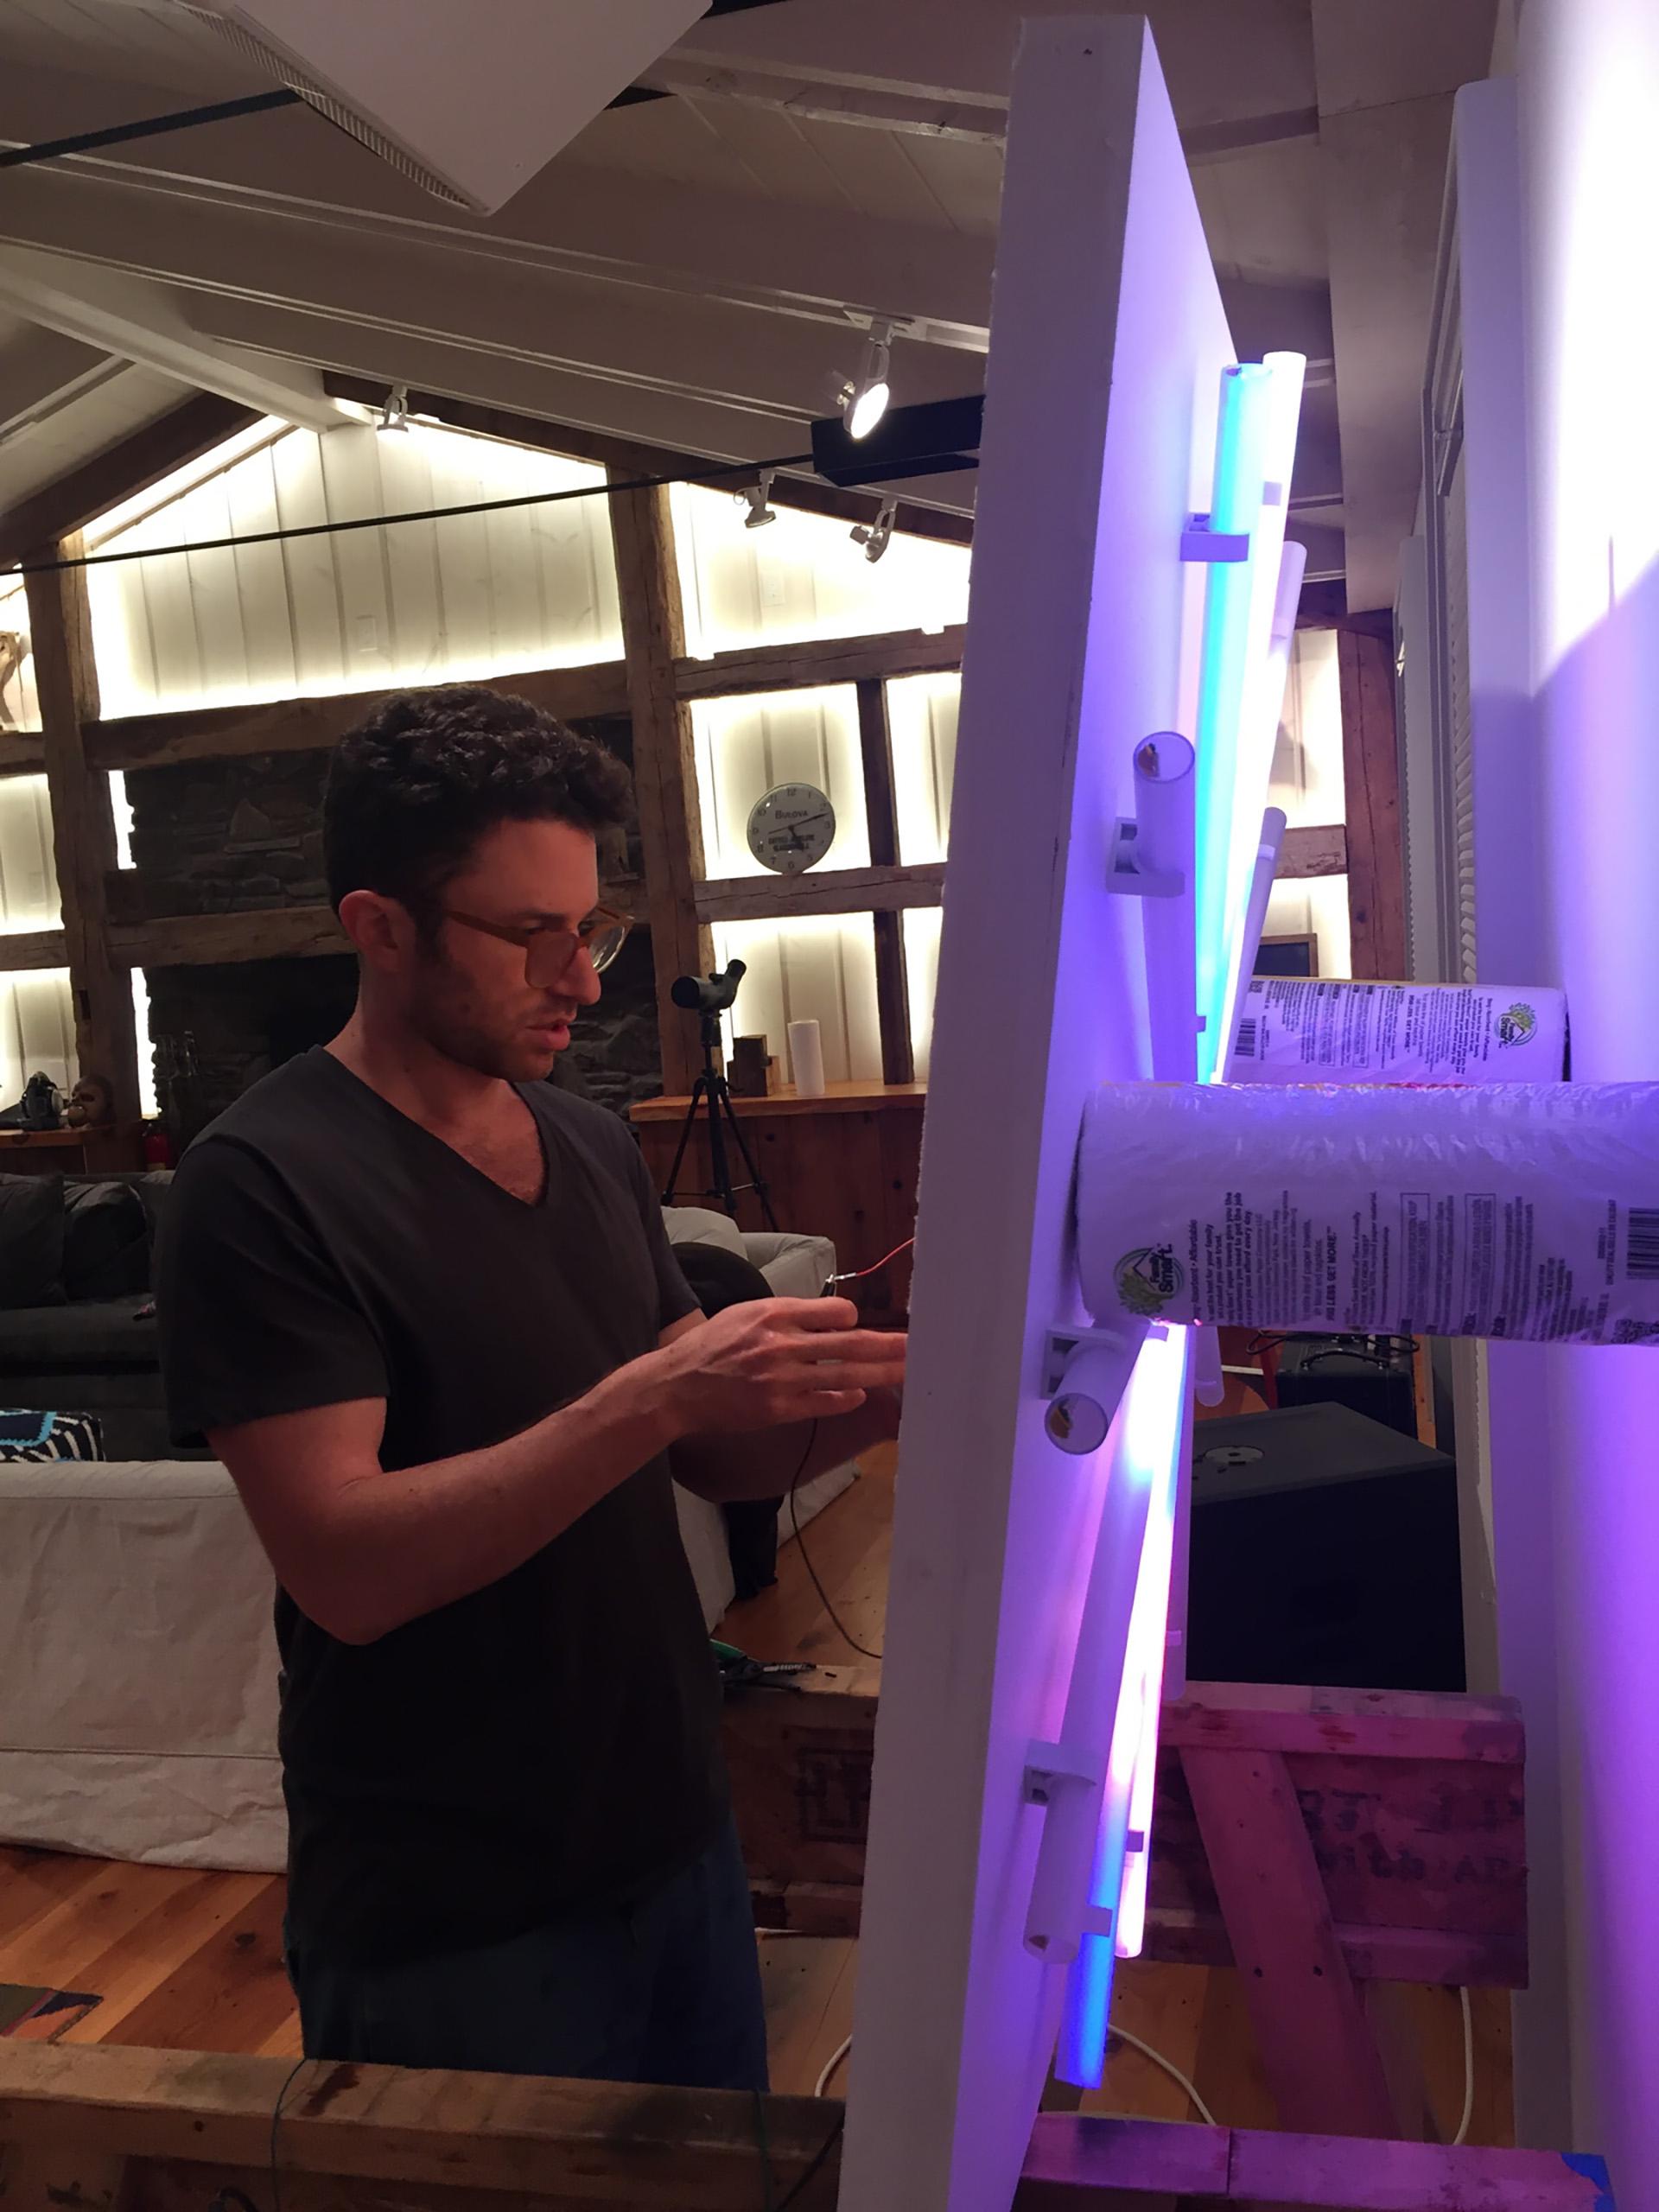
Soldering data and clock wiresMaterials for the LED bars - APA102s, semi-circular dowels that would be recessed enough to diffuse the diodes, and some sample configurationsGlueing led strip to semi-circular shaped dowel.Glueing led strip to semi-circular shaped dowel.All 12 assembled led bars.Testing out bar sizesThe clamps to hold the bars onto the frameWriting test code in ArduinoSoldering the Teensy 3.2 on to a perfboardmeasuring degrees between bars...And turning that into lengthprototyping attachmentsMaking holes for wirestesting out wiringspraying frosting onto the tubesThe original configuation where we just used the Teensy and tried to power everything through the Teensy's power. This was my first electronics project and I learned quickly that the port on the Teensy only supports 0.5a of current.Because of the limitation of the power header on the Teensy, we were barely able to power any lights. We eventually switched to using direct power and level switching.The new circuit, with power connected directly to the LED strips, and the data and clock signal from the Teensy level switched from 3.3v to 5v.The new circuit, with power connected directly to the LED strips, and the data and clock signal from the Teensy level switched from 3.3v to 5v.Pleased to see it worked!Installing it in its home